Localize Flows
Learn how to use localization to translate a single Appcues flow to multiple languages.

Written by Sofia Domingues
Updated at May 14th, 2025
 This feature is available for Enterprise plans or as an add-on.
This article covers Web Flow localization, for more information on localization refer to the Localize Mobile Experiences, Localize Banners and Localize Launchpads articles.
Using localization with Appcues means you can use a single Appcues flow to reach a multilingual audience.
- Define the languages you support once
- After a flow is built, tested, and ready for the big time, export the content (via CSV or JSON) for your team to translate.
- Once the content is translated, re-upload it into Appcues, and it will be displayed for speakers in their preferred language.
In this article we'll cover:
Define Languages
To get started, head to Settings, and select the Localization tab.

To enable localization for your content:
First, define the languages your platform supports. This is set on the account level and only needs to be done once. Appcues will use these settings when targeting your content to end-users.
To set each language, type the name of the language you'd like to support (ie. German). Then select the targeting criteria you'd like to use to identify those users. You can use our default property ' Last Browser Language', which Appcues automatically tracks or you can use any property sent in via your installation. We will use these conditions to determine which translated content to show to your users.

Browser languages are set by your end-users and can be as broad as French (FR) or as specific as French - Canadian (FR-CA). Appcues will target specific codes set by the browser, so in order to cover all variations, we encourage adding all of them to your language definition. If you plan to support a different version for a given language, keep them as a separate line.

Note: Any users with languages not defined on this list will fall back to see the flow in the original authored language.
Localizing your content
Once you've defined the languages you'd like to support, find the area labeled Localization in your flow settings page.

To retrieve your flow's contents for translation:
Click "Download all translations". We'll download a zip file (either CSV or JSON, with a corresponding file for each language in your locales list).
Edit a localized flow by using the Remove translations option. Removing the localization lets you make edits without needing to clone the flow.
Here's how:
1. Un-publish a flow (if not already unpublished)
2. Click the ‘Remove translations’ button on the Flow Settings Page to remove the localization
3. After making edits, follow the normal steps to relocalize the Flow

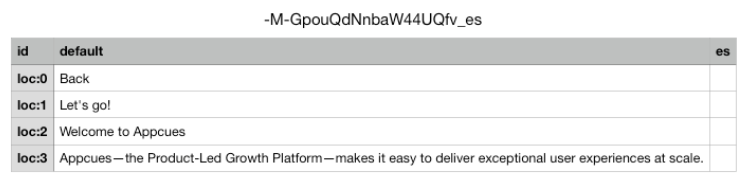
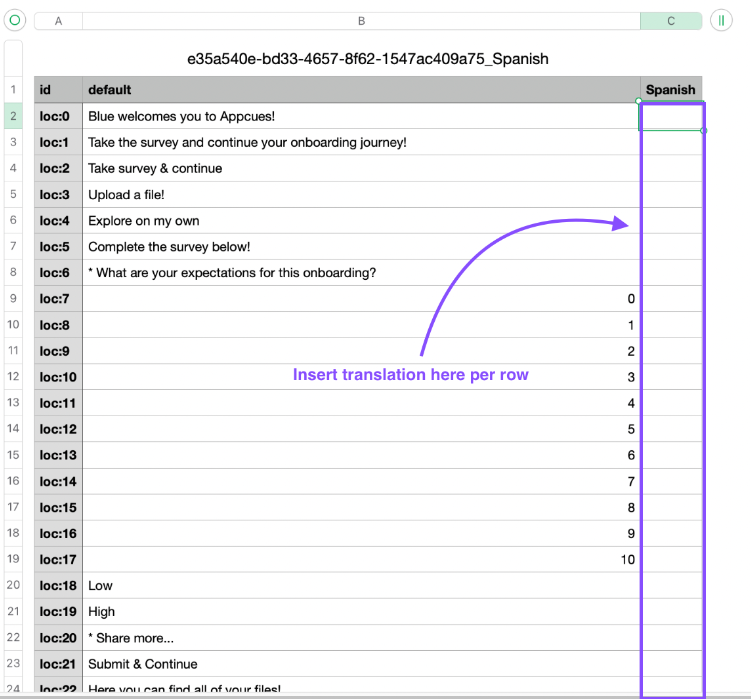
Where to translate in the file:
Once you've downloaded the flow's content. You should then translate the words in the third column.
When translating the file, leave the first and second column as is. You should only be working on the third column which is the equivalent translation for the phrases in the second column. Make sure you fill out all the rows or the file will be rejected.
When the translations have been completed (in whatever manner you translate content today), upload each file to the corresponding language. Once translations are uploaded and processed, you're ready to hit Publish!
Any users that are identified and do not have a corresponding translation file will see the flow in the original authored language. If you have a flow that you only want to show to 3/6 of your supported languages, be sure to target them appropriately via Audience Targeting.
Note: To best support as many languages as possible, Appcues flow localization uses the UTF-8 character set for all CSV imports and exports. Most modern tools (Google Sheets, Apple Numbers, LibreOffice) will, by default, handle these files. If you are using Microsoft Excel for your translations, you may need to take a couple of additional steps to import and export translation steps. Learn more here.
Note: Some spreadsheet programs, like numbers, may provide an option to include table names in the CSV export. This is referring to the table name as opposed to the column name. It should be unselected by default and should be left unselected.
Previewing your translated content:
To preview your translated flows prior to publishing, click View next to your uploaded translation.
