Send NPS Submissions to Google Sheets using Zapier
Automatically send NPS customer responses to a Google Sheets spreadsheet, quickly and easily using Zapier.

Written by Sofia Domingues
Updated at June 11th, 2025
NPS is one of the most important metrics your team can measure. Send all NPS submissions directly to Google Sheets, so that your team can follow along and take action on feedback submissions in real-time!
Note: This Zap requires a paid Zapier plan.
Before creating the Zap, you will want to create a Google Sheet spreadsheet that contains columns for each property that you would like to track. In this guide, we will have columns for:
- User ID
- Timestamp
- NPS Score
- NPS Feedback
Feel free to add any other columns that are relevant to your team!
Zap Trigger
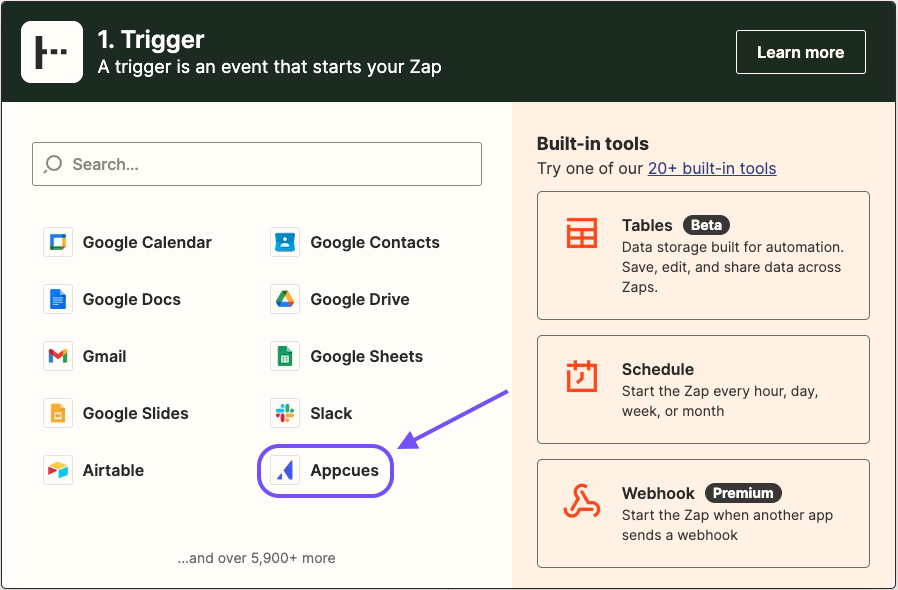
Step 1: Select Appcues Trigger
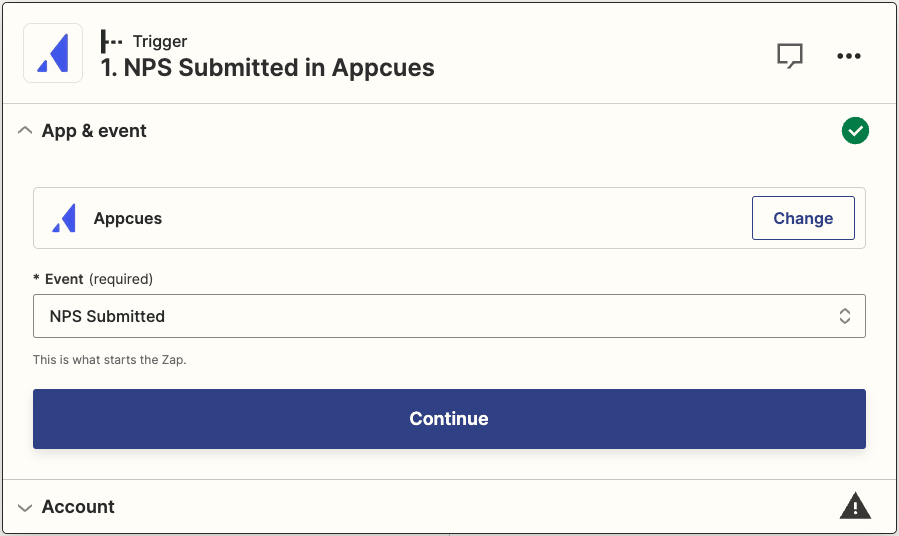
Step 2: Select “NPS Submission” Event
Step 3: Connect your Appcues Account
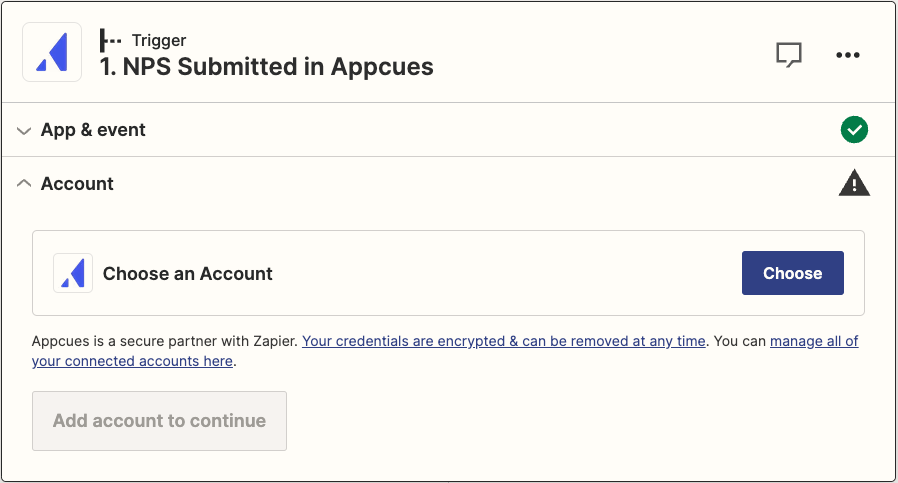
Check out our Using Appcues and Zapier article for more information on connecting to your Appcues account.
Step 4: Test Trigger
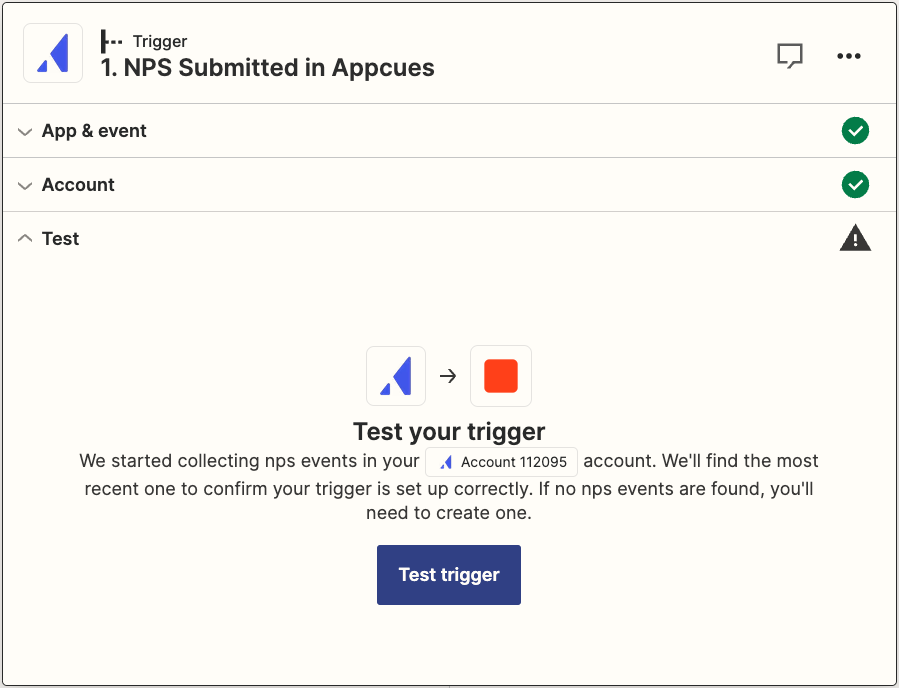
There are two corresponding events for the NPS Submission Trigger. Your test should return two sample events, one for NPS Score and one for NPS Feedback.
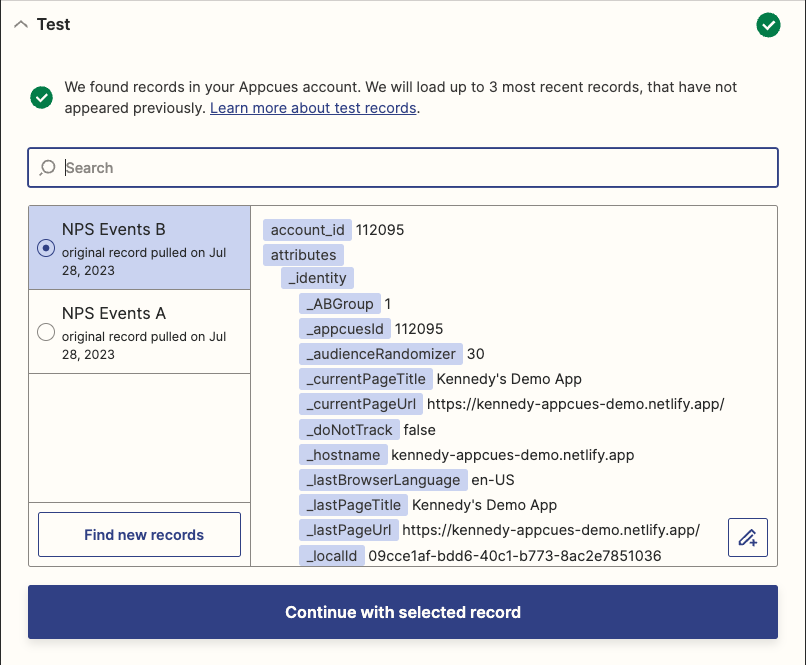
If the test does not return two events, you may need to trigger these events in your application.
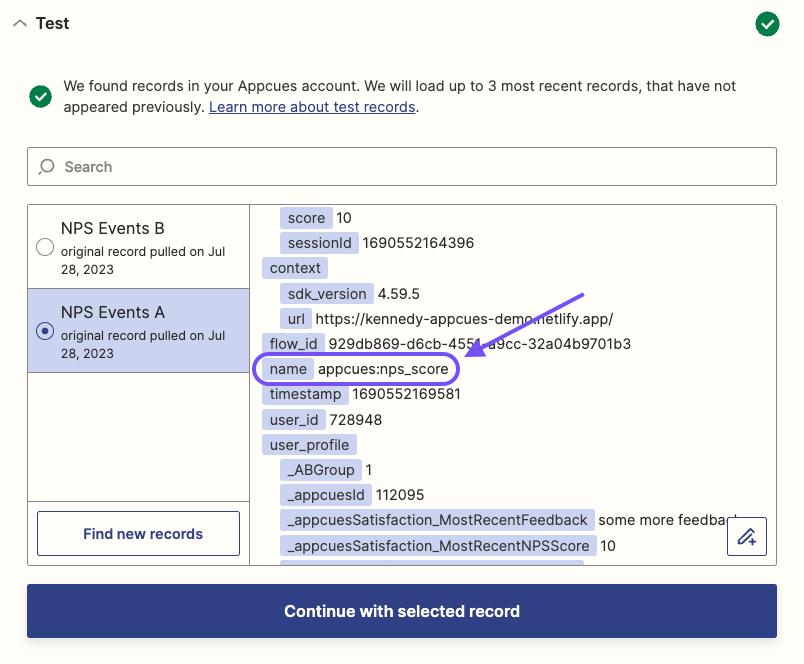
Step 5: Select the nps_score Sample Event
Zap Action
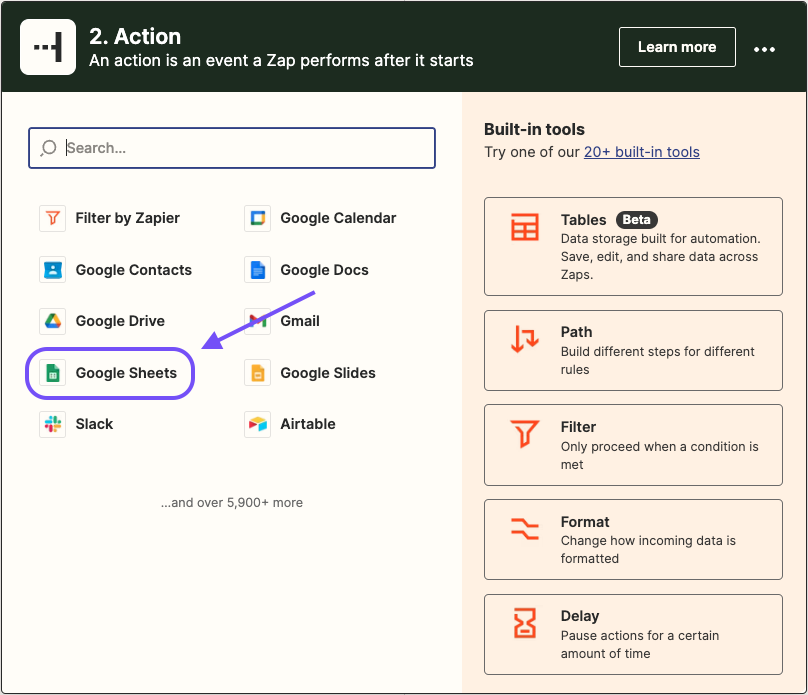
Step 1: Select Google Sheets Action
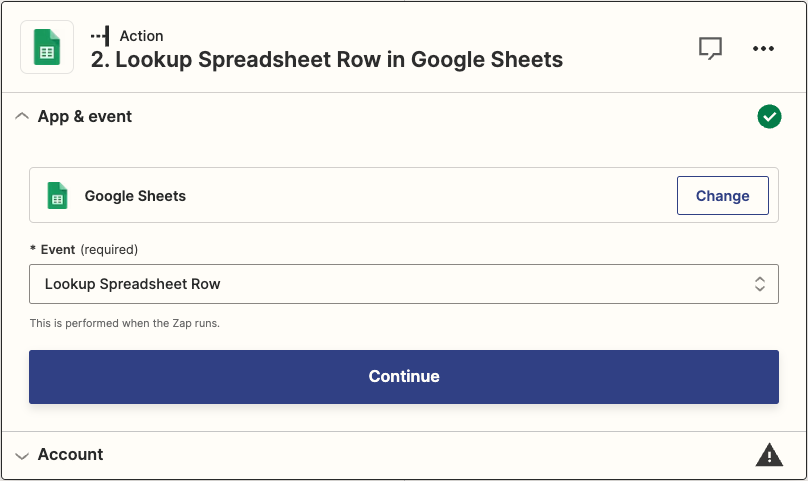
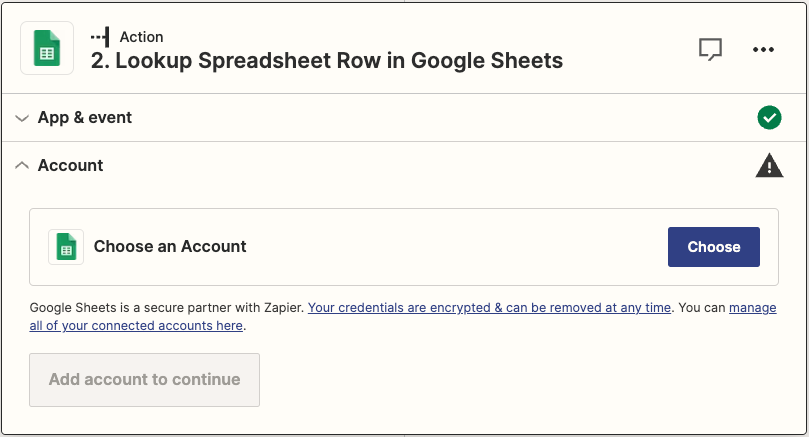
Step 2: Select “Lookup Spreadsheet Row” Action
Step 3: Connect your Google Sheets Account
Step 4: Connect to Specific Google Sheet
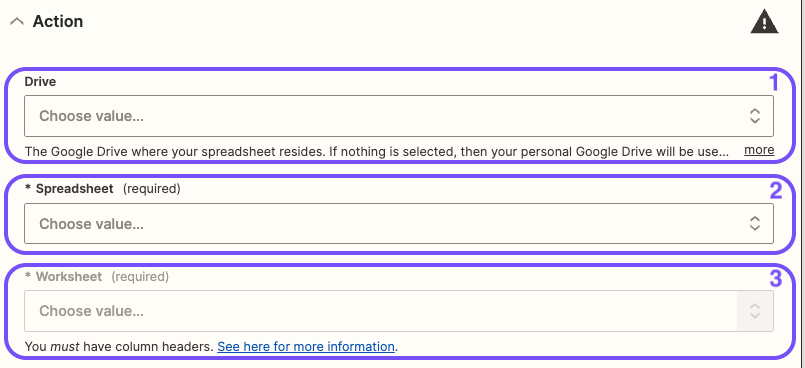
- Choose Google Sheets Drive.
- Choose Google Sheets Spreadsheet.
- Choose Google Sheets Worksheet to send your data to.
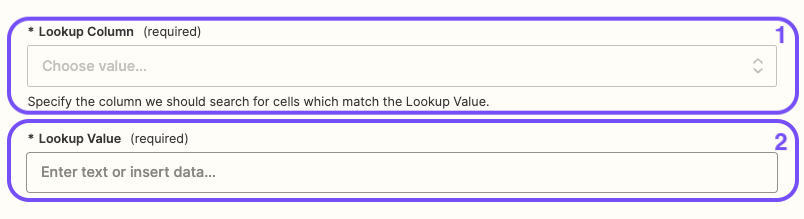
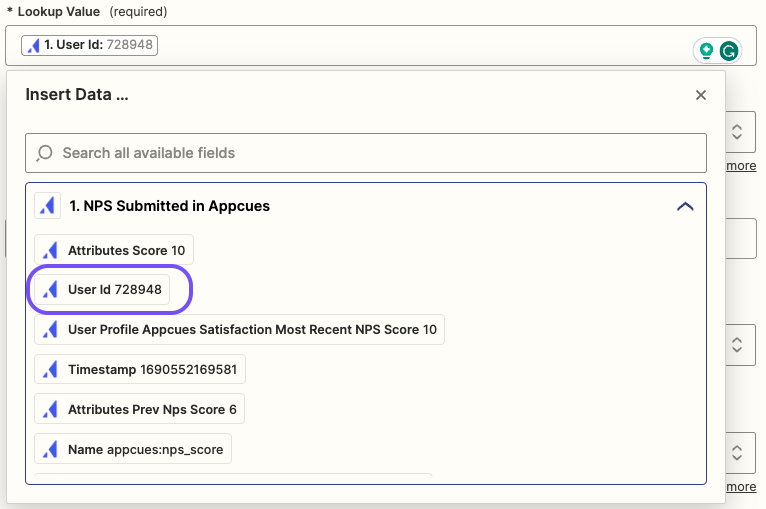
Step 5: Choose the Lookup Column and Value
-
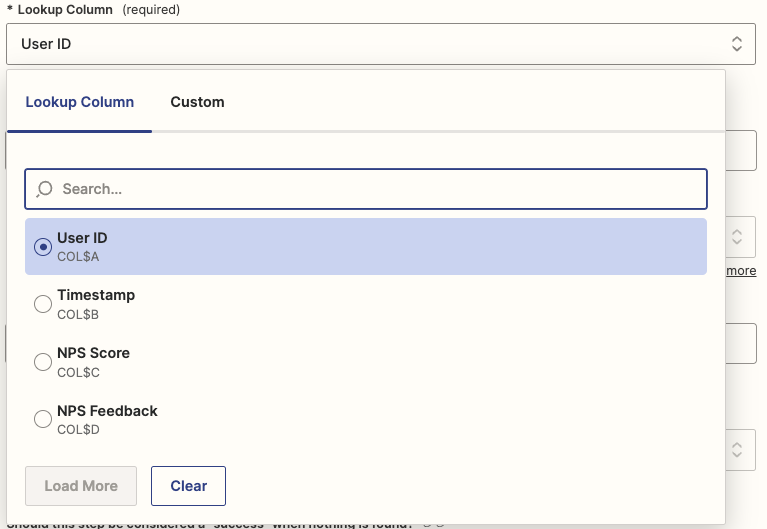
Lookup Column: select the name of the column that should hold a unique identifier for your users (eg: User ID).
2. Lookup Value: select the field in the sample event that holds the unique identifier.
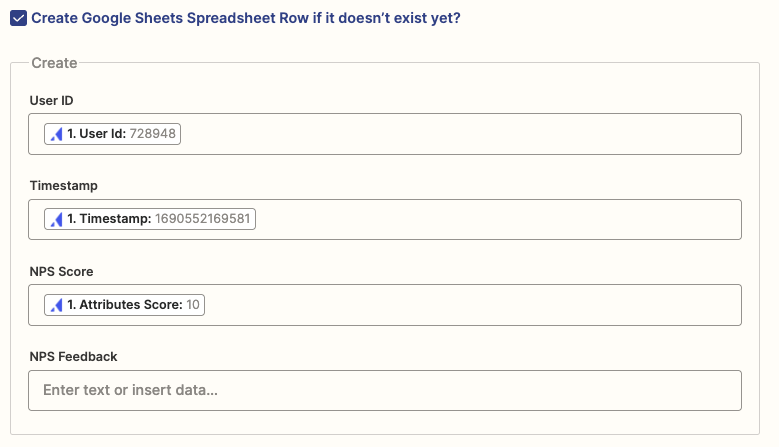
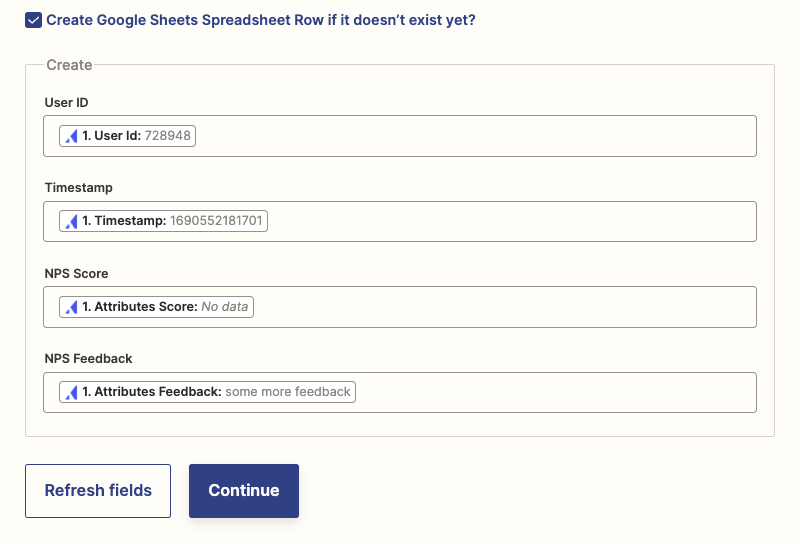
Step 6: Create Google Sheets Spreadsheet Row if it doesn’t exist
- Check the “Create Google Sheets Spreadsheet Row if it doesn’t exist” box.

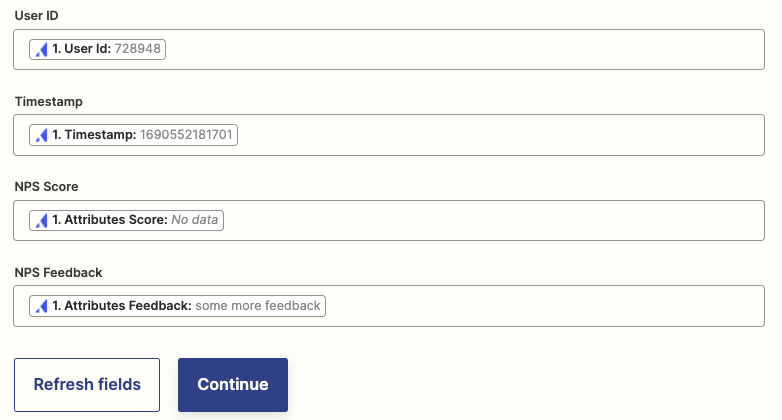
2. Select the field in the sample event that corresponds with the unique identifier, timestamp, and NPS score columns.
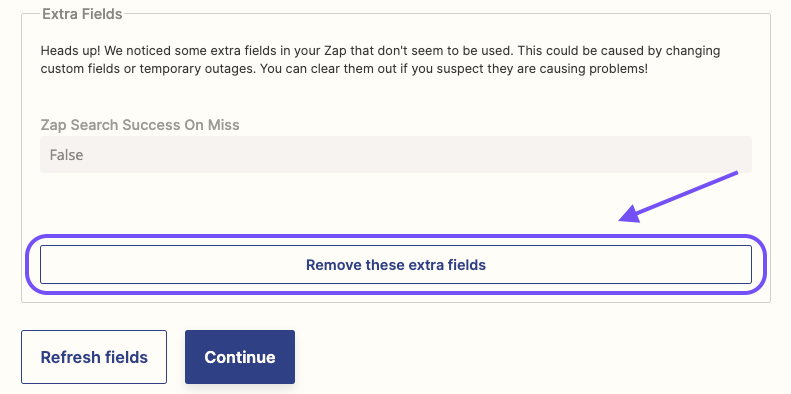
3. Remove extra fields.
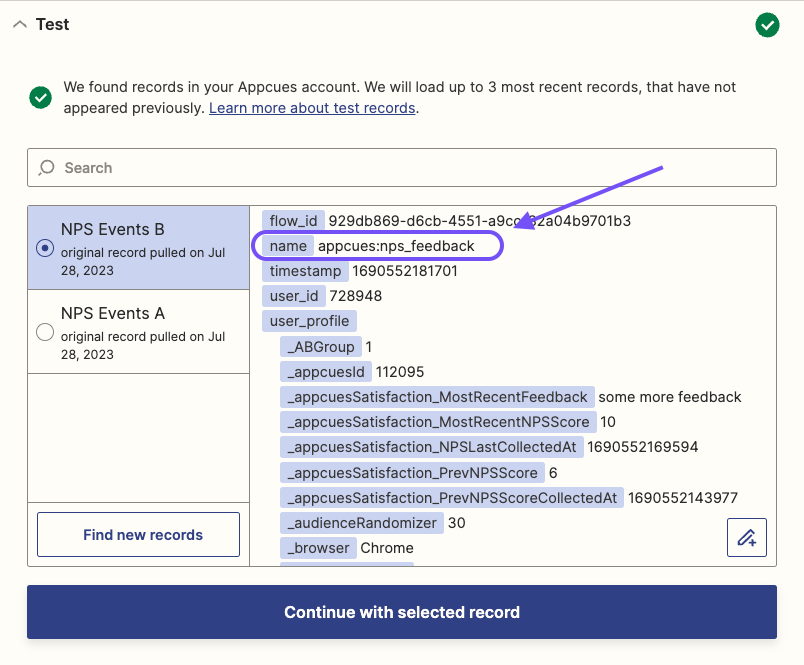
4. Return back to the Zap trigger, select the nps_feedback sample event, and click “Continue with selected record”.
5. Return to Lookup Spreadsheet Row in Google Sheets Action and select the field in the sample event that corresponds with the NPS feedback column.
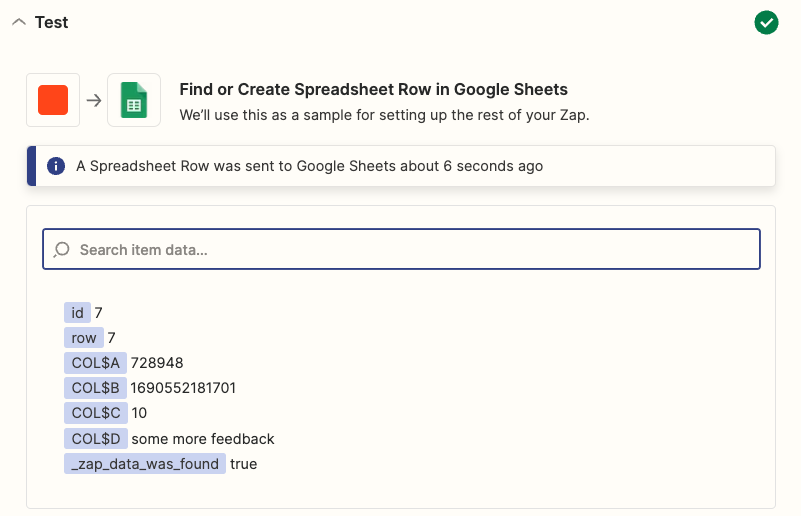
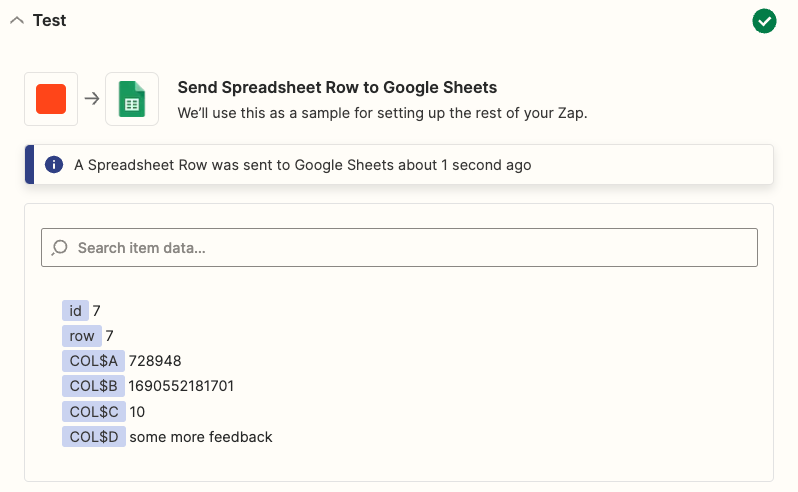
Step 7: Test the Action
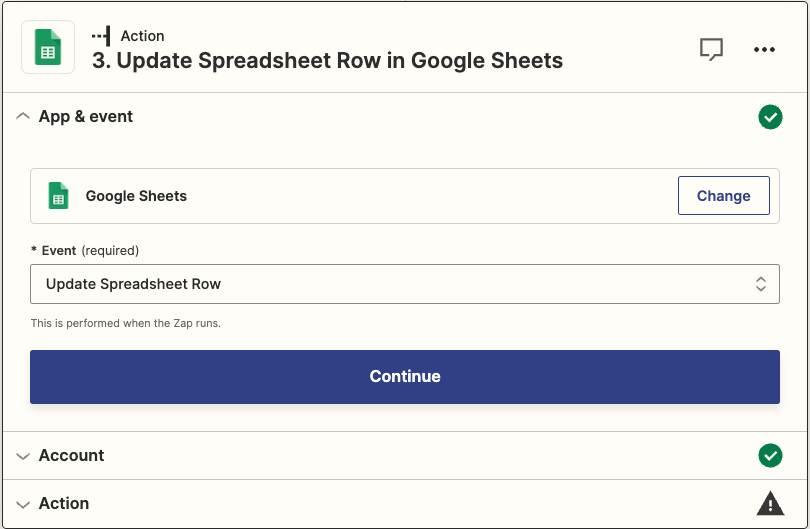
Step 8: Create Update Spreadsheet Row in Google Sheets Action
Step 9: Connect Action to Google Sheets
Using the inputs in step 4, connect to your Google Sheet.

Step 10: Select Row to Update
After the Lookup action is completed, if the row already existed in your spreadsheet before the Zap ran, the Update Spreadsheet Row action will use that row ID to update the existing row. Here's how to select the row ID:
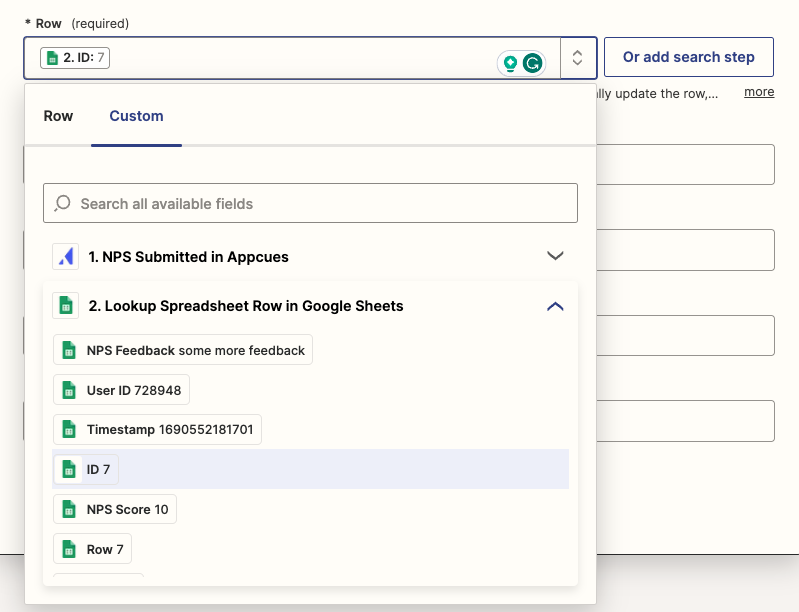
- Select “Custom” in the Row dropdown menu.
- Click “Lookup Spreadsheet Row in Google Sheets”.
- Choose ID.
Read more about this step here.
Step 11: Choose Fields to Update in your Google Sheet
Using the “NPS Submitted in Appcues” event, select all corresponding fields to be updated in your Google Sheet.
Step 12: Test the Action
Publish Your Zap!
Congrats on creating your Zap!
Now that your Zap is published when a user submits an NPS score or feedback in Appcues Zapier will look for a row that exists for that user, create the row if it does not exist, and update an existing row with NPS data.