Send NPS Scores and Feedback as a Single Message in Slack through Zapier
Learn how to create Zaps to automatically send NPS scores and customer feedback as a single message to your team in Slack.

Written by Sofia Domingues
Updated at June 11th, 2025
When integrating Appcues with Zapier to send NPS scores and feedback to Slack, by default there is an NPS Submitted event triggered for both nps_score and nps_feedback events. This causes two messages to be sent to Slack, one for the score and one for feedback.
This article will walk you through how to set up two Zaps that will allow you to combine a user's NPS score and feedback into one message!
These Zaps require a paid Zapier subscription.
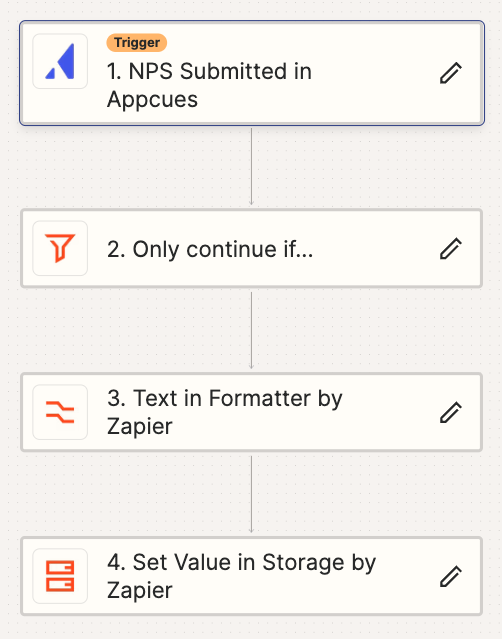
Zap #1: Store NPS Feedback
Trigger
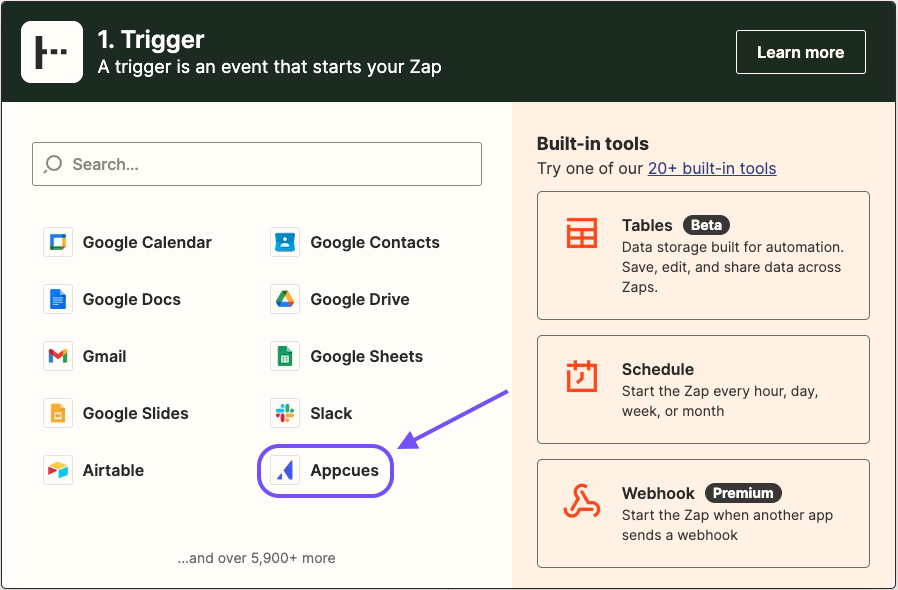
Step 1: Select Appcues Trigger
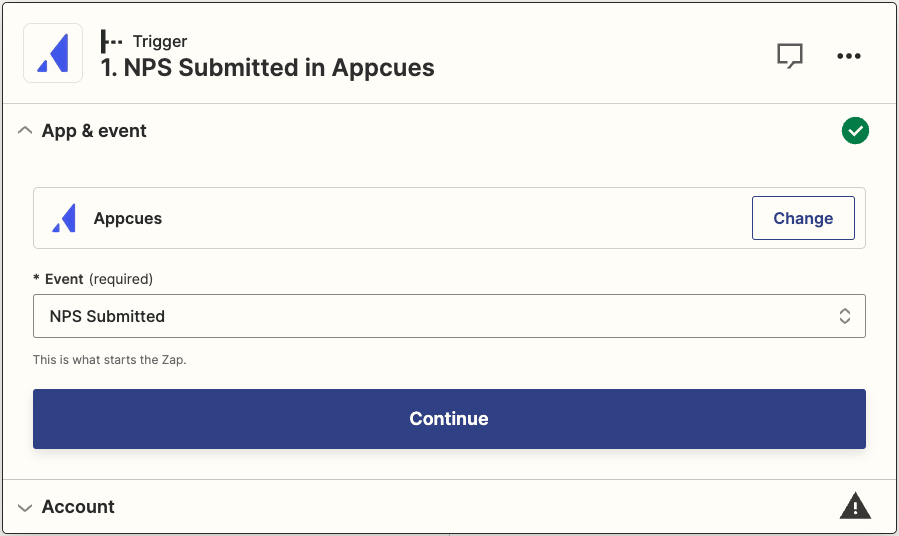
Step 2: Select “NPS Submission” Event
Step 3: Connect your Appcues Account
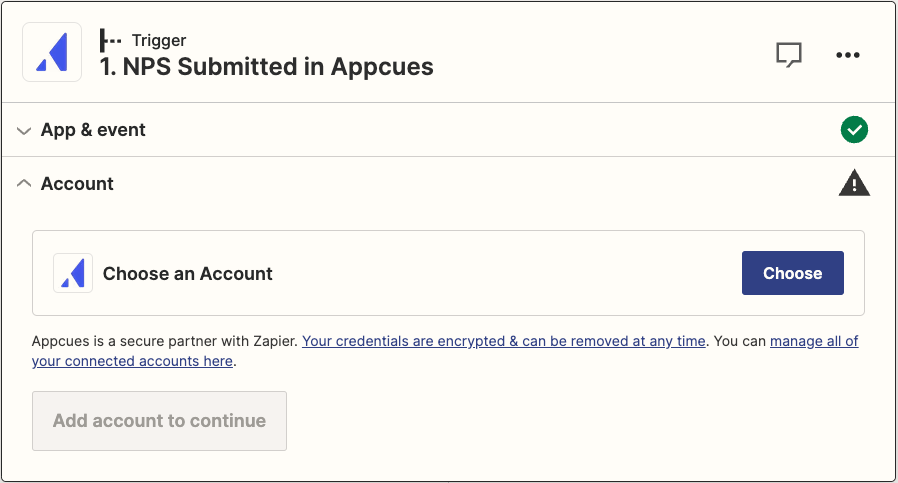
Check out our Using Appcues and Zapier article for more information on connecting to your Appcues account.
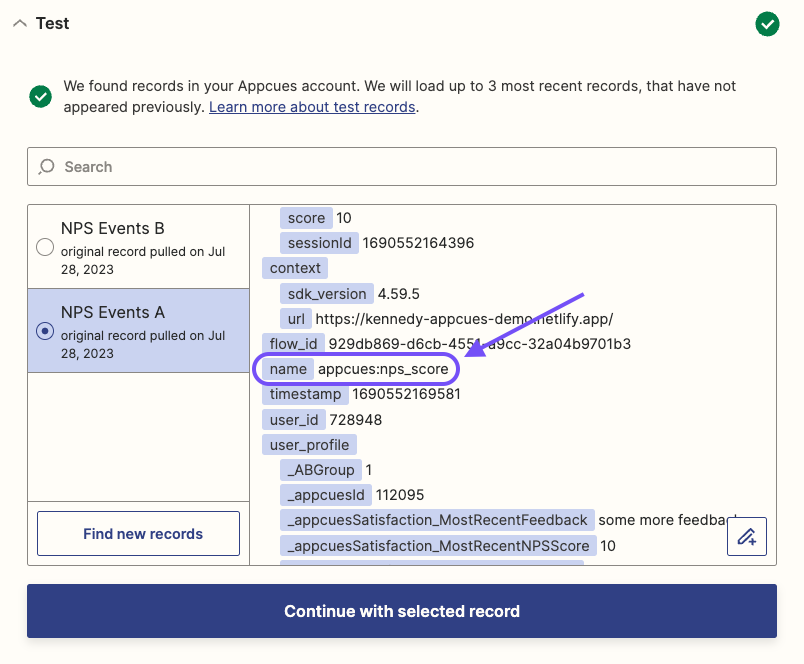
Step 4: Test Trigger
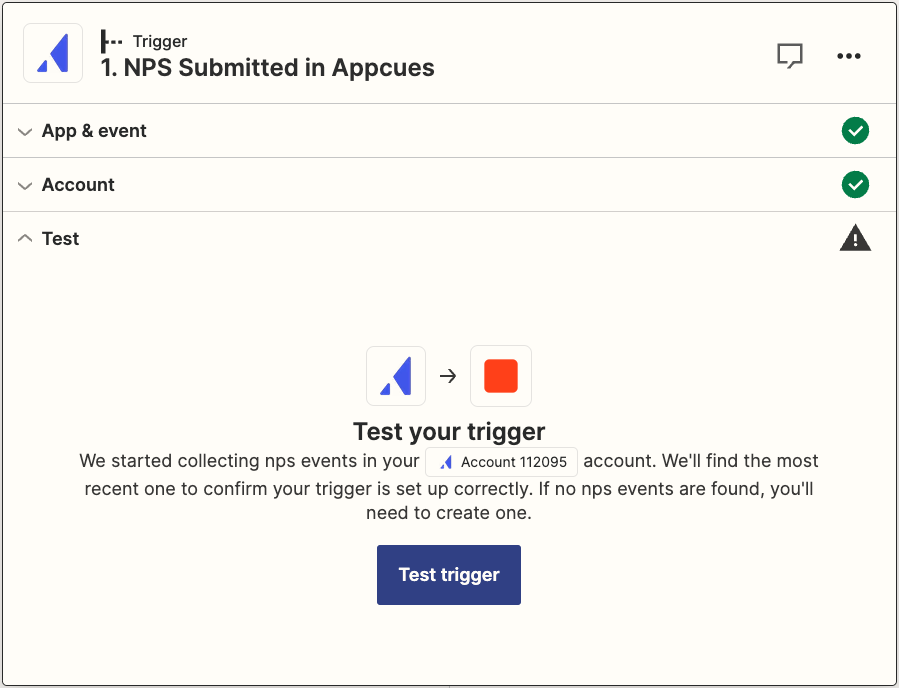
There are two corresponding events for the NPS Submission Trigger. Your test should return two sample events, one for NPS Score and one for NPS Feedback.
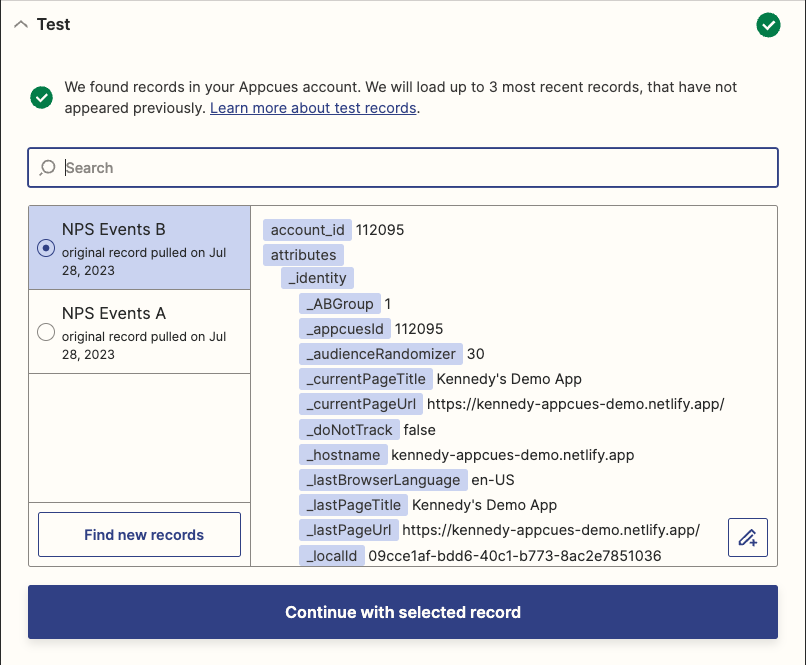
If the test does not return two events with the same session ID, you may need to trigger these events in your application. You will also want to make sure that the sample nps_feedback event has a value for the feedback attribute so we can save this sample feedback in the Storage Action coming up.
Step 5: Select the nps_feedback Sample Event
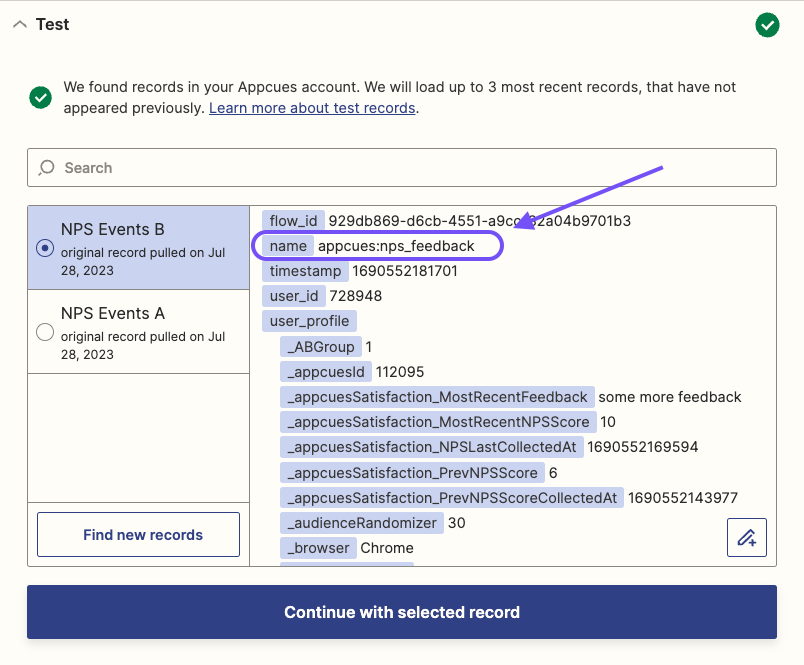
Click “Continue with selected record”.
Filter Action (Only continue if…)
Step 1: Select “Filter by Zapier” Action

Step 2: Filter by appcues:nps_feedback Events
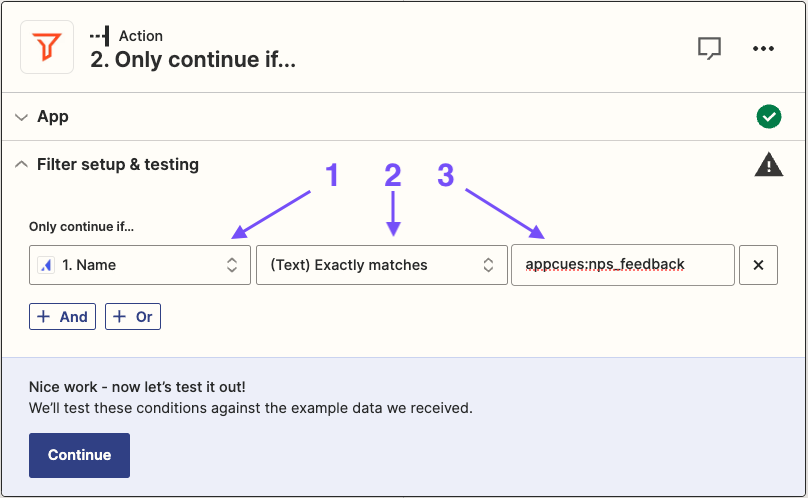
- Choose field: From the NPS Submitted event choose the Name attribute.
- Choose condition: Select the (Text) Exactly matches condition type.
- Enter text or insert data: Type appcues:nps_feedback to allow only these events to proceed.
Format Action (Text in Formatter by Zapier)
In this step, you will take the session ID from the Appcues event and format it to be used in the Storage step coming up. You will need to save the NPS feedback with a Key so we can find it in Storage later. Keys have a character limit in Zapier, and this format step will change the session ID to a value that is within the limit.
Step 1: Select Formatter by Zapier
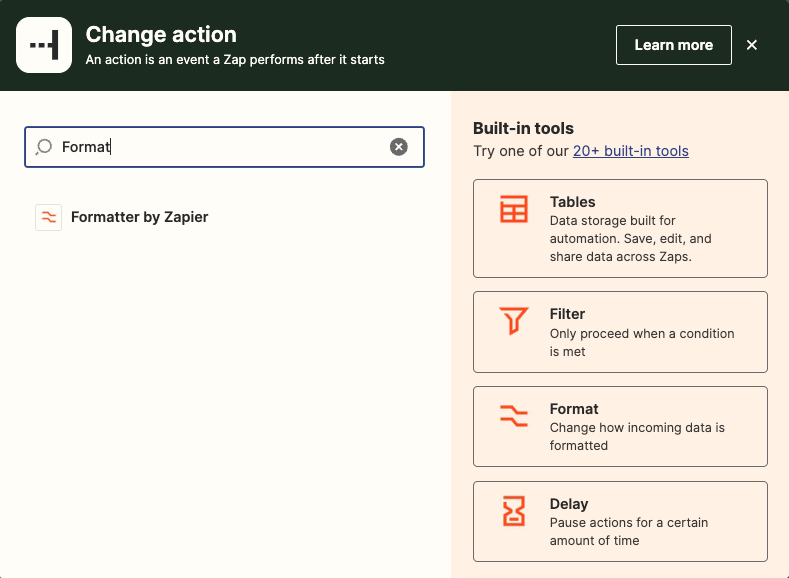
Step 2: Select “Text” Event

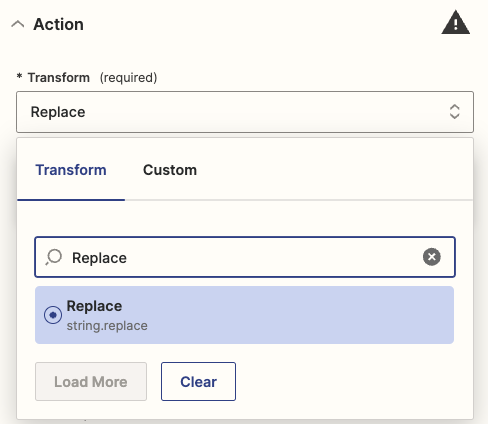
Step 3: Select “Replace” Transform Action
Step 4: Reformat Session ID
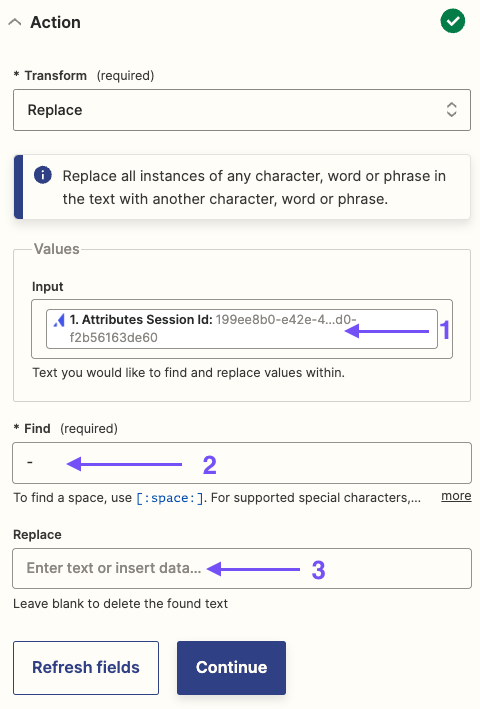
- Input: Select “Attributes Session Id” from the Appcues event to reformat.
- Find: Enter a dash (-) to find each occurrence of this character.
- Replace: Leave this option blank to delete the found text.
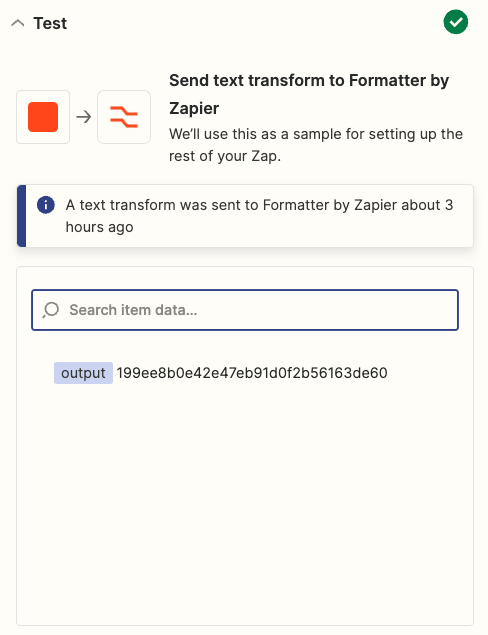
Step 5: Test the Action
Ensure that the output of this step matches the session ID without dashes.
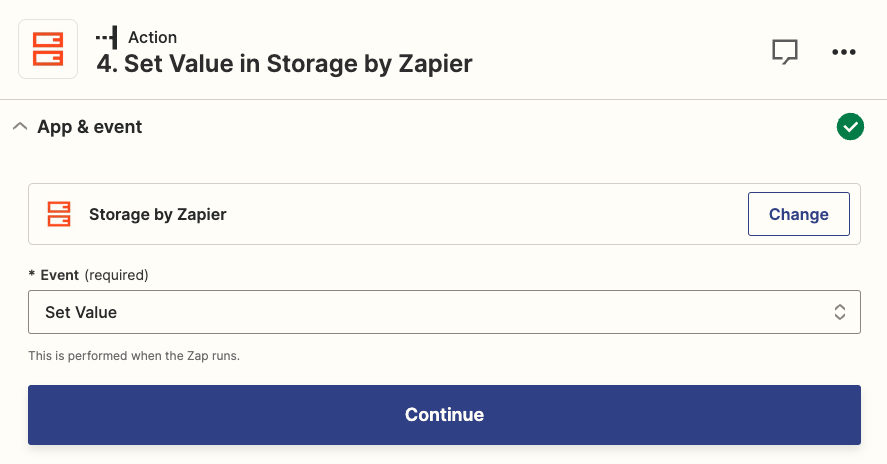
Storage Action (Set Value in Storage by Zapier)
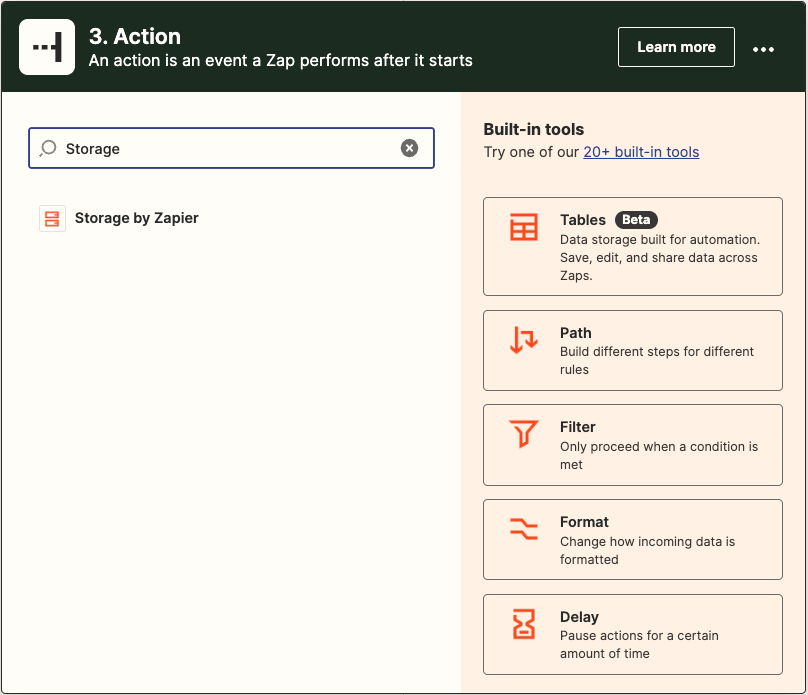
Step 1: Select “Storage by Zapier” Action
Step 2: Select “Set Value” Event
Step 3: Connect to Storage by Zapier Account

If you do not have a Storage account, you can follow the prompts to create one. You will want to use this same Storage account in the second Zap.
Step 4: Select Storage Key and Value
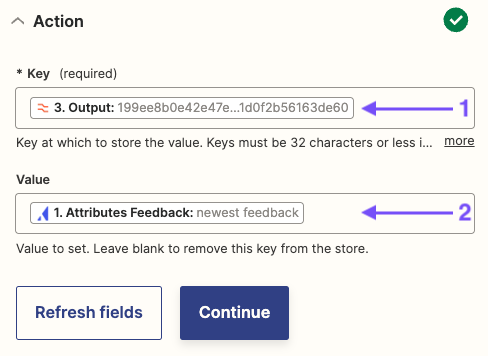
- Key: Select the output from the format step. We will use the Session ID to match the feedback data in Storage to the corresponding score event in the next Zap. Session IDs will match for both score and feedback events.
- Value: Select Attributes Feedback. This tells Zapier what data to save in Storage.
Finished Zap
Zap #2: NPS Score and NPS Feedback to Slack
Trigger
Step 1: Select Appcues Trigger
Step 2: Select “NPS Submission” Event
Step 3: Connect your Appcues Account
Check out our Using Appcues and Zapier article for more information on connecting to your Appcues account.
Step 4: Test Trigger
There are two corresponding events for the NPS Submission Trigger. Your test should return two sample events, one for NPS Score and one for NPS Feedback.
If the test does not return two events, you may need to trigger these events in your application first.
Step 5: Select the nps_score Sample Event
Select the nps_score sample event that has the same session ID as the sample event from the first Zap.
Filter Action (Only continue if…)
Step 1: Select “Filter by Zapier” Action

Step 2: Filter by appcues:nps_score Events
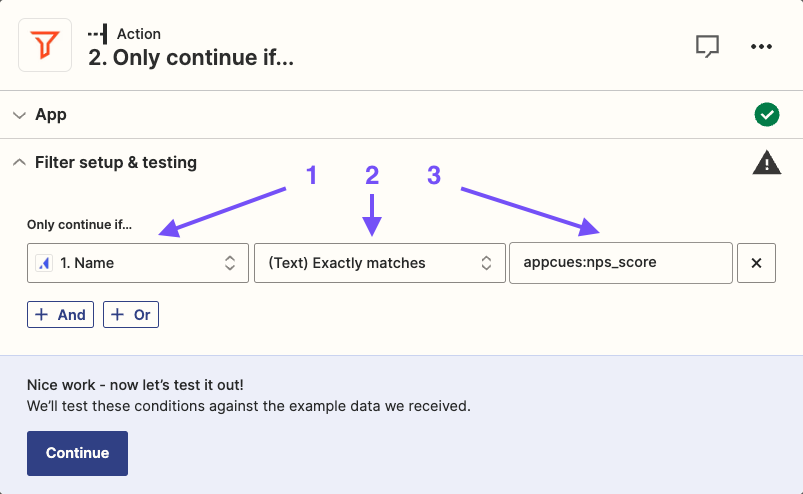
- Choose field: From the NPS Submitted event choose the Name attribute.
- Choose condition: Select the (Text) Exactly matches condition type.
- Enter text or insert data: Type appcues:nps_score to allow only these events to proceed.
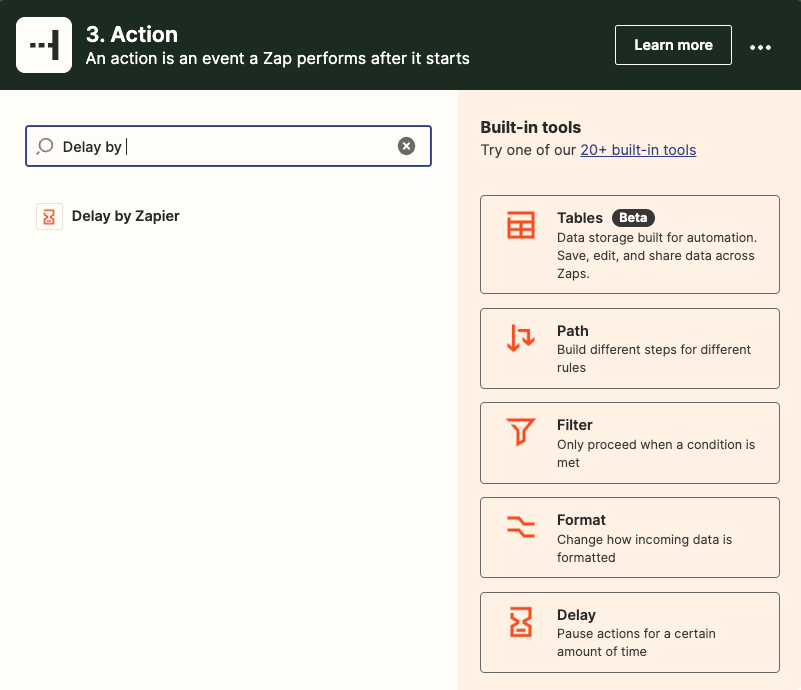
Delay Action (Delay For in Delay by Zapier)
Step 1: Select “Delay by Zapier” Action
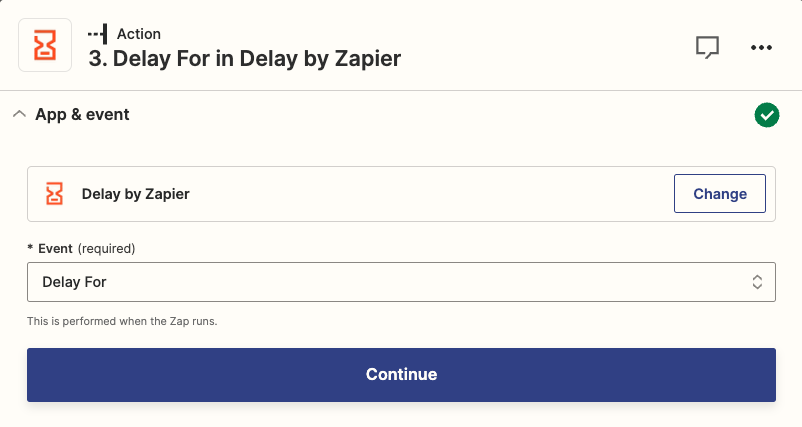
Step 2: Select the “Delay For” Event
Step 3: Choose Delay Time
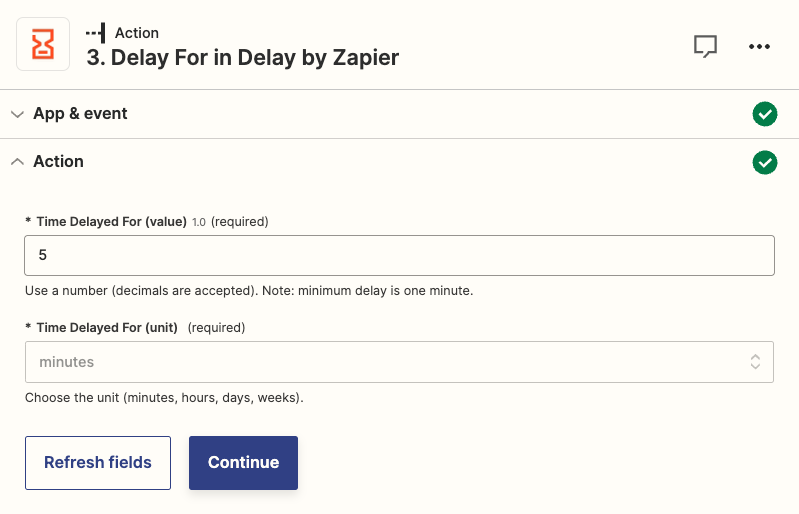
This step's purpose is to give users time to submit feedback after submitting a score. You can choose how long you would like to delay this Zap, but in our example, we are choosing to delay this Zap by 5 minutes.
Step 4: Test the Action
Format Action (Text in Formatter by Zapier)
Step 1: Select Formatter by Zapier
Step 2: Select “Text” Event
Step 3: Select “Replace” Transform Action
Step 4: Reformat Session ID
- Input: Select “Attributes Session Id” from the Appcues event to reformat.
- Find: Enter a dash (-) to find each occurrence of this character.
- Replace: Leave this option blank to delete the found text.
Step 5: Test the Action
Ensure that the output of this step matches the session ID without dashes.
Storage Action (Get Value in Storage by Zapier)
Step 1: Select the “Storage by Zapier” Action

Step 2: Select the “Get Value” Event
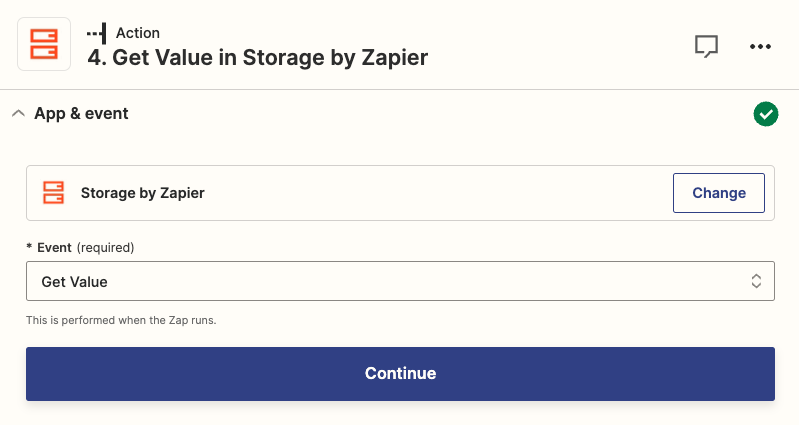
This event will allow the Zap to retrieve the value of the nps_feedback event in Storage. In this case, we will only need to retrieve one value, making the “Get Value” event best suited for this use case.
Step 3: Choose Storage by Zapier Account
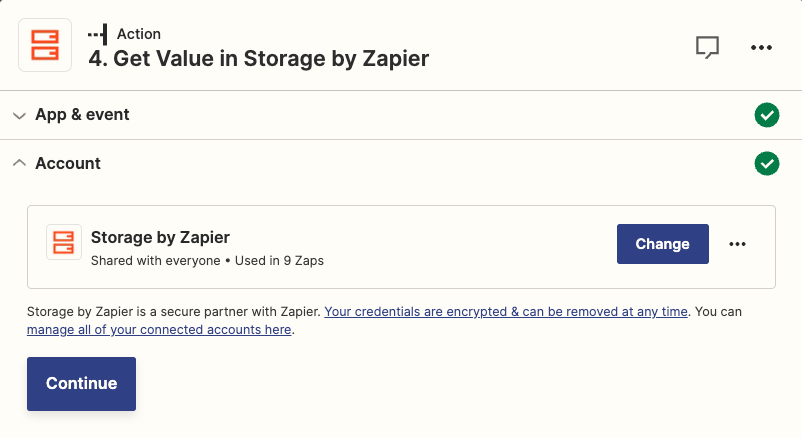
You should use the same Storage account as you used in the first Zap to access the data we saved there.
Step 4: Select Lookup Key
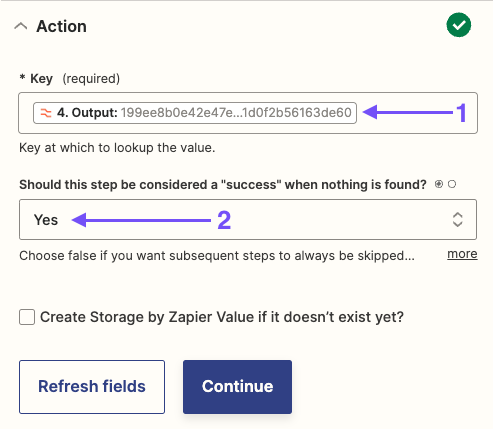
- Key: Select Output from the format action. This should be the same field as you chose in the last step of Zap #1 and allows Zapier to find the corresponding feedback to the score with the same Session ID. Session IDs will match for both score and feedback events.
- Should this step be considered a “success” when nothing is found? Select “Yes” here. If Zapier is unable to find feedback for the user in Storage, choosing “yes” will allow the Zap to continue to the next step which will account for a user submitting feedback and a user not submitting feedback.
Step 5: Test the Action
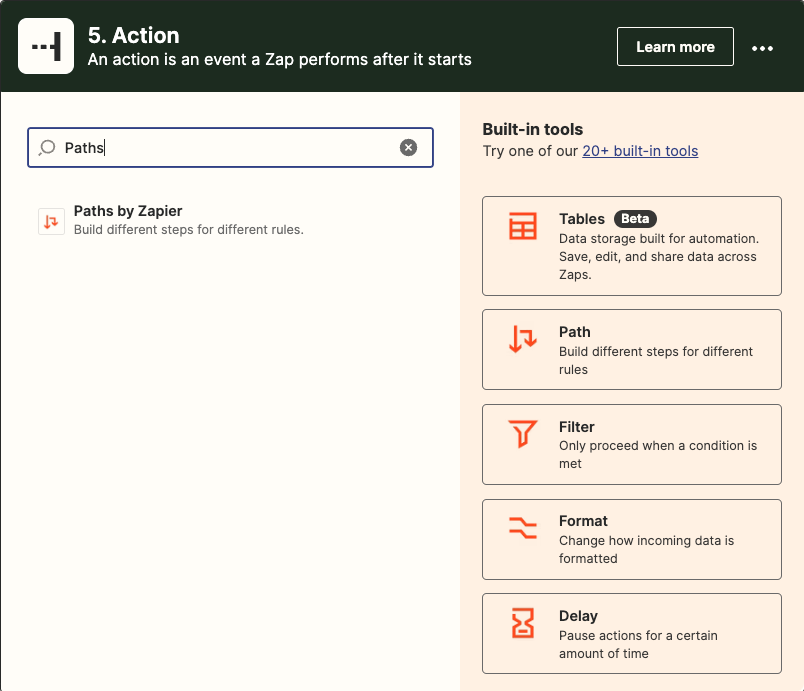
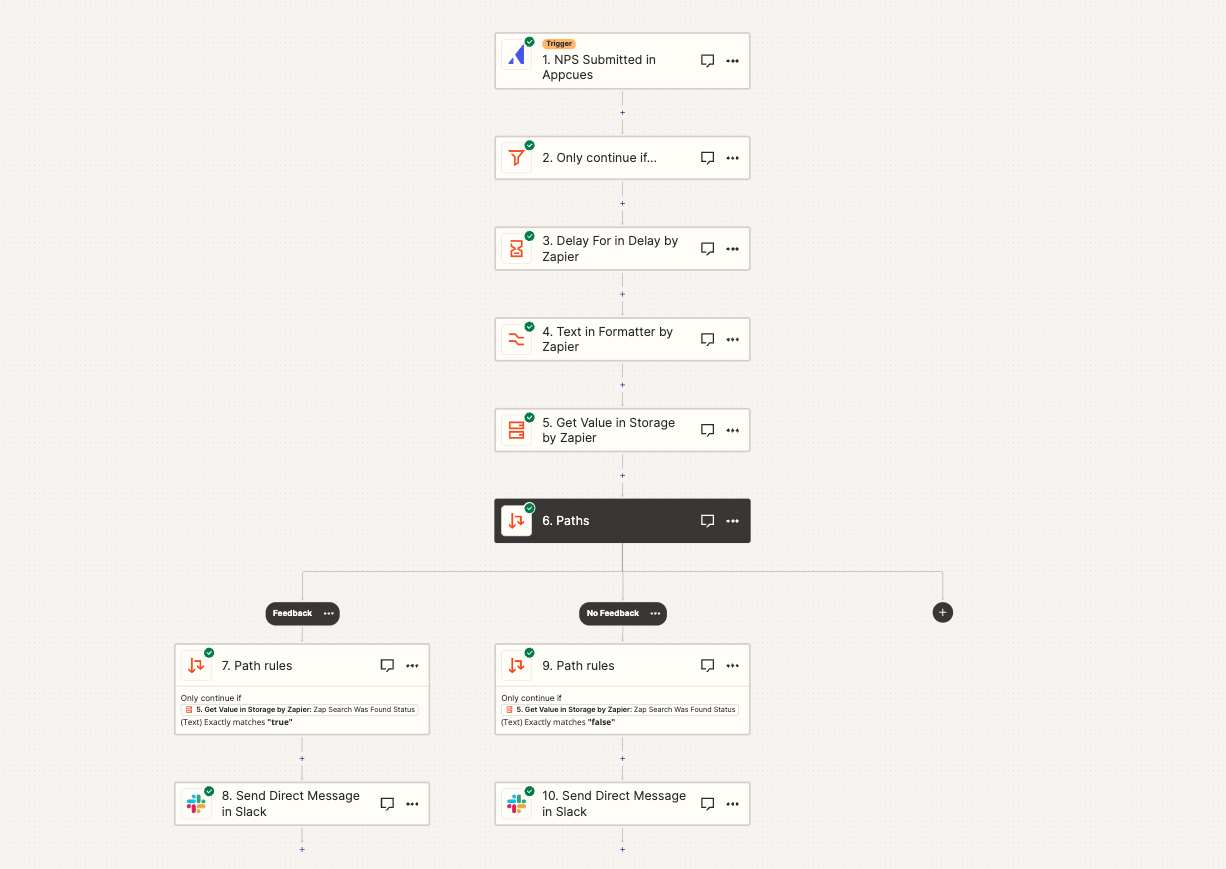
Paths Action (Paths by Zapier)
Step 1: Select “Paths by Zapier” Action
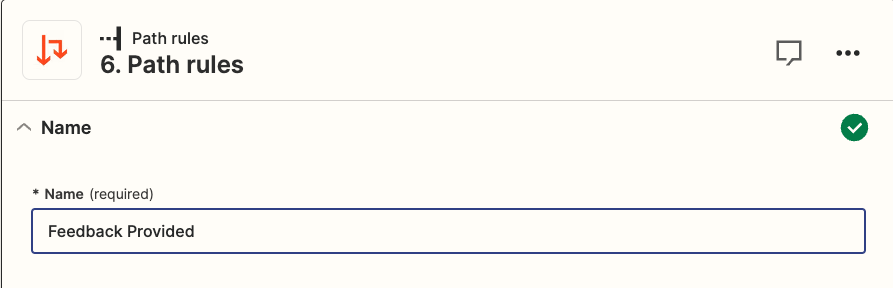
Path A (Feedback Provided)
Step 1: Give the Path a Name
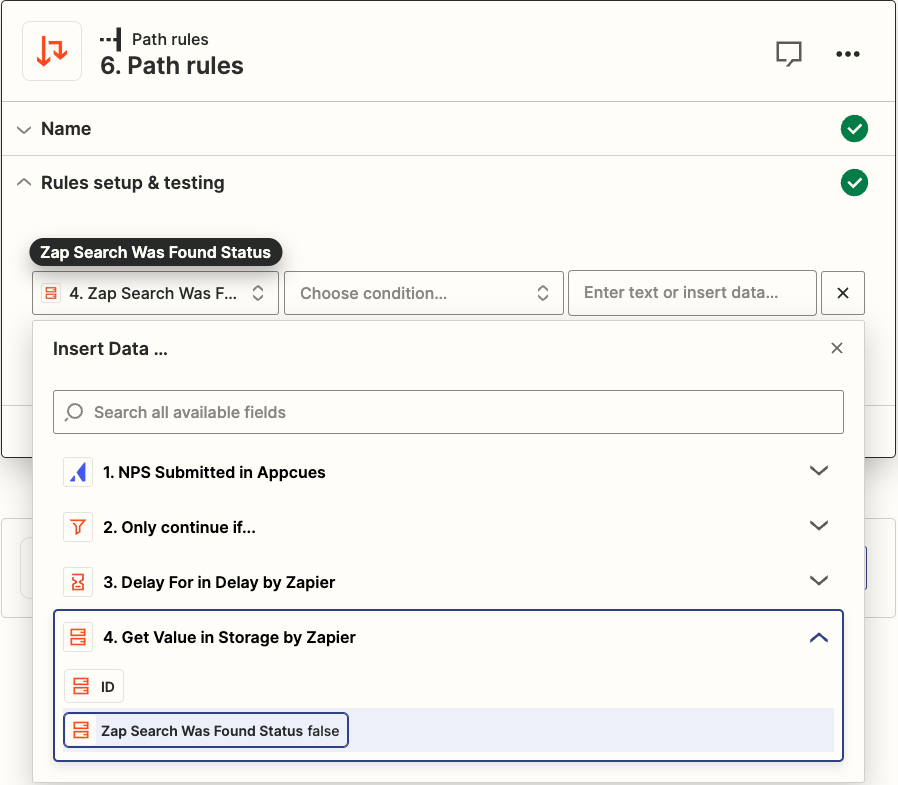
Step 2: Set the Rule
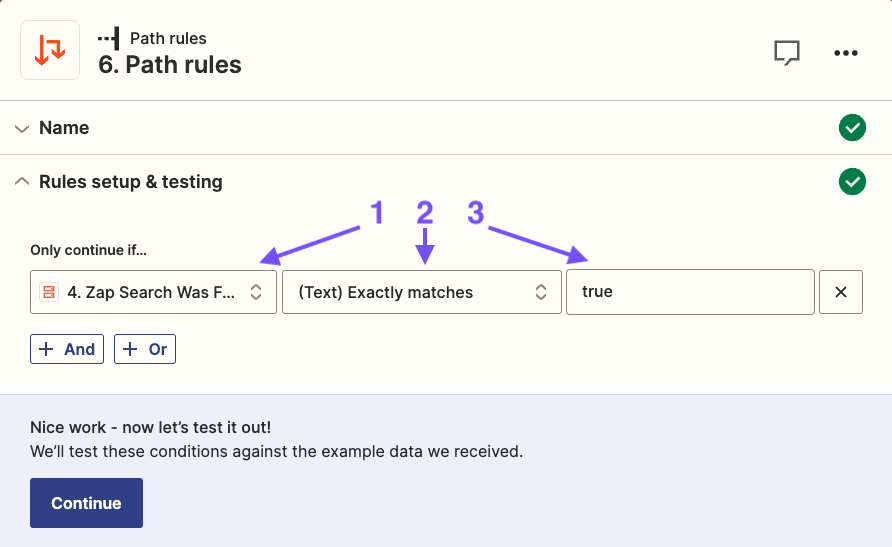
1. Choose field: Select “Zap Search Was Found Status” Under “Get Value from Storage by Zapier”.
2. Choose condition: Select “(Text) Exactly matches”.
3. Enter text or insert data: Type true.
Step 3: Test Filter
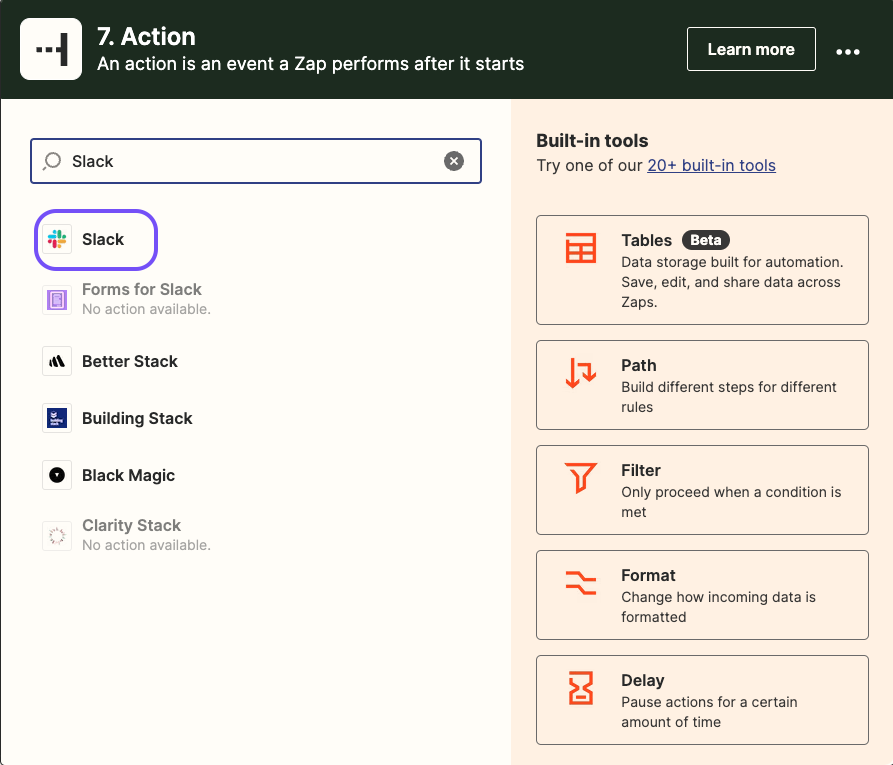
Step 4: Create Slack Action

Step 5: Choose Action Event
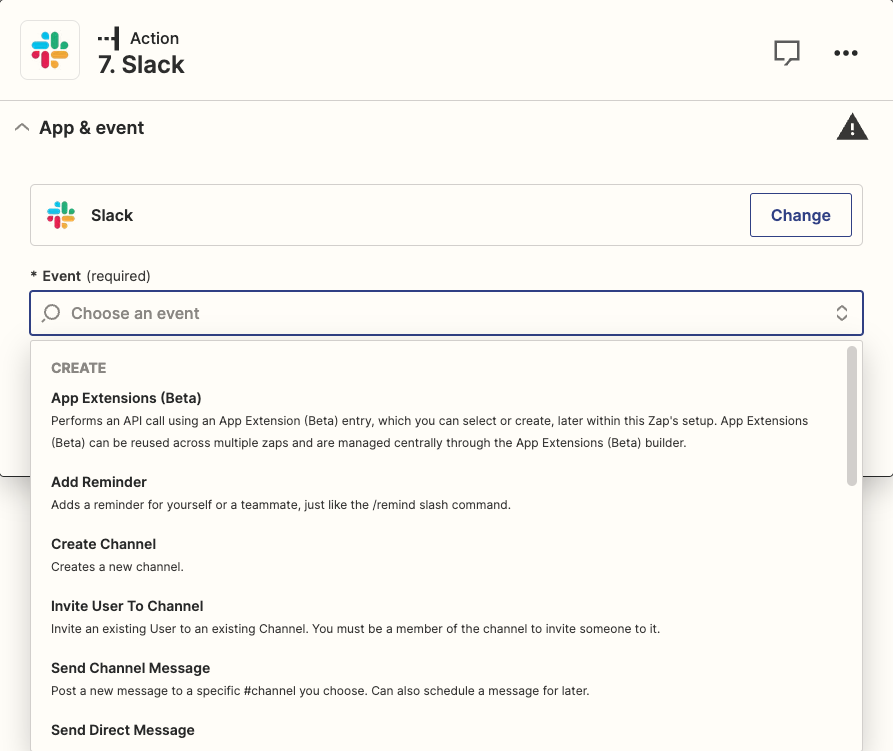
Choose an event that allows you to send a message to Slack.
Step 6: Choose Slack Account
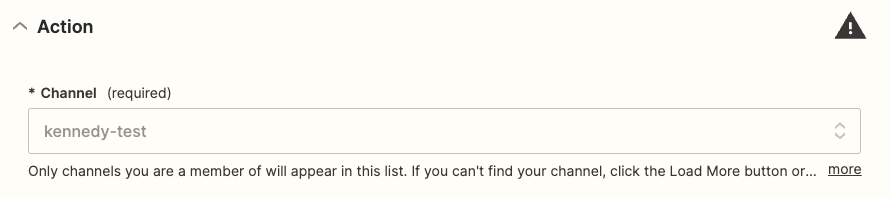
Step 7: Choose the Channel to Send Messages To
Step 8: Create Slack Message
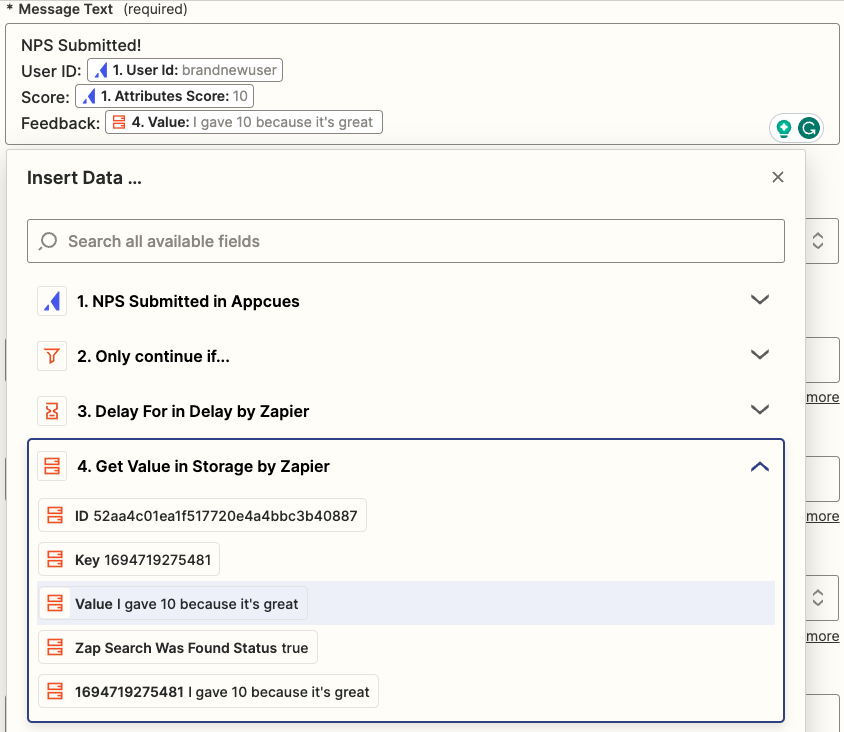
The information that you include in your Slack message is up to you, but to include the feedback in Storage, click “Get Value in Storage by Zapier” and select Value.
Step 9: Test the Slack Message Action
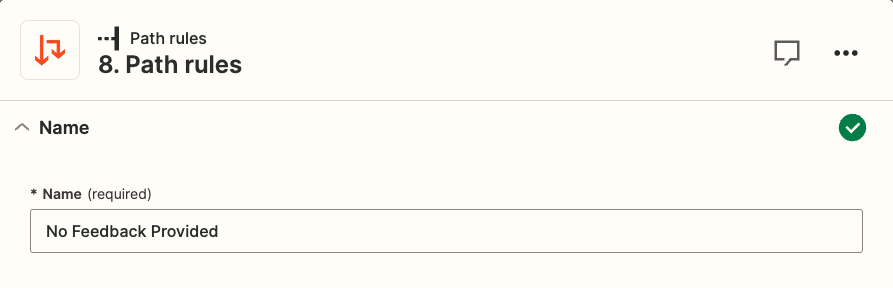
Path B (No Feedback Provided)
Step 1: Give the Path a Name
Step 2: Set the Rule
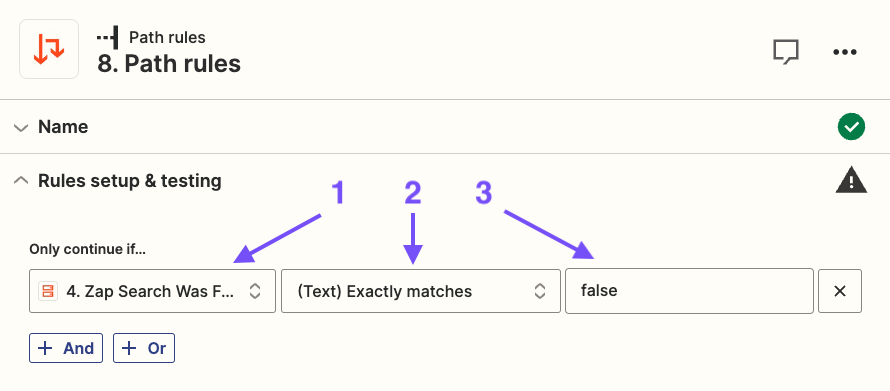
1. Choose field: Select “Zap Search Was Found Status” Under “Get Value from Storage by Zapier”.
2. Choose condition: Select “(Text) Exactly matches”.
3. Enter text or insert data: Type false.
Step 3: Test Filter
Step 4: Create Slack Action
Step 5: Choose Action Event
Choose an event that allows you to send a message to Slack. This can be the same Event that you used in your first Path.
Step 6: Choose Slack Account
Step 7: Choose the Channel to Send Messages To
Step 8: Create Slack Message

You're free to choose what information you want to provide in your Slack message, but for this Path, the feedback section should indicate that no feedback was left by the user.
Step 9: Test the Slack Message Action
Finished Zap
Publish Your Zaps!
Once both Zaps are published, you and your team will receive one Slack message instead of two each time a user submits a NPS Survey!