Contact Us

If you still have questions or prefer to get help directly from an agent, please submit a request.
We’ll get back to you as soon as possible.

Please fill out the contact form below and we will reply as soon as possible.

  • Contact Us
  • Home
  • Web Experiences
  • Use Cases

Create a Step-by-Step Guide using Tooltips

Learn some best practices to build flows with tooltips

Written by Sofia Domingues

Updated at May 14th, 2025

Contact Us

If you still have questions or prefer to get help directly from an agent, please submit a request.
We’ll get back to you as soon as possible.

Please fill out the contact form below and we will reply as soon as possible.

  • Installation & Developers
    Installing Appcues Web Installing Appcues Mobile API & Data Troubleshooting Extras
  • Installation & Developers
    Installing Appcues Web Installing Appcues Mobile API & Data Troubleshooting Extras
  • Web Experiences
    Building Web Experiences Targeting Studio Customization & Styling Use Cases Troubleshooting FAQ
  • Mobile Experiences
    Installation & Overview Building Mobile Experiences Mobile Analytics & Integrations Troubleshooting
  • Workflows
    Building & Configuration Use Cases Workflow Analytics and Integrations
  • Account Management
    Subscription Users & Data
  • Analytics
    Experience and Event Analytics Data
  • Best Practices
    Best Practices Use Cases Pro Tips Product-led Growth
  • Integrations
    Integration Documents Use Cases Extras
+ More
  • Home

  • Installation & Developers

    • Installation & Developers

      • Web Experiences

        • Mobile Experiences

          • Workflows

            • Account Management

              • Analytics

                • Best Practices

                  • Integrations

                    Have a new feature to show your users? Or an existing feature that users are struggling to learn? A step-by-step walkthrough can help get the user through that initial point of friction and enable them to further learn and adopt a feature. With this type of flow you should:

                    • Clearly articulate the feature and the value to the user
                    • Teach the major functionality, nuance will be learned later with more use
                    • Build in success/completion acknowledgment

                    This example assumes you have mastered some basics covered in earlier examples, especially the Welcome Flow and Product Tour examples.

                    Build Guide

                    Step 1: Attach the first Tooltip to highlight the feature

                    You can automatically place a Tooltip using our “Reposition Tooltip” feature in the Builder. 

                    Alternatively, you can manually target the element using its CSS selector as well! 

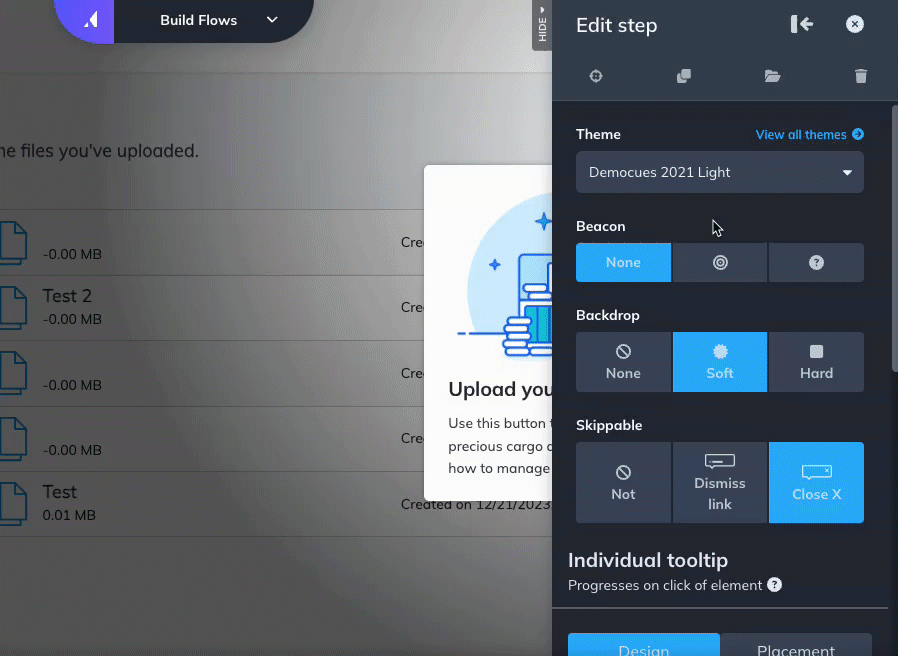
                    OPTIONAL: Manually attach the Tooltip using its CSS selector

                    In some cases, the Builder will have some trouble detecting the target element automatically, so you'll need to attach it manually! 

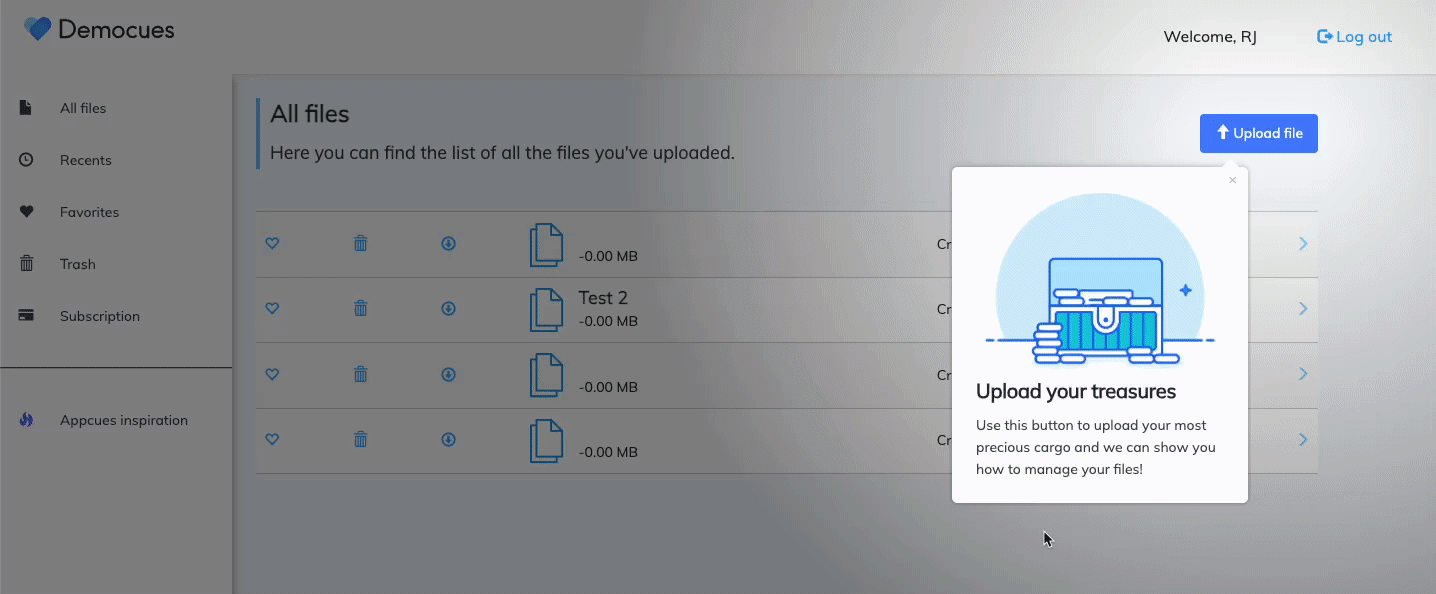
                    For example, the “Upload file” icon we have is built with this selector: 

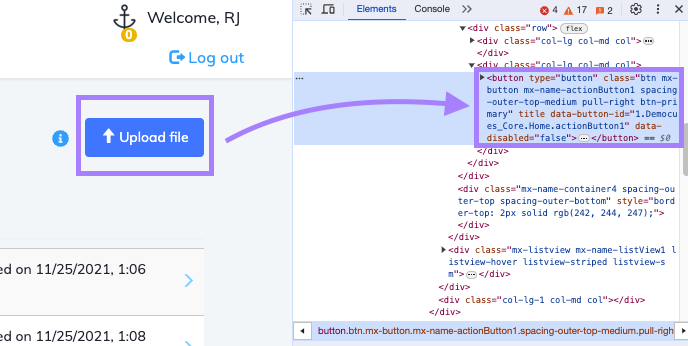
                    In this case, we can use this selector to put in the Builder: [data-button-id="1\.Democues_Core\.Home\.actionButton1"] 

                    You can find more information on how Appcues treats CSS selectors in this guide: CSS Selectors


                    Once you've got your CSS selector, you can select the Manual placement option in the sidebar and input your selector:

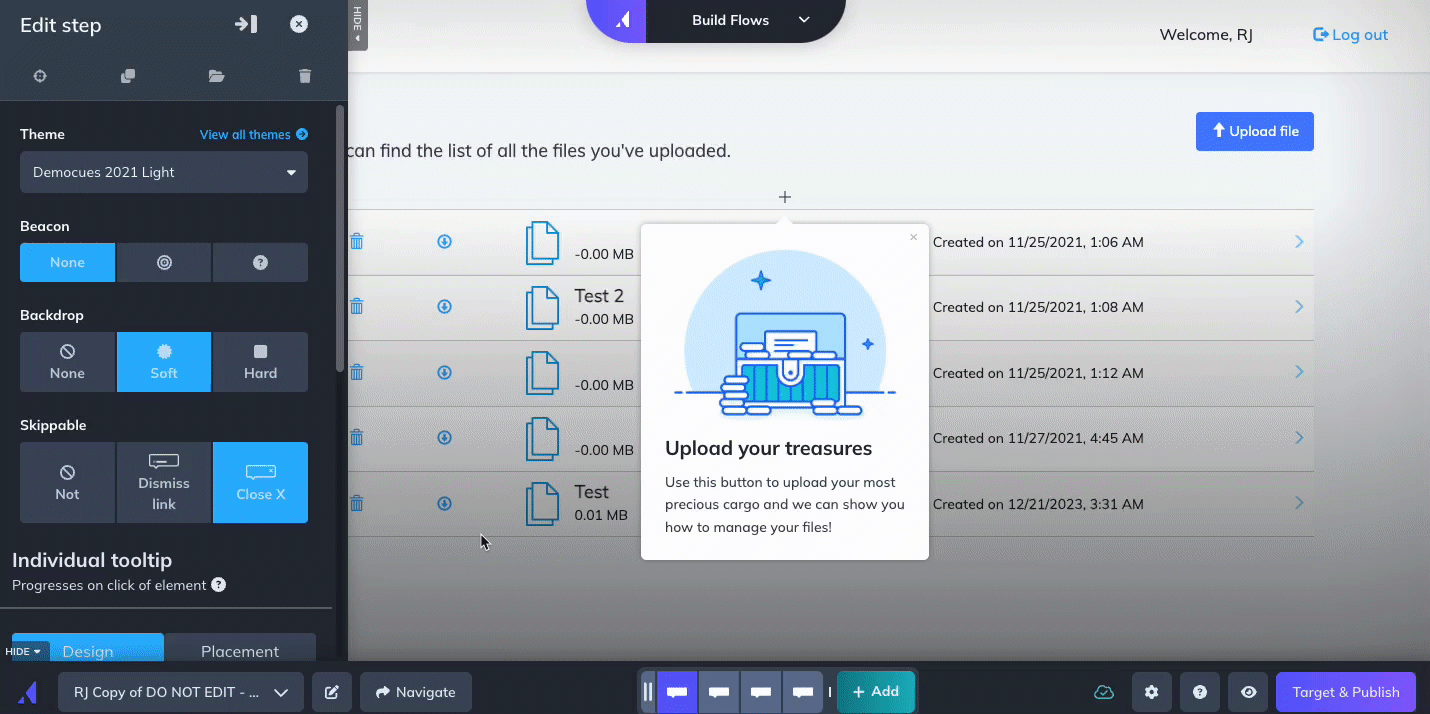
                    You can refine your selection further under the ADD ADDITIONAL FILTERS fields: 

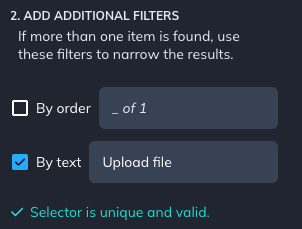
                    You can use the By order filter if you have multiple objects with the same CSS header or a By text filter if the language on the target element is always the same. 

                    Step 2: Place the second Tooltip on a dynamic element (if any) 

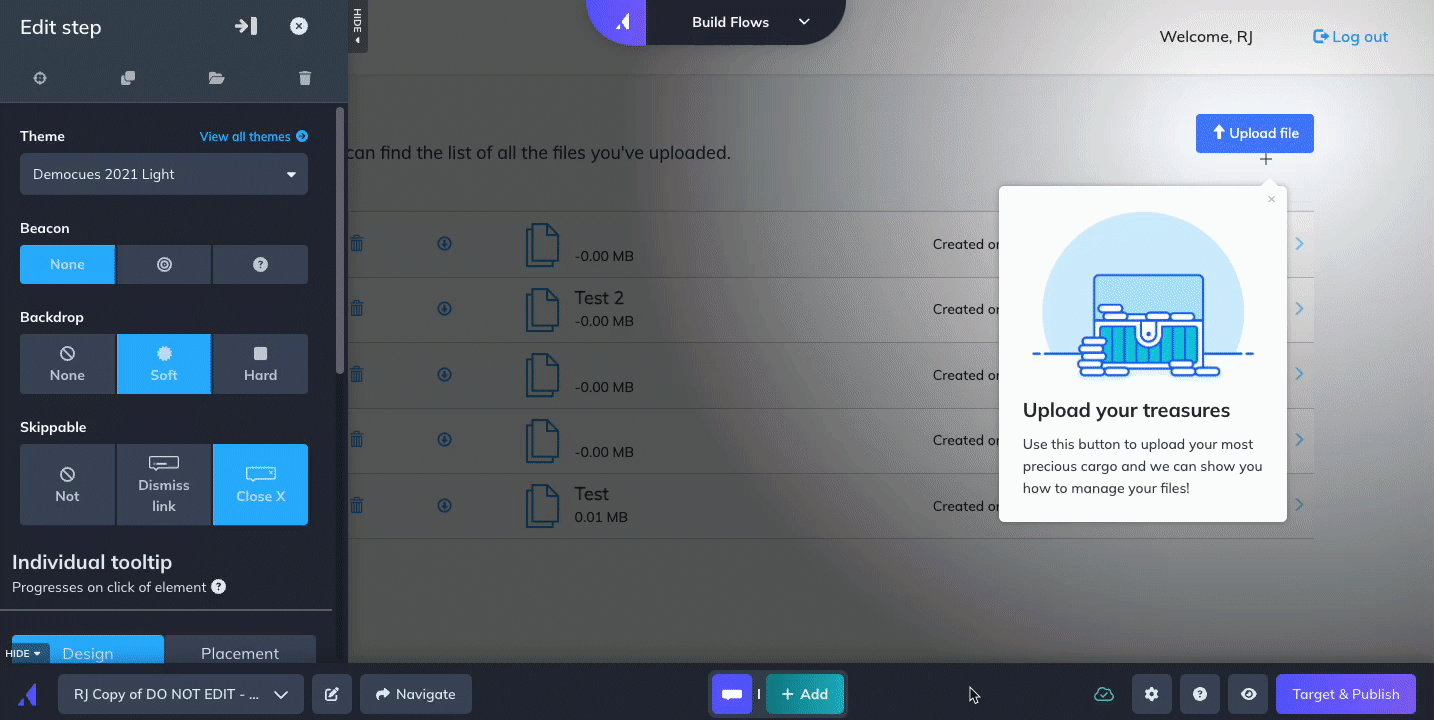
                    In this example of our step-by-step, the second step falls on an element that isn't visible on the page until the user has interacted with a page. 

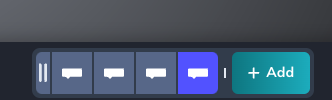
                    In this case, we can place the Tooltip on a dynamic element by holding the SHIFT button once it's time to add a new Tooltip:

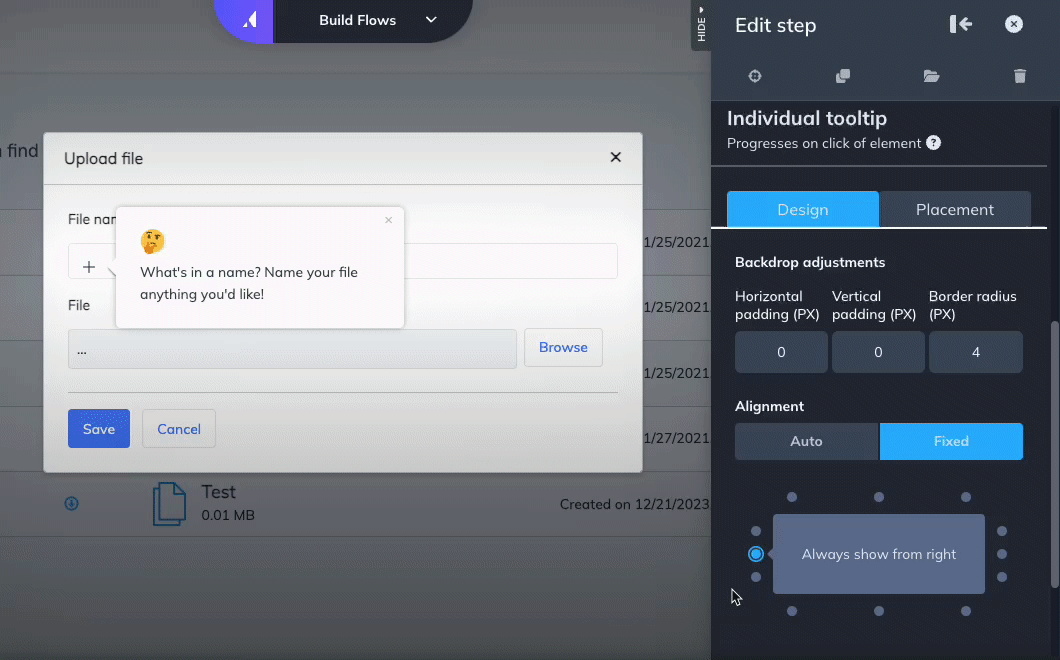
                    OPTIONAL: Adjust the positioning of the Tooltip

                    You may want to adjust where the Tooltip specifically appears, and you can do so by adjusting the settings for the Alignment and Fine tune position fields.

                    Step 3: Attach the next Tooltips in your sequence

                    Following our methods above, it should now be easy for you to complete the flow! We strongly recommend limiting the flow to 3-5 steps to not overwhelm the user. 

                    Pro Tip: end your Tooltip workflow with an action-driven Tooltip on the button that creates or saves what the user has just done.


                    Step 4: Target and publish your flow! 

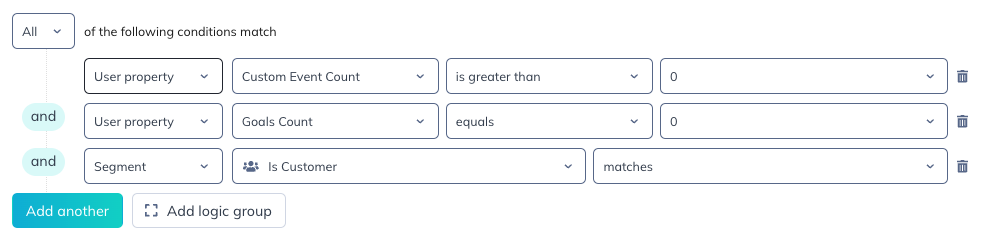
                    The use cases for this type of flow span across many user types at many lifecycle stages. For the flow being built in this example, we're targeting customers who have Events but have not created a Goal. Here's what that looks like:

                    Once you're ready, go ahead and publish your flow! 

                    Was this article helpful?

                    Yes
                    No
                    Give feedback about this article

                    Related Articles

                    • Welcome your Users with Appcues
                    • Welcome your Users with Personalized Paths
                    • Get Feedback from your Users with a Flow
                    • Create a Product Tour with Appcues
                    • Nudge your Users to Upgrade using an Appcues Flow
                    DON'T TAKE OUR WORD FOR IT

                    Start building with Appcues for free

                    Try before you buy
                    No credit card required
                    Support included
                    Start building for freeBook a demo
                    or take an interactive tour
                    Appcues logo

                    Product

                    In-app messaging
                    Email
                    Push notifications
                    Workflows
                    Data
                    How it works
                    Pricing
                    What's new

                    Use cases

                    Onboarding
                    Free-trial conversion
                    Feature adoption
                    Feedback
                    Support

                    Integrations

                    Why connect
                    All integrations
                    All workflows

                    Company

                    About
                    Careers
                    HIRING
                    Why Appcues
                    Teams
                    Customers

                    Support

                    Request a demo
                    Start free trial
                    Developer Docs
                    Help Center
                    Customer Success
                    Contact

                    Resources

                    Product Adoption Academy
                    Courses
                    Workshops
                    Templates
                    Examples
                    Made with Appcues
                    The Appcues Blog
                    PLG Collective
                    Product-led Experience Report
                    The Product Experience Playbook
                    The Product-Led Growth Flywheel
                    © 2025 Appcues. All rights reserved.
                    SecurityTerms of ServiceWebsite Terms of UsePrivacy PolicyCookie Preferences
                    Expand