Build a Flow 101 - Step by Step
Step by step guide to help you build your first Flow.

Written by Sofia Domingues
Updated at May 14th, 2025
In order to build a flow, you'll need to have the Appcues Builder. If you're not yet installed, you can still build a flow and preview it using the builder, but in order to publish it live, you'll need to install Appcues first.
Build Guide
In this article, you'll learn how to:
- Create a flow from scratch and name it
- Add steps and components to your flow
- Add navigation steps
- Complete the settings of your flow
- Test and publish your flow
Step 1. Create your Flow
You have two options to start your flow.
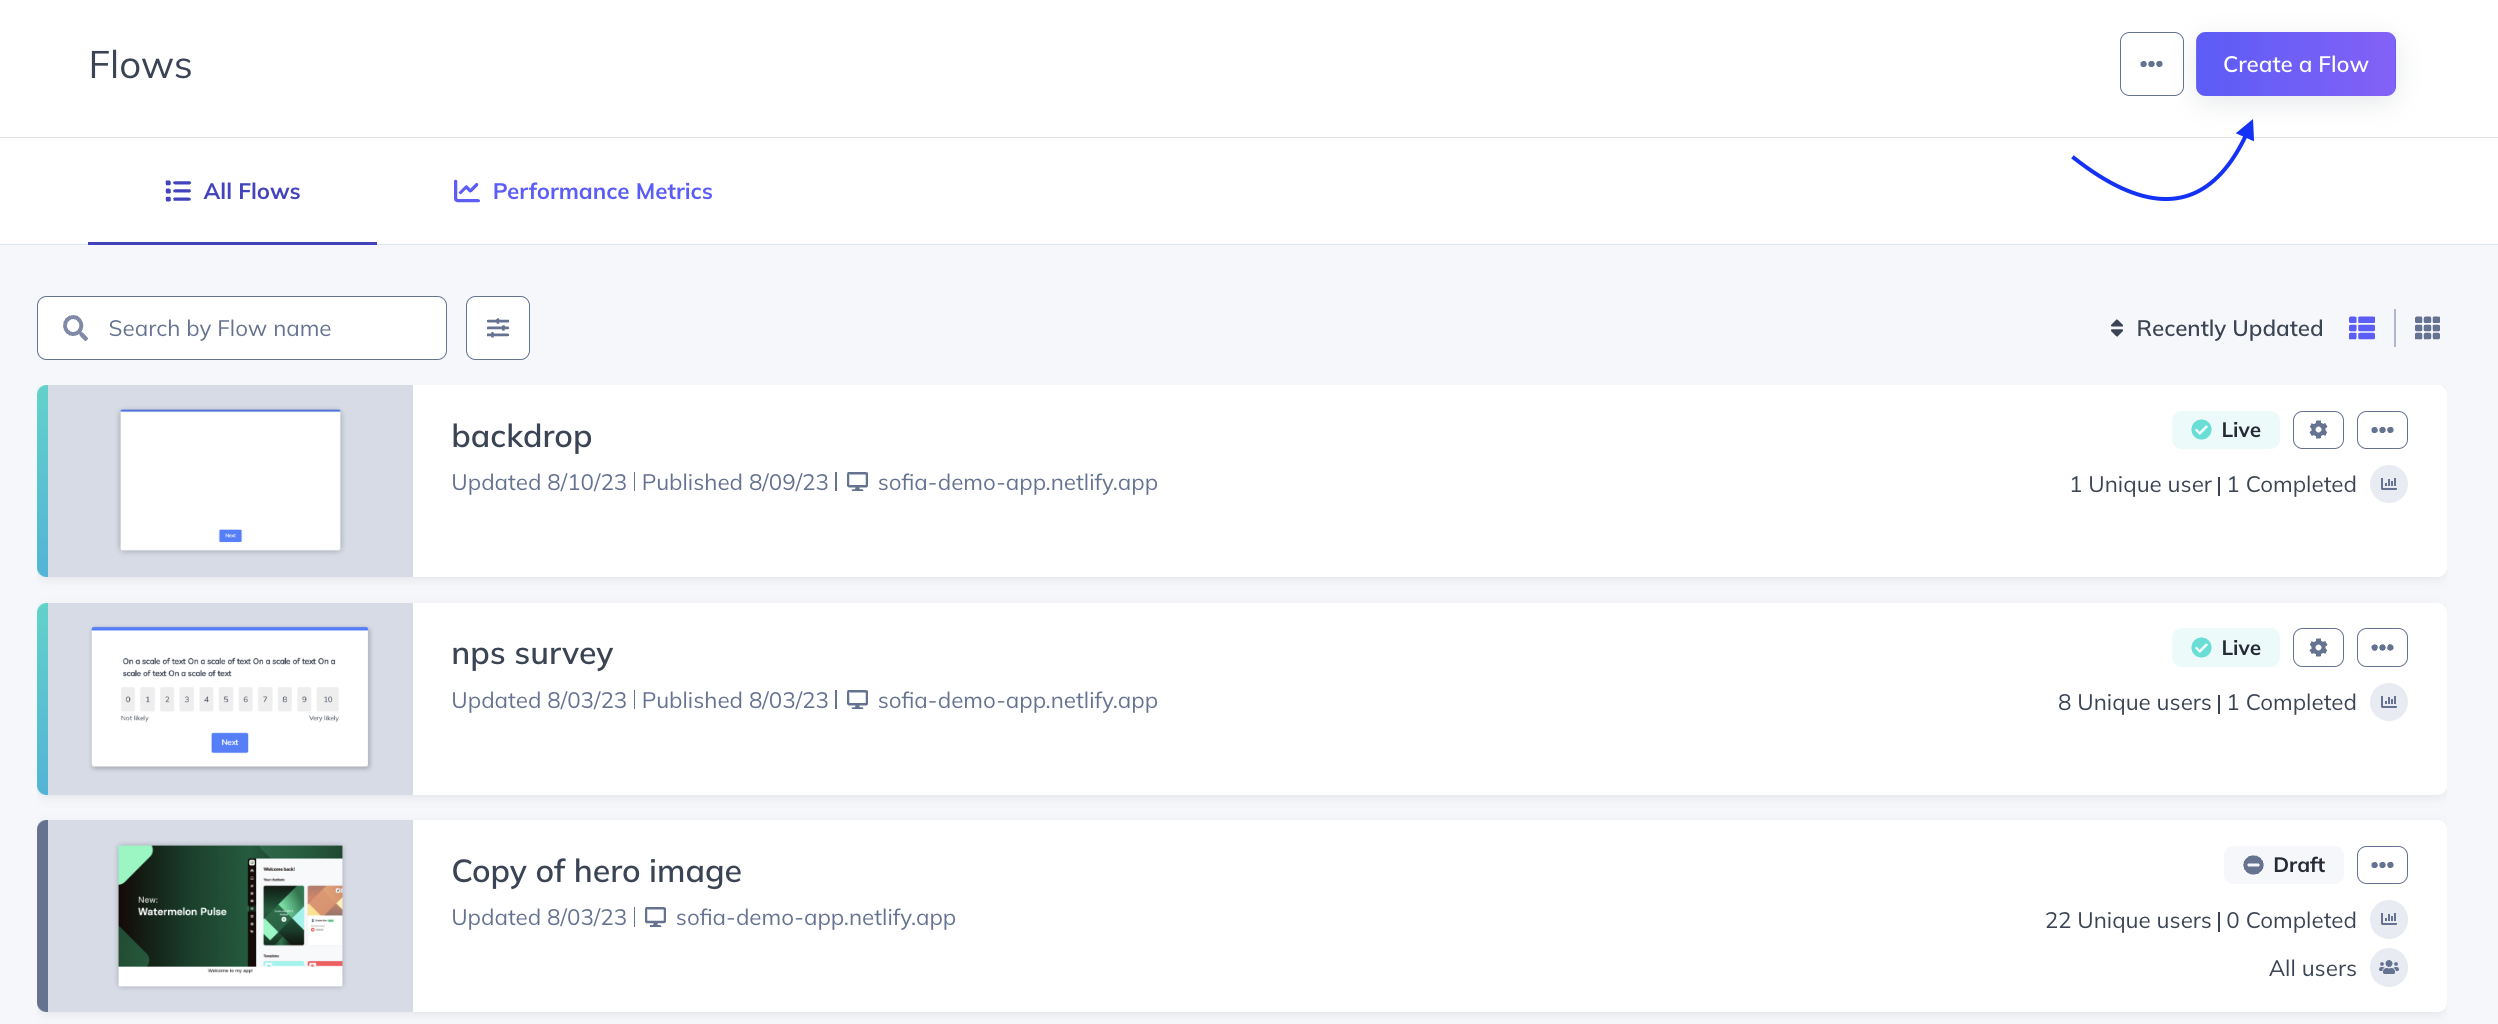
You can create it from the Appcues Studio:
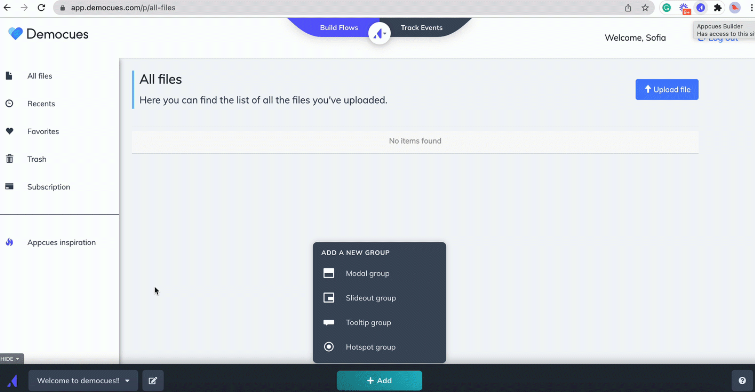
Or you can create it directly from the page where you want to start your flow by opening the Appcues Builder:
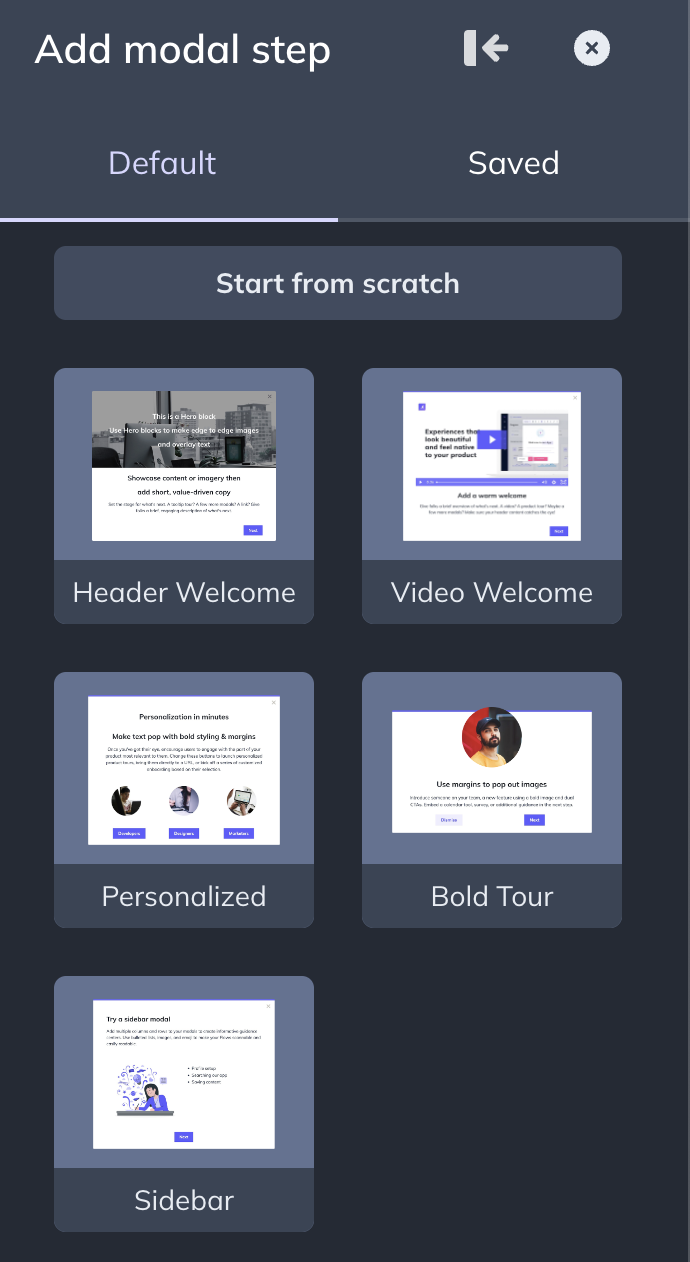
Step 2. Add a Step
Now, you're going to add the first step of your flow. You'll have the option to either start from scratch or use a template.
Once you add the Step, your default Theme will be applied. If you want to use a different Theme, you can change it. You can also enable/disable skipping options or the progress bar (these options change according to the type of pattern you're using).
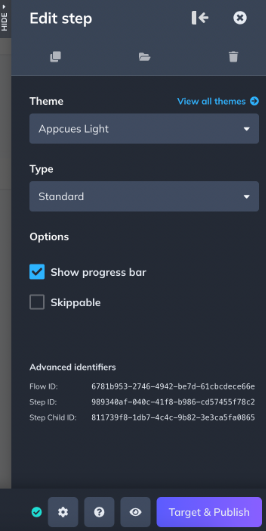
Any changes you make in the Builder are autosaved - that is indicated by the green checkmark next to the gear icon.

Step 3. Add a Component
Now, you're going to add components to your Step, such as text, images, and buttons. This is highly customizable and you can design your steps in a way that feels completely native to your application.

Step 4. Add a Step
Now, you'll add the second step of your flow. When adding a different type of pattern, the Builder will ask you to add a new group. To learn more about what this means, check out our documentation: Groups and Step Groups.

There are two ways to continue a flow when using tooltips: clicking the 'next' button or clicking the element the tooltip is pointing to.
This particular tooltip is pointing to a navigation item in the application, inviting the user to interact with it. Because of this, a button isn't used and the flow will progress when the user clicks on 'favorites'.
When you're placing a tooltip into an element, you're using a CSS Selector - you may run into some cases where you need to adjust it for some tooltips or hotspots. Our documentation is a good resource to explore: Placing Tooltips/Hotspots; CSS Selector.
Step 5. Add a navigation step
As mentioned in the previous step, the tooltip is pointing to an element, inviting the user to interact. Because this will cause a URL change, you'll need to add a navigation step. As a rule of thumb, anytime the URL changes, you'll need to add a navigation step or the flow will break.
When you click on navigate, the Builder turns into navigation mode and you can go where you want the next step to be. After navigating, click on 'switch back to Build mode'.
In this case, the user is navigating from /p/all-files to /p/favorites. There are two options when adding navigation steps: Redirect or Let Them Navigate. Because the user is interacting with the page, the option Let Them Navigate is the correct one.

You can learn how to build a flow across pages, including across dynamic URLs here: Build a Flow Across Pages.
For the sake of brevity for this article, no more steps will be added. In a real-world scenario, the flow would continue with another step on the new page explaining to the user why he/she is there.
Step 6. Preview your Flow
Anytime while you're building your flow, you can preview it just like an end-user would. To preview, click on the eye icon next to the Target & Publish button.

After you've previewed your flow, you can click on 'Target & Publish' - this button won't immediately publish your flow, but will take you back to Studio where you can complete the settings of your flow.
Step 7. Complete the settings
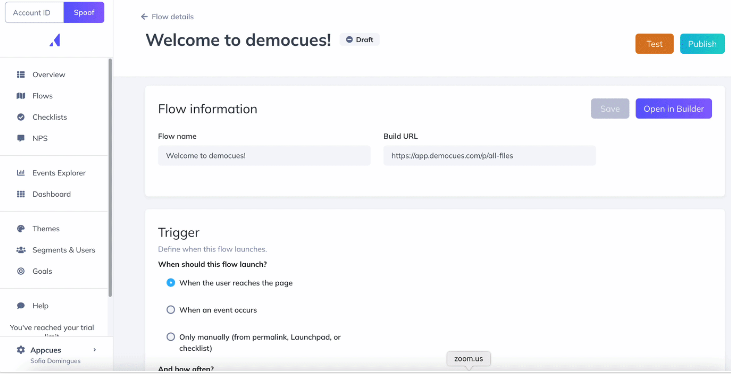
Once you're back in Studio, you can define the settings for your flow. These include: Trigger, Page Targeting, Audience Targeting, Flow Priority (optional), Goals, and Flow Completion Actions.
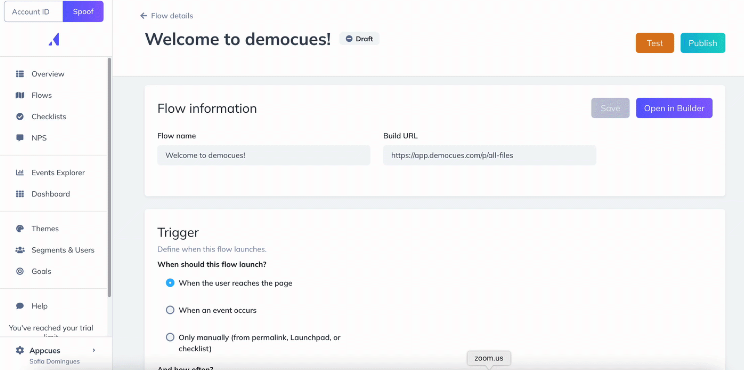
If you're looking to show your flow when the user reaches the page, you can select that option. You can explore the other options in the following documentation: Manually will include Permalinks, Checklist, or Launchpad; When an event occurs is a feature called Event Triggering.
To learn more about what Show Once and Show Every Time mean, check our documentation: Setting up Flow Frequency.
In the page targeting, you'll want to make sure you're targeting the page where the flow starts. You do not have to add all the pages where your flow eventually navigates to - that is done with the navigation steps. Our documentation about page targeting is helpful, including if your flow starts on a dynamic URL: Page Targeting. If you only want to target your flow to specific domains, you can do that by following the instructions in this documentation: Manage your Domains.
In audience targeting, you can decide if you're targeting All Users, Users in a Segment, or Specific Users. When you select Specific Users, you'll have the option to target by User Properties, Language, Flows, Checklists, Events, and Segments. The documentation linked offers guidance on how to target using those options.
Step 8. Test your Flow
Always test your flow before publishing it live to production!
While the preview option in the Builder is a great way of getting a feel of what your flow looks like, it is not an actual test. For that reason, we recommend that you either test your flows using the Test mode or by publishing it live to a staging environment or only to yourself. You can read more in-depth about these options in our documentation: Testing Flows.

If your flow isn't showing or a step isn't showing, check out our documentation about troubleshooting flows: Troubleshooting Flows, Why isn't my flow showing, Why isn't a step showing.
Step 9. Publish
Once you've verified that your flow is working as expected you can go ahead and publish it live to your audience. To publish, click the blue button that says 'Publish'. You'll get a publish preview modal before confirming that you want to publish.
If you're running into issues with your flow, reach out to support@appcues.com and we're happy to help!