Checklists
Learn more about the Checklist and how to use it to motivate your users to complete key actions.

Written by Sofia Domingues
Updated at May 14th, 2025
Creating Checklists
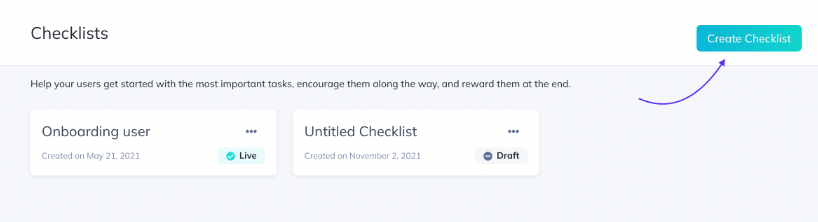
Head to the Checklists page to 'Create a New Checklist' or edit an existing one.
Checklist Styling
After you've given your list a good name:
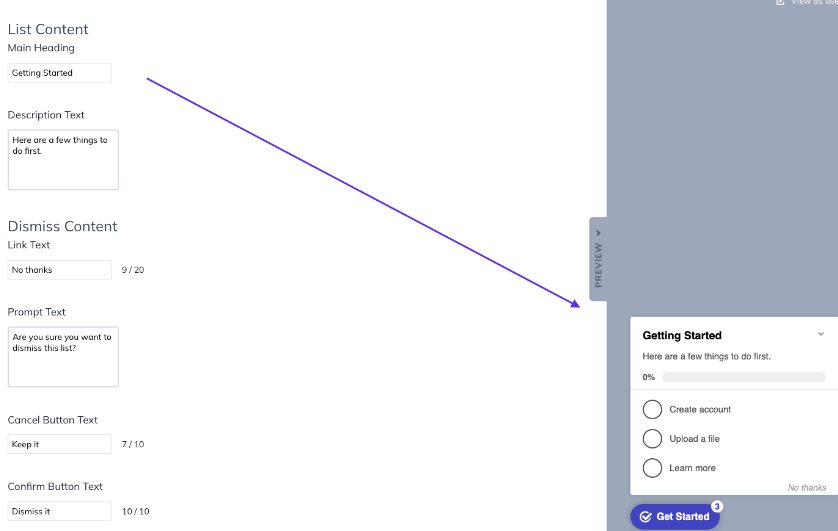
- Modify the primary list colors
- Choose the position and text for the Beacon
- Add your user-facing header and description text
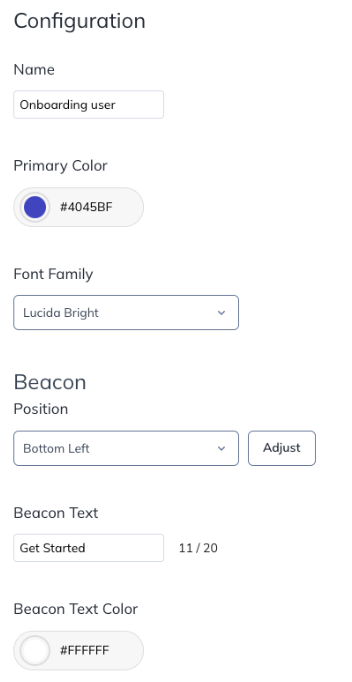
The "Beacon" is the button users click to open the Checklist dialog. 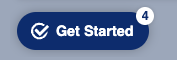
Unlike other Appcues flows, the Checklist Beacon is persistent and stays in one place until the user completes the checklist or is no longer eligible.
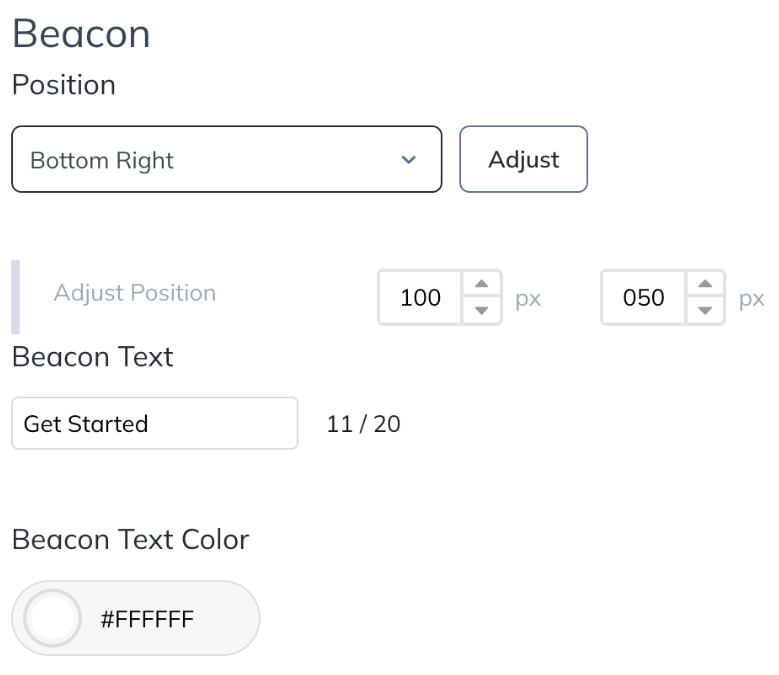
You can position the beacon in the bottom left or bottom right of your application. If you'd like to fine-tune the position, the Adjust option will allow you to move the checklist incrementally by pixels left-right and up-down. Positive numbers will move it right and up, respectively, while negative numbers will move it left and down.
You can customize the content of the list dialog, including the title and description. Keep it short, and consider preceding the Checklist with an Appcues flow like a Modal or Slideout if you think a deeper introduction would be valuable (see the FAQ below for more info).
The Main Heading is the title that appears in the Checklist window, as shown below.
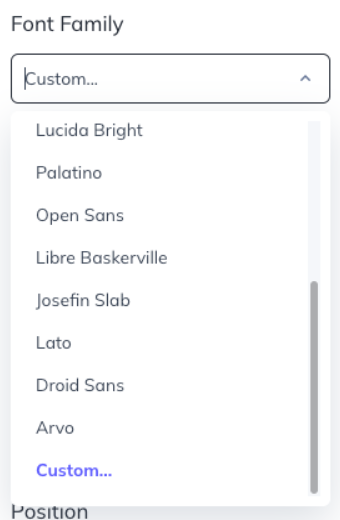
Adding a Custom Font
With the font picker in the Checklist Editor, it is possible to add your very own custom font! All you have to do is scroll down to the bottom of the options list and choose "Custom..."
Please check our documentation for comprehensive guidelines to add custom fonts to checklists: Loading Custom Fonts for Checklists
Add Checklist Items
Select “Add Checklist Item” to add additional items to your list:

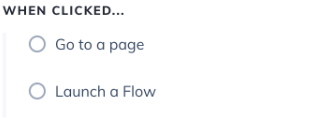
Give each item a name users will identify with. We recommend that the first item be checked off (ex. Create Account) to build some momentum. Then set up what will happen when the Item is clicked:
Note: If you'd like a flow to show only when launched from the Checklist, set that flow to 'Show Manually'.
“Go to a page”: Add a URL that you'd like to redirect your users to.
You can use custom properties in case you're looking to redirect users to dynamic URLs: Personalizing Flows
“Launch a Flow”: select the Flow a user will see once they click the list item. If the flow needs to start on a specific page, enter the URL so Appcues will redirect users to that page before showing the flow. If the URL isn't important, just add the name of the flow to be shown.
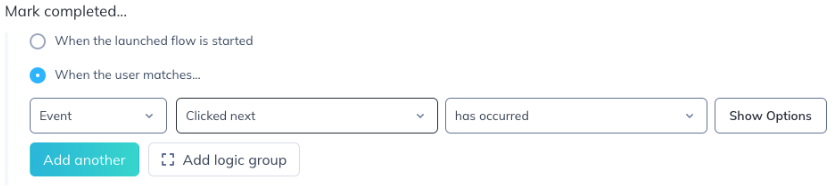
Completion Criteria
When the user matches: the best success criteria is the completion of an action, which can be tied to an Event. When that Event occurs the Item will be checked. You can also use the completion of a Flow, or a User Property as the success criteria.
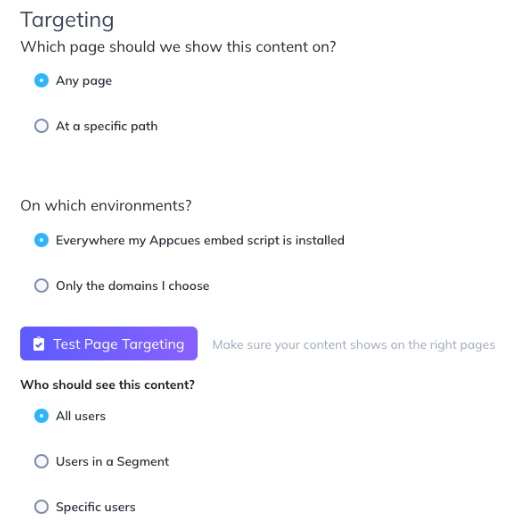
Checklist Targeting
To ensure the right users will qualify to see the Checklist you can add an existing Segment, or use normal flow targeting options. Then modify where they see the Checklist, with specific path targeting and environment/domain targeting, just like your flows.
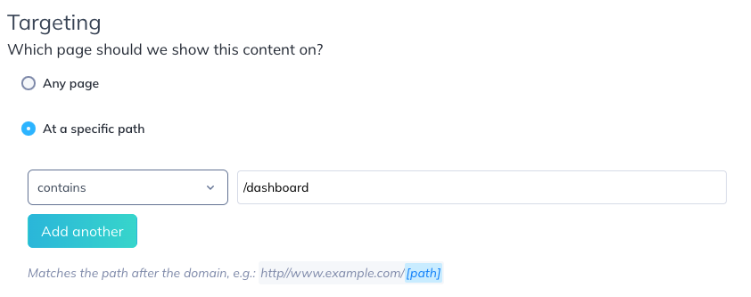
Page Targeting
Here you can specify the path(s) that you want your checklist to show on. For testing, there's no need to change anything in this section. You can simply set it to the path(s) you'll want the checklist to show on for your end users.
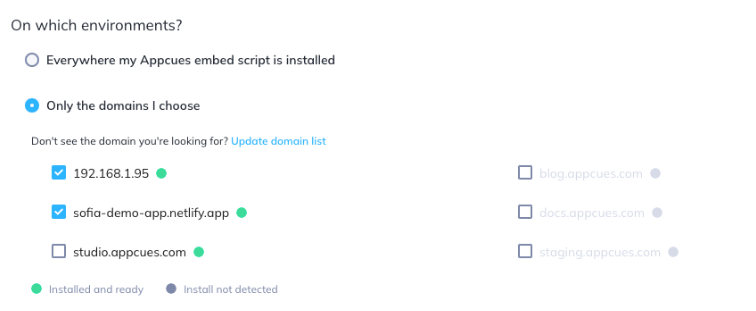
Domain Targeting
Here you can specify the domain(s) where you would like your checklist to appear. You can either publish this to anywhere your Appcues embed script is installed or select specific domains.
If you would only like to test your checklist on your staging site or your production site, you can select the appropriate domains at this point.
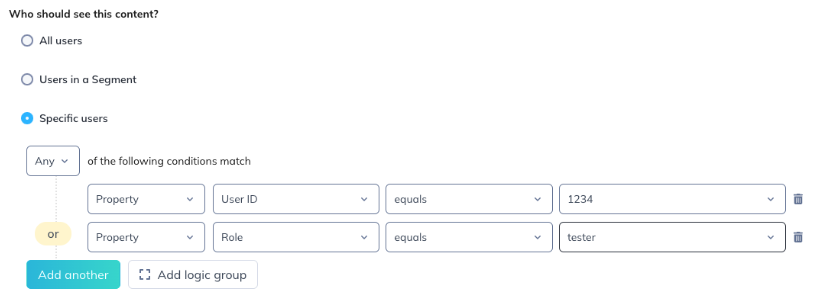
Audience Targeting (for testing, this is the important one!)
Here is where you can set your checklist to only show to users on your team (i.e. no end-users). To do this, target your checklist to your team by using the "Specific users" option. Here, you can specify specific user properties to target. For example, you could target specific email addresses, as shown below:
Publish
Once all of your Checklist targeting is set up, go ahead and publish the checklist. You can then sign in to your platform, navigate to a page where you expect the checklist to appear, and test it!
Testing Checklists
Because of the targeting you have set up, only the people you want to see the checklist will be able to see it. Once you test the checklist and it looks good, you can change the checklist targeting configurations so that they include your end users.
A few things to keep in mind
- You will be testing the checklist as it appears for the user credentials you used to sign in to your platform. If you have already completed one or more of the checklist items, they will already be marked as complete. To test it as a new user, you would need to create a new user account on your platform.
- If one of your checklist items is a flow and it is not working, make sure that the flow is published and live on your site. If you only want to test the flow (and don't want it to be live to your end-users), you can follow the flow testing steps.
- The checklist should follow the below behaviors:
- Expand if it's the first-ever view
- Expand if it's the first view of the session (i.e. they've opened a new tab to the site)
- It will not expand in all other cases
Still curious how our Checklist feature works?
In this training webinar, we'll cover how to conceptualize and plan for your Checklist, including mapping out your customer journey. We'll also include a short demo of the tool and how to build it. Lastly, we'll run through the analytics of your Checklist, how to measure success and iterate.
In this Checklist Webinar, we cover How to create an onboarding flow using Checklists.