Relaunch Product/Onboarding Tour with a Button Pin
Discover creative ways to relaunch your onboarding tour and re-engage users with a unique button pin.

Written by Sofia Domingues
Updated at May 14th, 2025
Do you want to provide a way for your users to relaunch a previously completed tour or guide without the use of a launchpad or checklist? Drop in a button pin that is themed perfectly to your application and let Appcues do the magic for you.
Build Guide
This guide is aimed at users who already have an onboarding tour in place, for more instructions on creating an onboarding tour please review this doc!
Step 1: Create a pin in Studio
Navigate to the Pins section of Appcues Studio.
Click the create button in the top right corner.
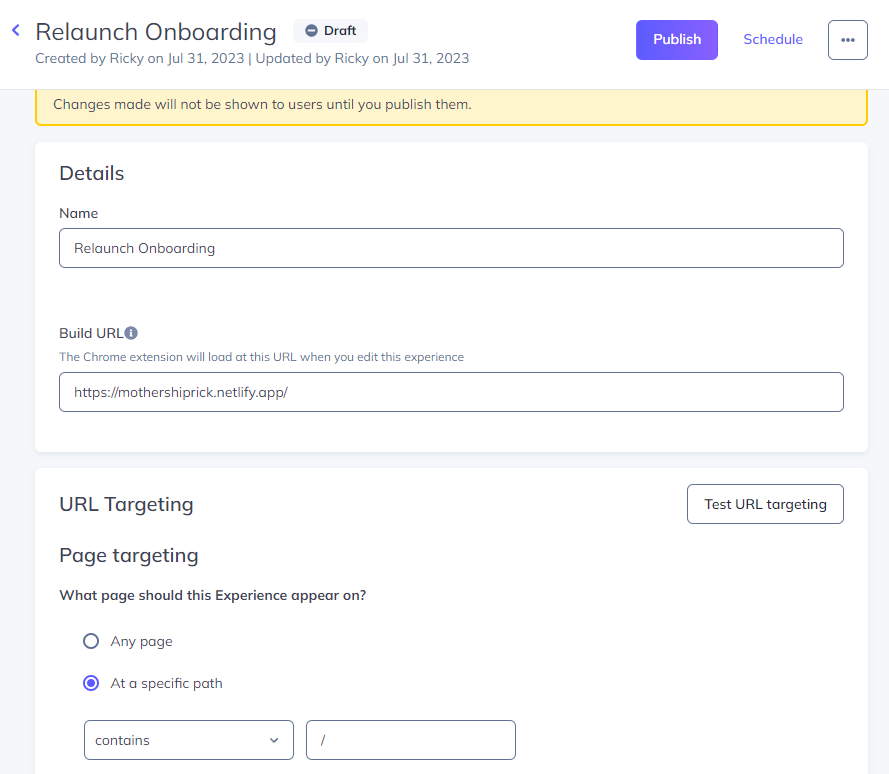
You’ll need to enter some additional context to proceed further:
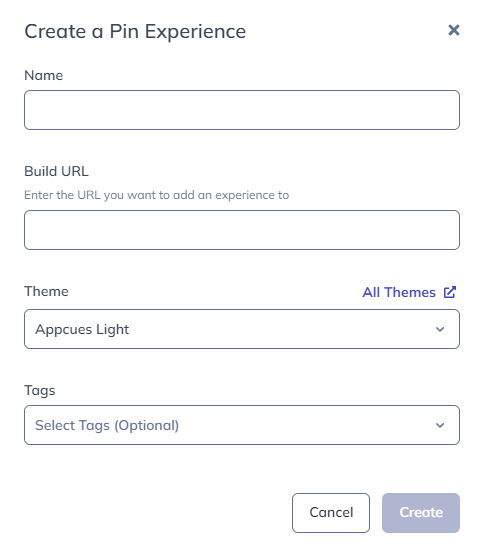
- Name: provide a clear name to communicate that this button pin is to relaunch a tour
- Build URL: we will guide users to this URL when they click the open in builder action from Appcues Studio
- Theme: choose the theme that has the appropriate button colors for your app
- Tags: Provide a couple of tags to help categorize this new experience
When ready, click the Create button.
- A new tab will open up directly to the Build URL and the Appcue Builder should open.
Step 2: Add button pin to your application

Click on the + Add button on the bottom area of the builder toolbar when the builder finishes opening.
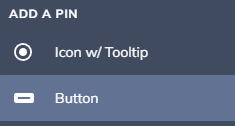
Select Button from the Add a Pin menu.
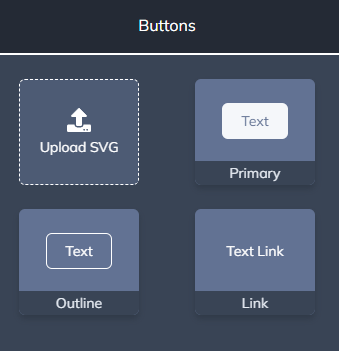
Choose the appropriate style of button that you would like, we currently support SVG, Primary, Outline, and Text links as button types for this experience.
Click on your application where you would like the button to be placed. For additional information on how to place a pin, please refer to this Pins guide.
Step 3: Configure button action
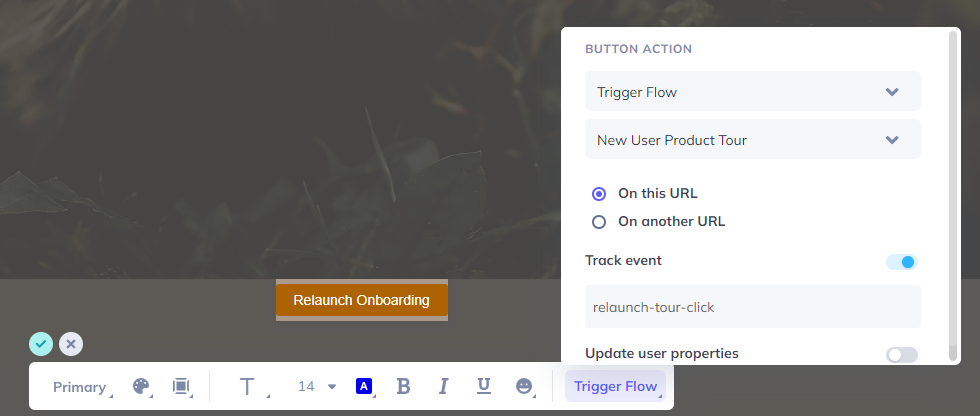
Click on the button and change the Button text label to something clear for your users to know what happens when they click on the button, in this example, we are using “Relaunch Onboarding”.
On the right side of the button toolbar you will want to specify the Trigger Flow button action and choose the Onboarding or Product Tour you wish to be relaunched when a user clicks on the button.
For bonus points, it is also good to track an event when a user clicks this button. Capturing these touchpoints is great for your analytics exploration within Appcues Studio.
Step 4: Publish pin experience

When your button is looking how you want it to, click on the Target & Publish button in the bottom right corner of Appcues builder.
Now that you are back in Appcues Studio, you will want to take a moment and verify that the page and audience targeting sections of this pin are correctly defined. For additional information on targeting, please review our targeting guide. When your targeting settings have been completed, click on the Publish button.
The final step here is to take a moment and test your button to make sure things are displaying and acting as they should.
Here are a few helpful things to consider:
- Does my new button pin feel like it is natively part of the app? (IE. Do the styles match)
- Is the wording on my button clear enough so that users inherently understand what it does?
- Is the button in the best place so users will not have to hunt to find the button?
See it in action
Here are a couple of button pins that will help demonstrate just a bit of what this feature can do for you!