Import customer data from your data warehouse into Appcues with our Census integration
Learn how to quickly import customer data from your warehouse into Appcues with our Census integration.

Written by Sofia Domingues
Updated at June 11th, 2025
What is Census?
Census is a Reverse ETL management tool. In simplest terms, companies use Census to push information out of their data warehouse (a Source) into all of their other SaaS tools (Destinations).
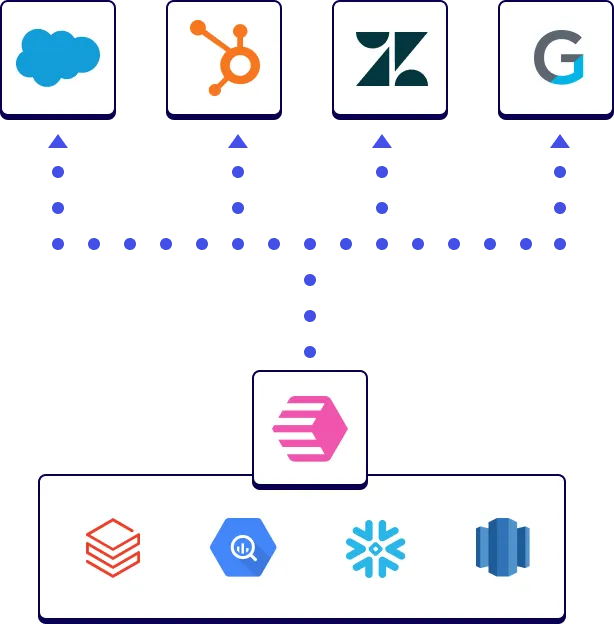
This integration offers Appcues as one of the Destinations in Census.
Why import customer data into Appcues?
There are several ways to push your user profile and event data into Appcues to use for flow experience targeting and analytics, including:
- Via the Appcues SDK
- Using our Public API
- Installing Appcues via a CDP like Segment.io, Rudderstack or Freshpaint
However, the SDK and API options may require more custom development than your team is willing to take on, and you may not use a CDP. The Census integration offers yet another option to ingest user and event data into Appcues. This data is crucial for making sure you can segment your Appcues flows and deliver the right message to the right people.
What data warehouses are included in the integration?
Census allows you to connect Appcues to several of the most popular database products, including:
- Postgres
- MongoDB
- Redshift
- Snowflake
- And more!
For a full listing of data sources available in Census, see their integrations page.
What types of data can be imported?
Currently, the Census integration supports ingesting User Profile data into Appcues. We are working to get Event and Group/Account profile data support added; stay tuned!
Setting up a data sync using Census
For a more detailed walkthru of setting up a sync between your Sources and Destinations, refer to the full Census documentation here. In the example in this doc, we will be using a Postgres database to ingest User Profile data. At a high level, a Census sync involves these steps:
- Create a Source to connect to your data warehouse
- Create a Model to define the tables and columns you want to ingest from your Source
- Create a Destination (in this case, Appcues)
- Configure a Sync that maps Source fields to Destination fields, and how often the sync should occur
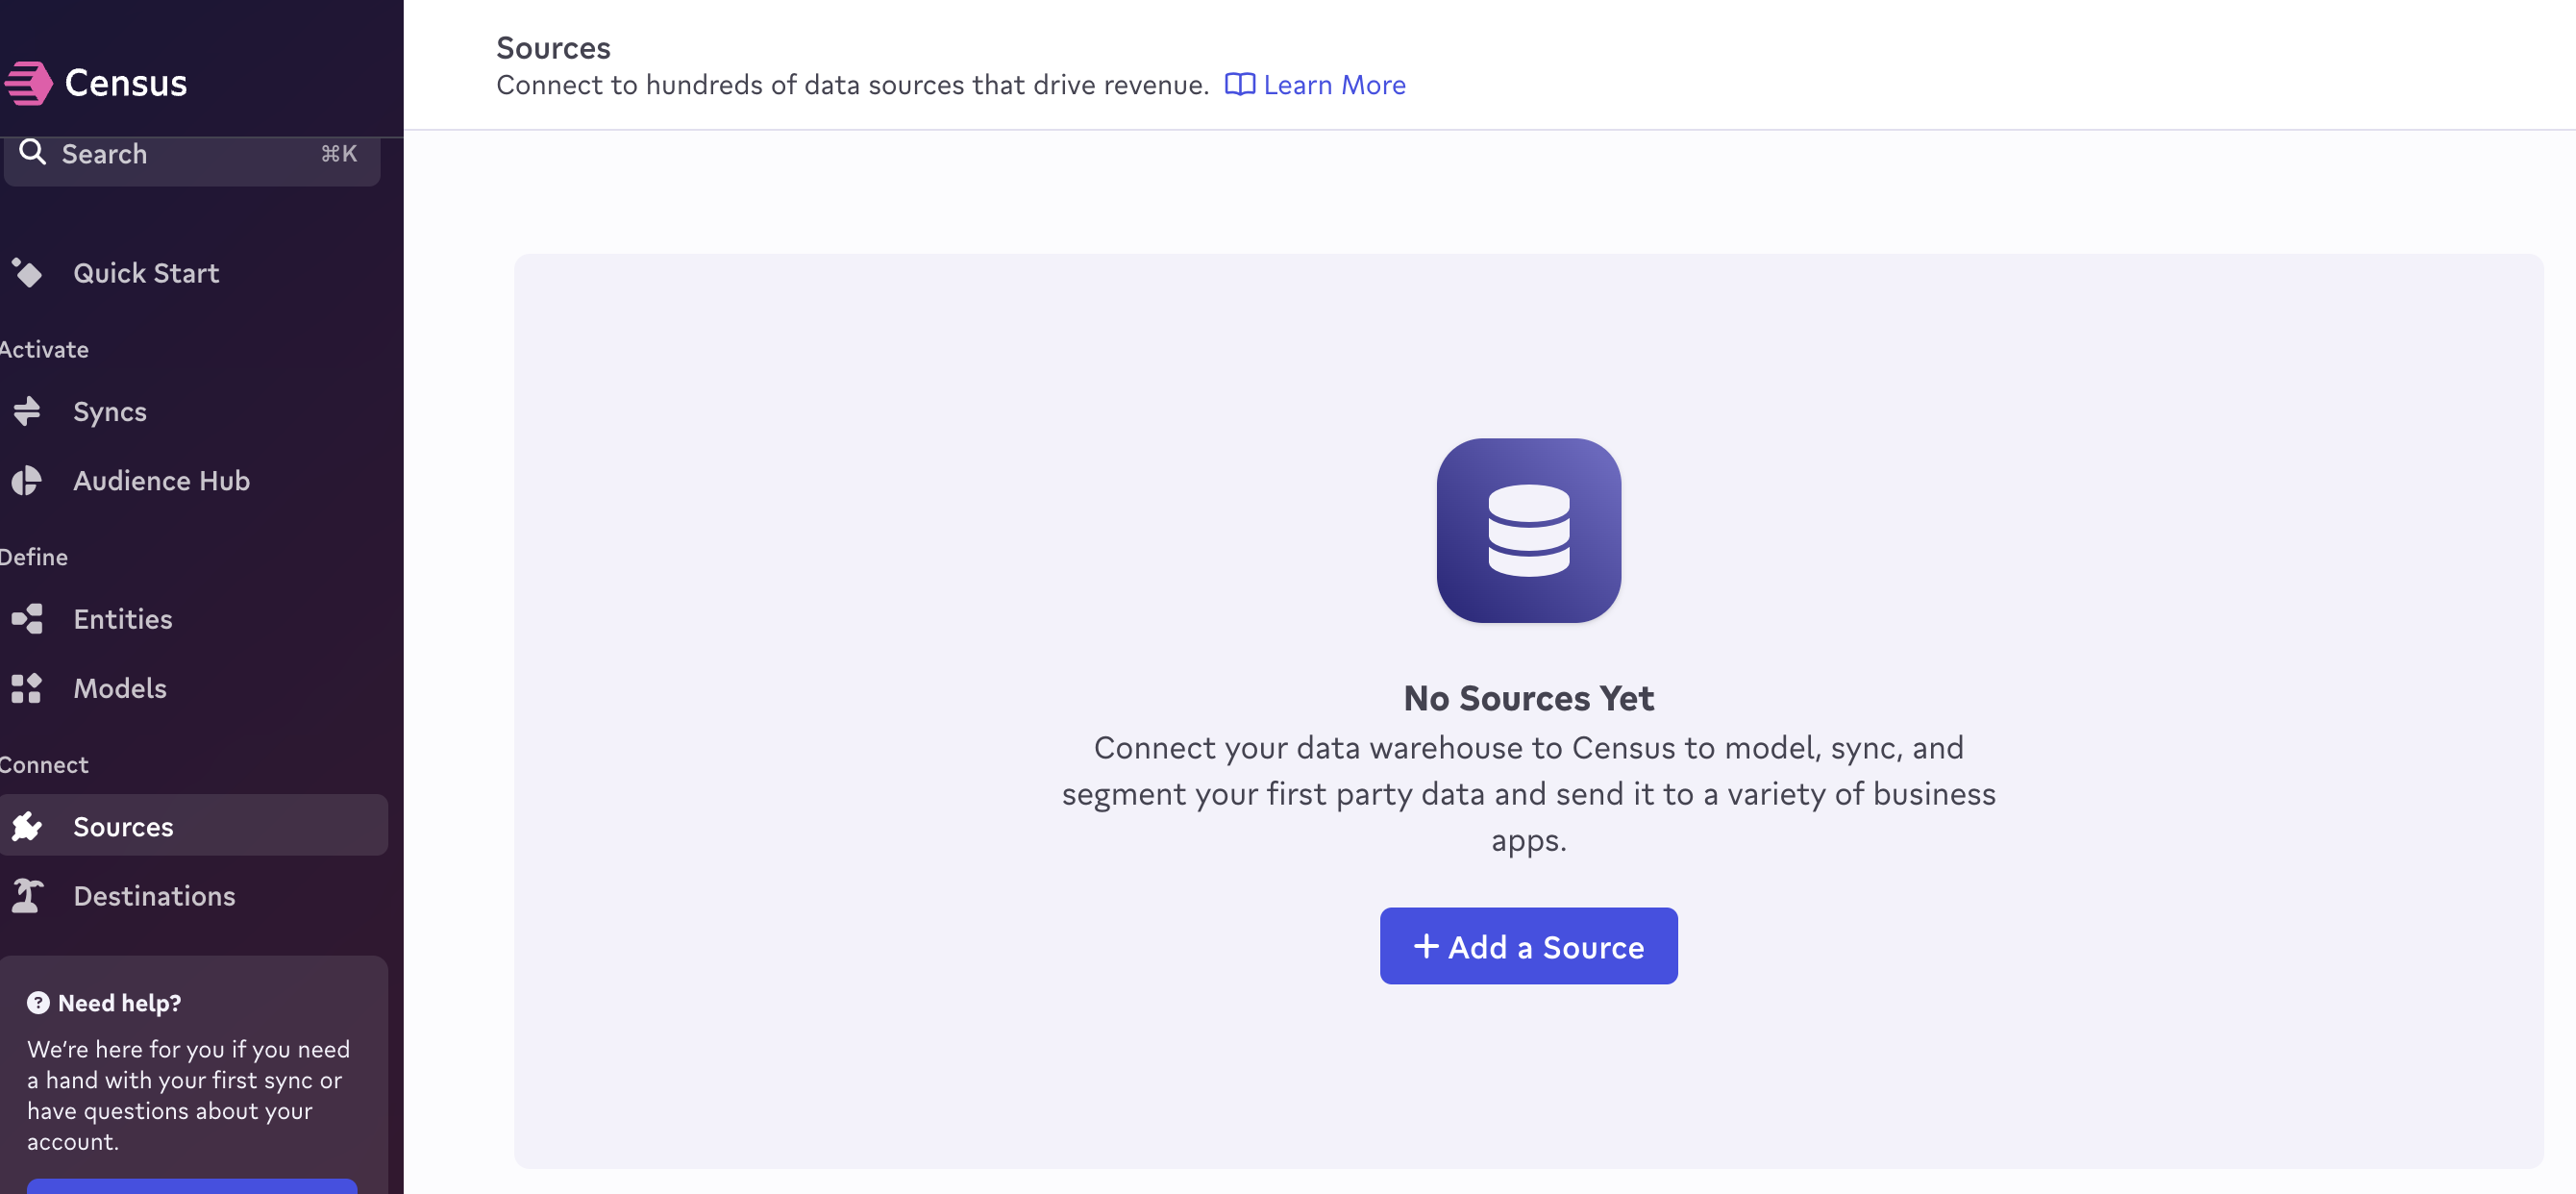
Create a Source
In your Census account, select Sources in the left nav, then Add a Source.
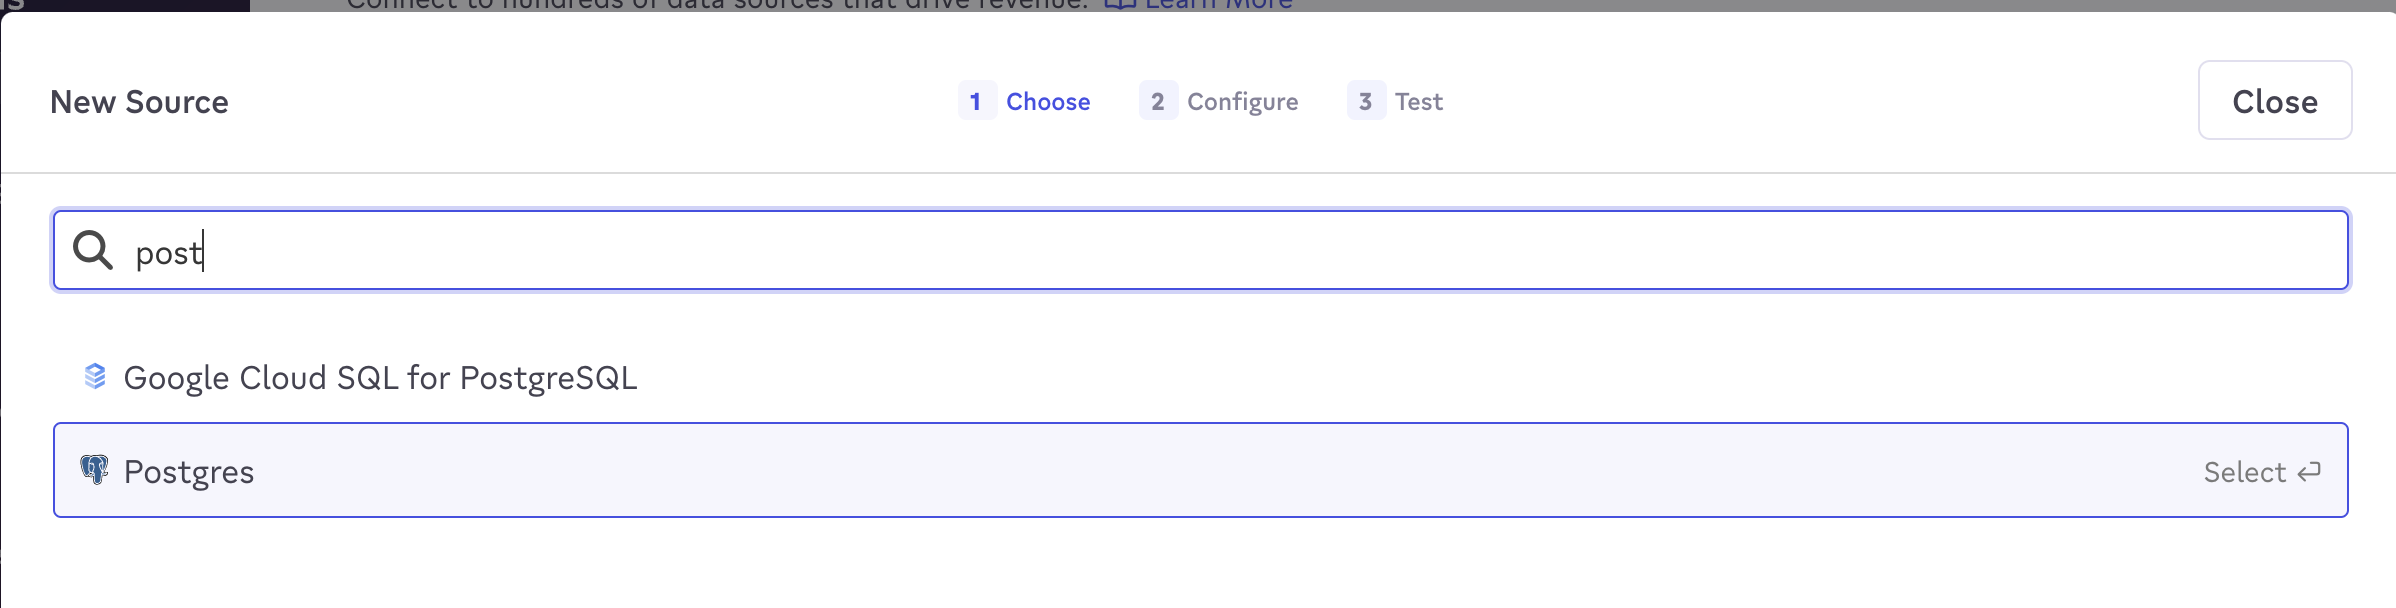
On the next screen, select your data source (in this case, PostgreSQL).
On the next screen, configure your source. In this case, we're choosing to connect directly with the Basic setup. Add your database host, port, and name, user and password. Click Connect and then Confirm on the next screen.
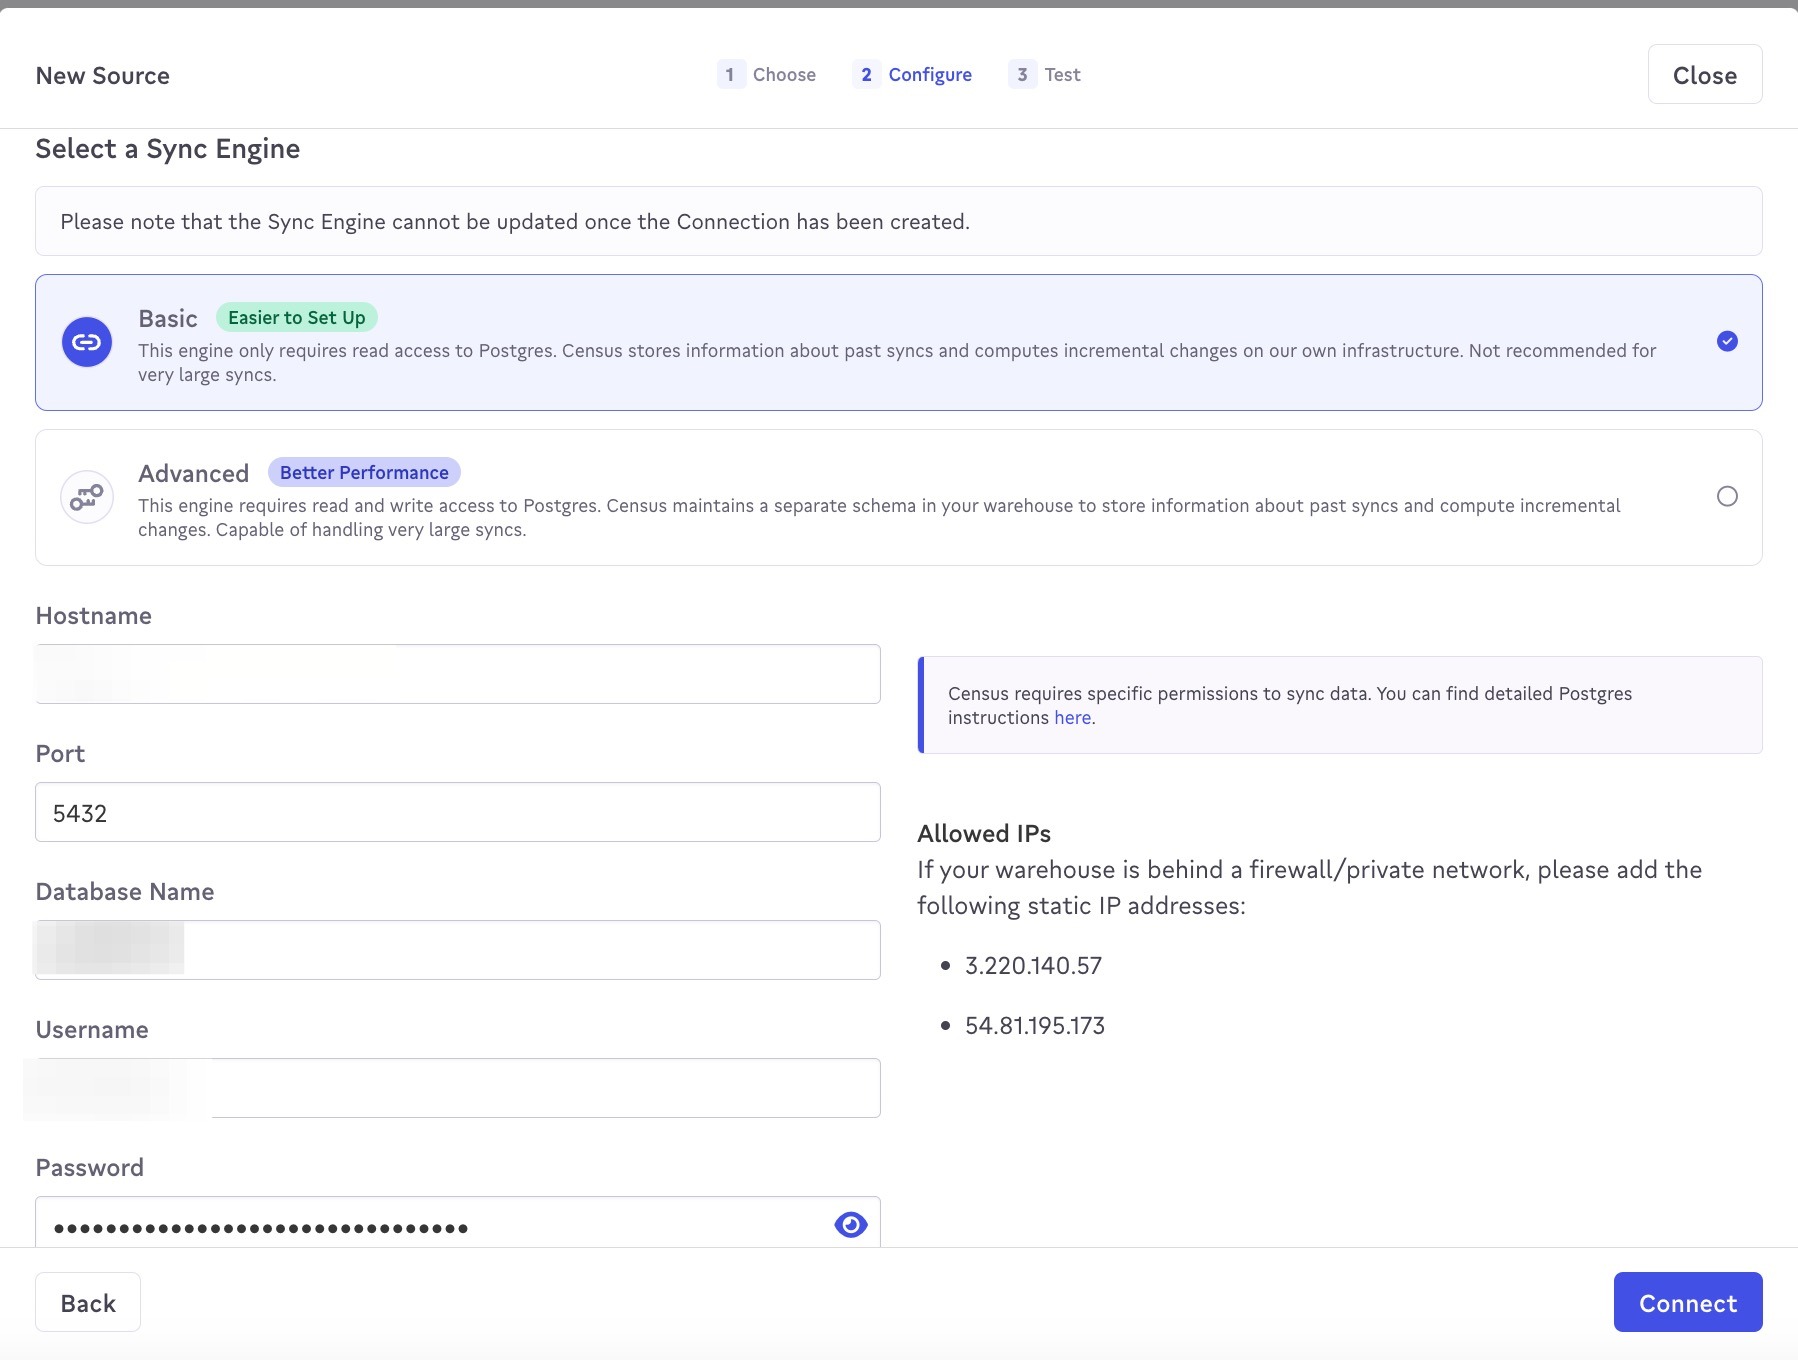
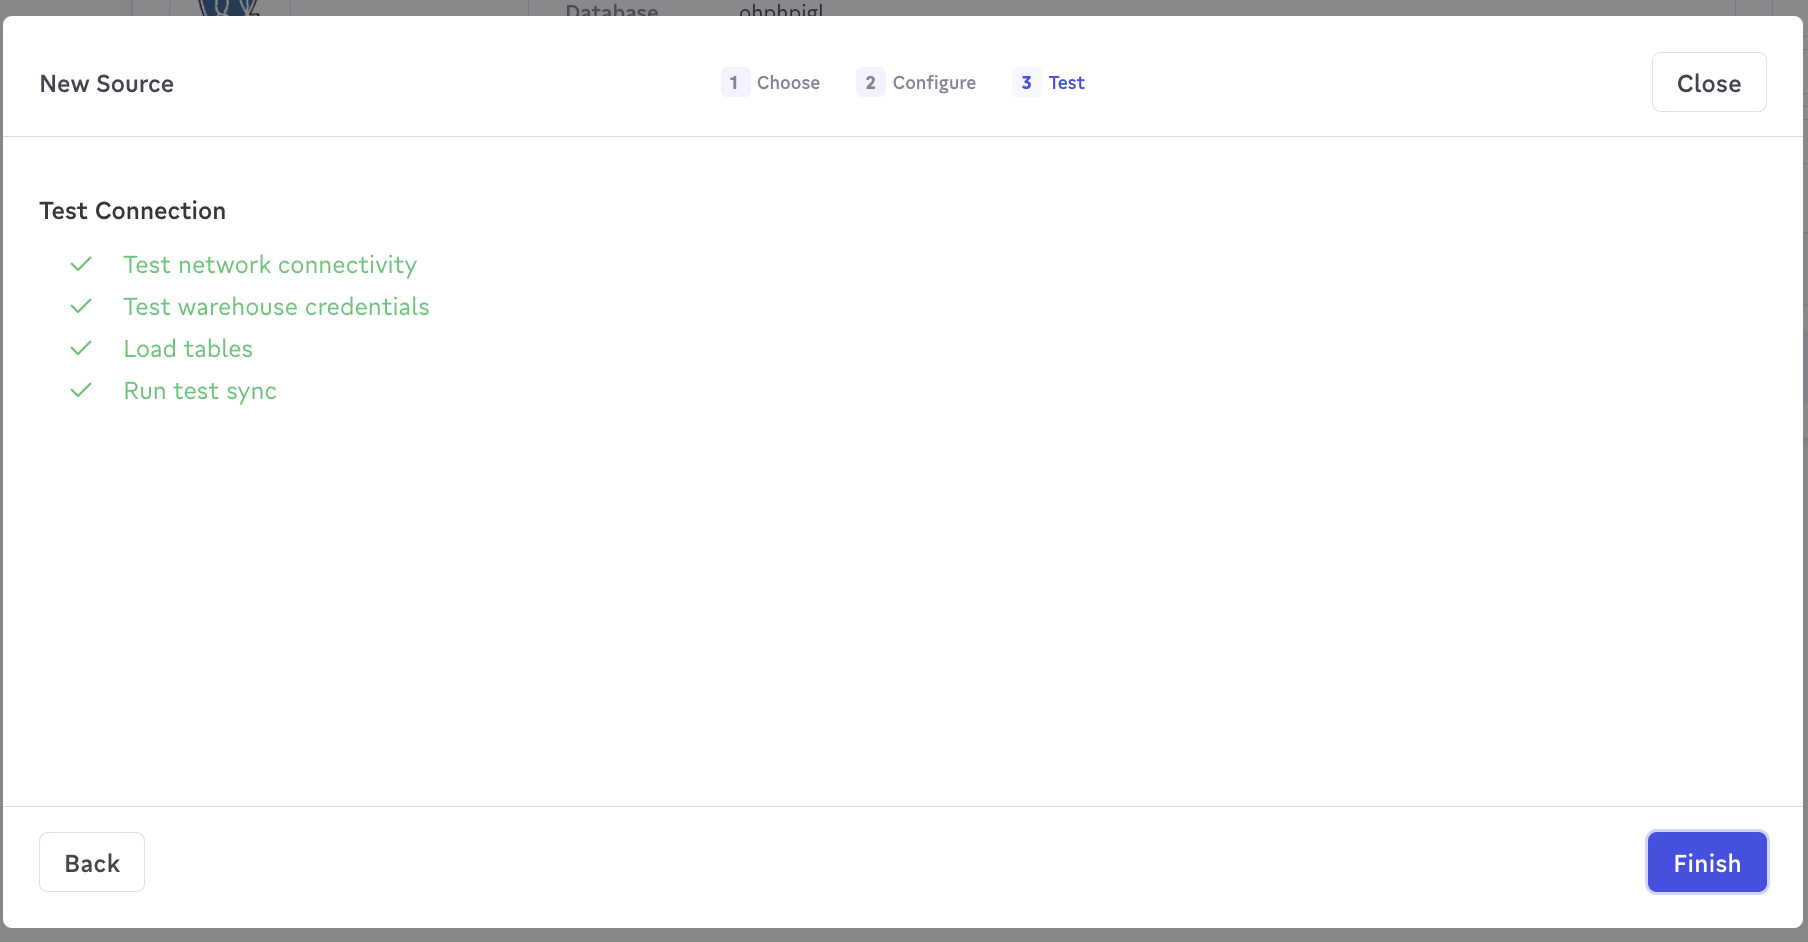
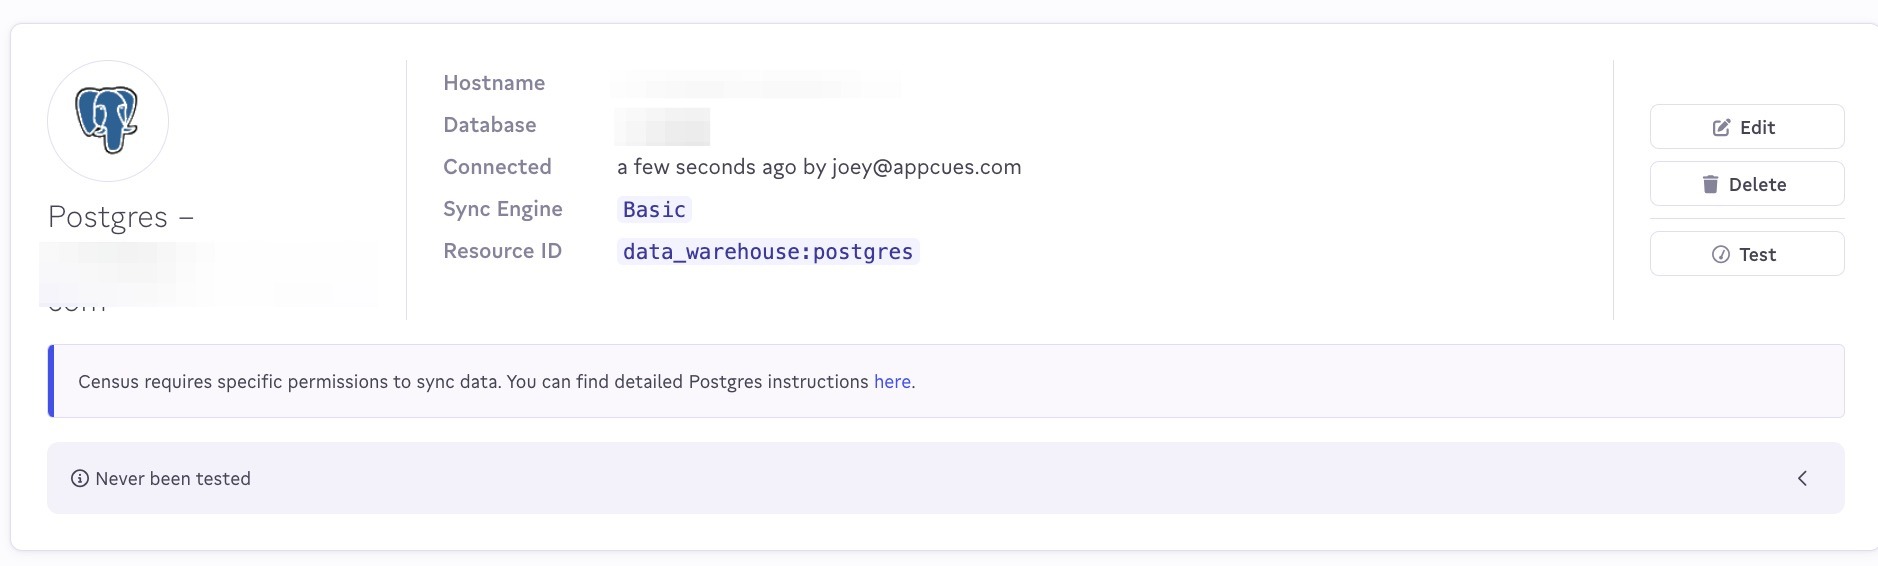
On the next Test screen, once your testing is successful, click Finish, and you have a new Source successfully configured.
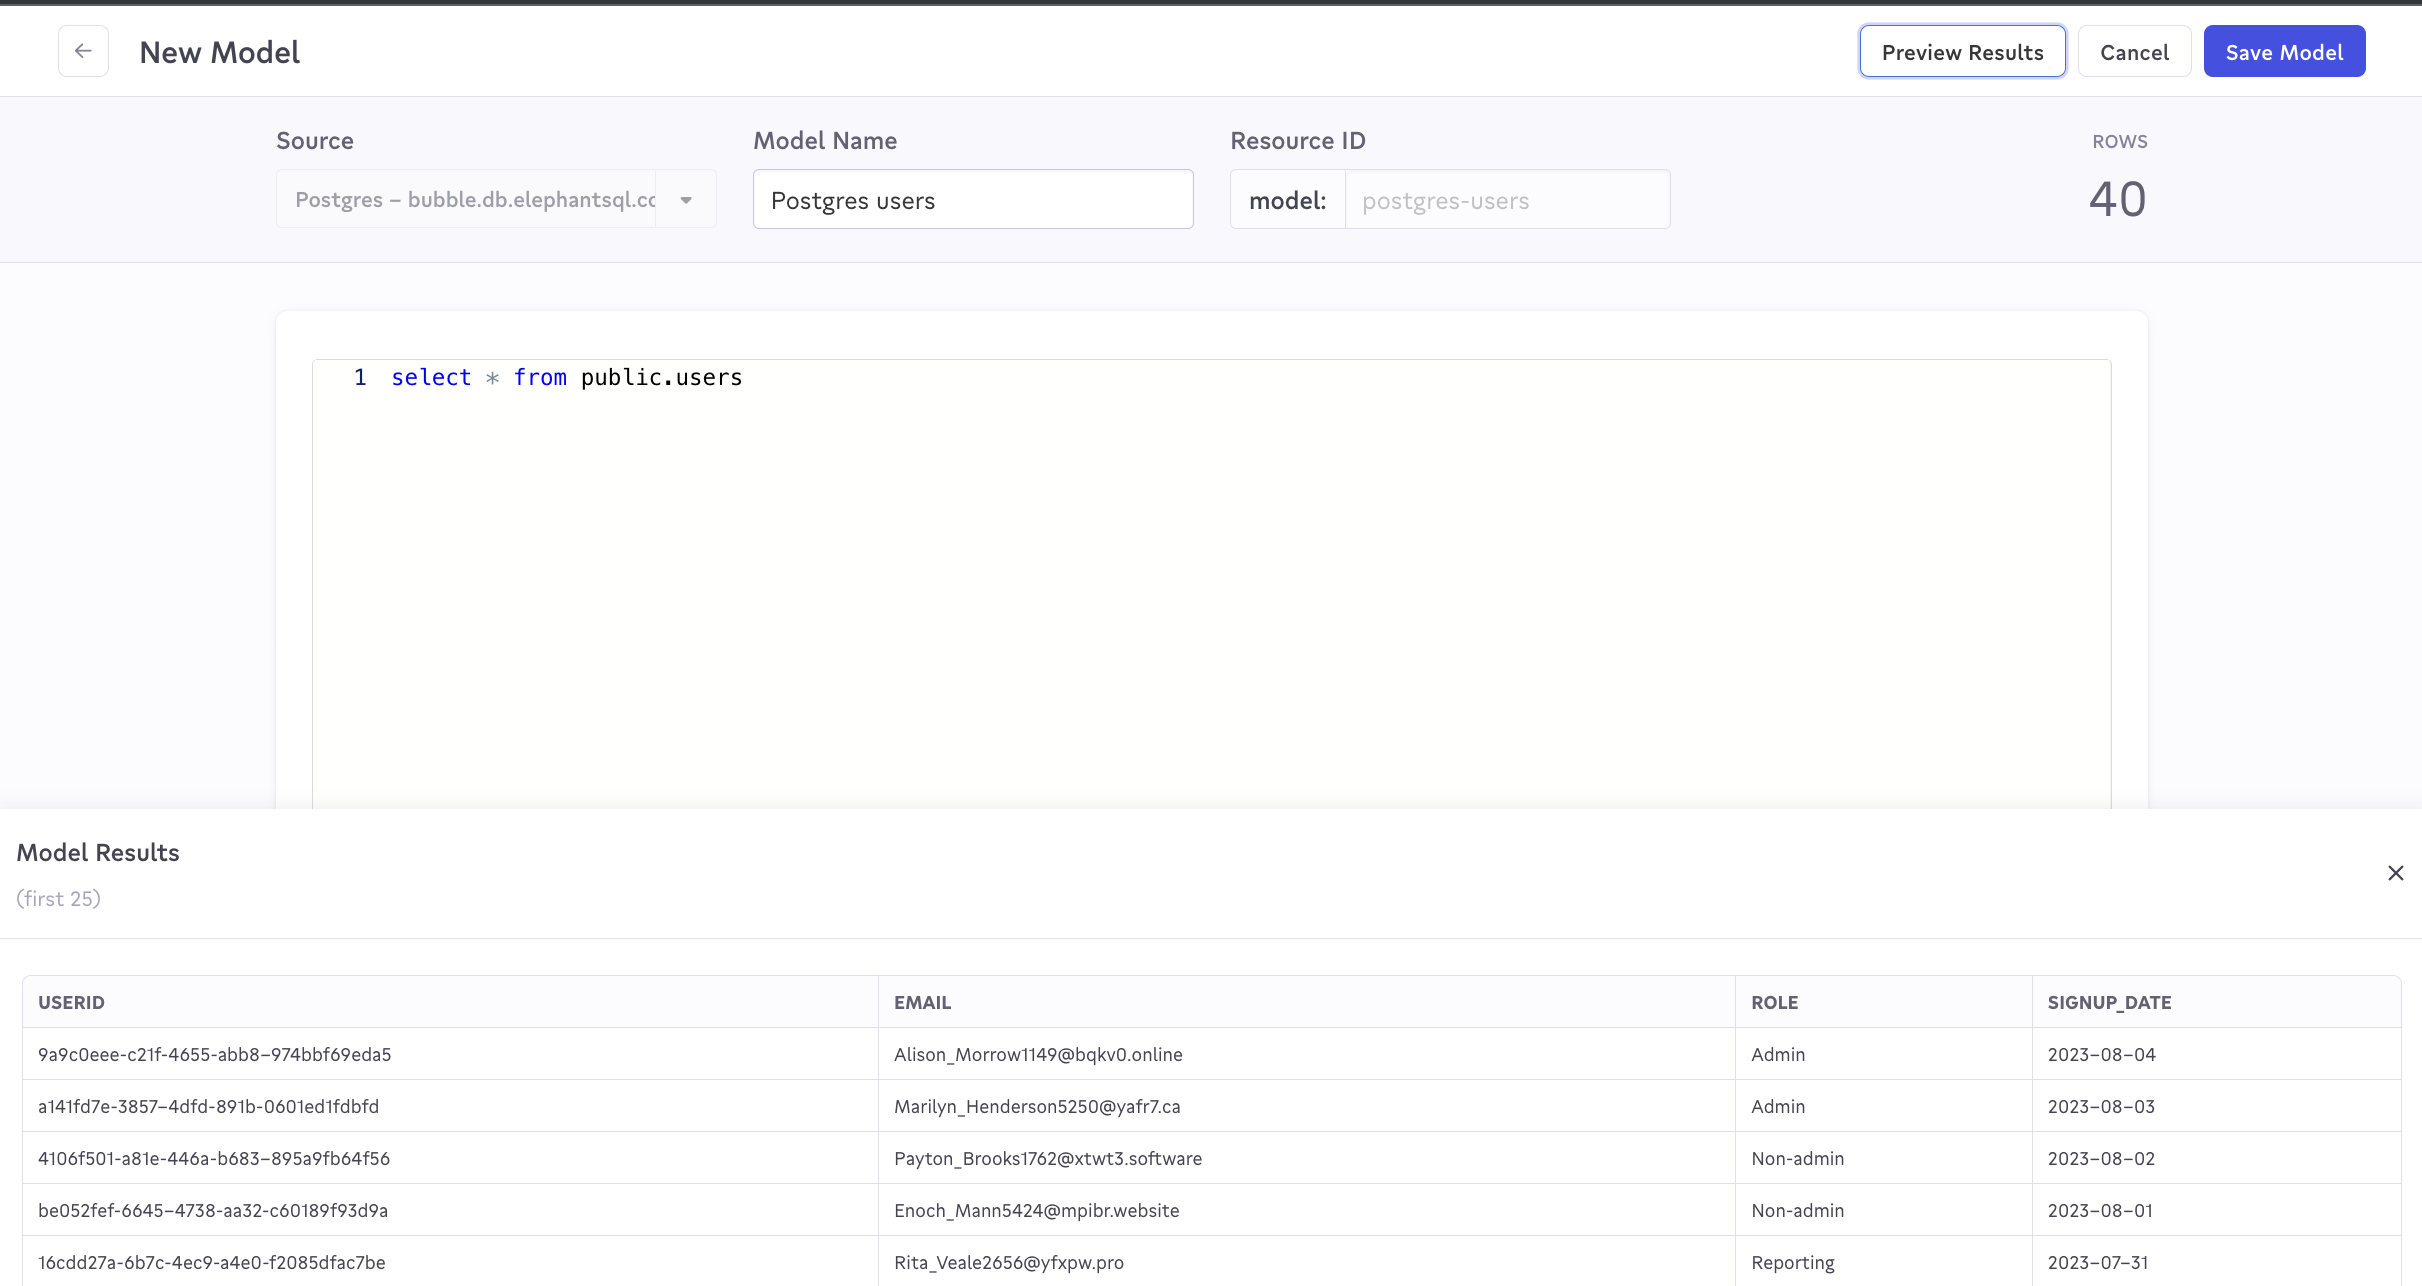
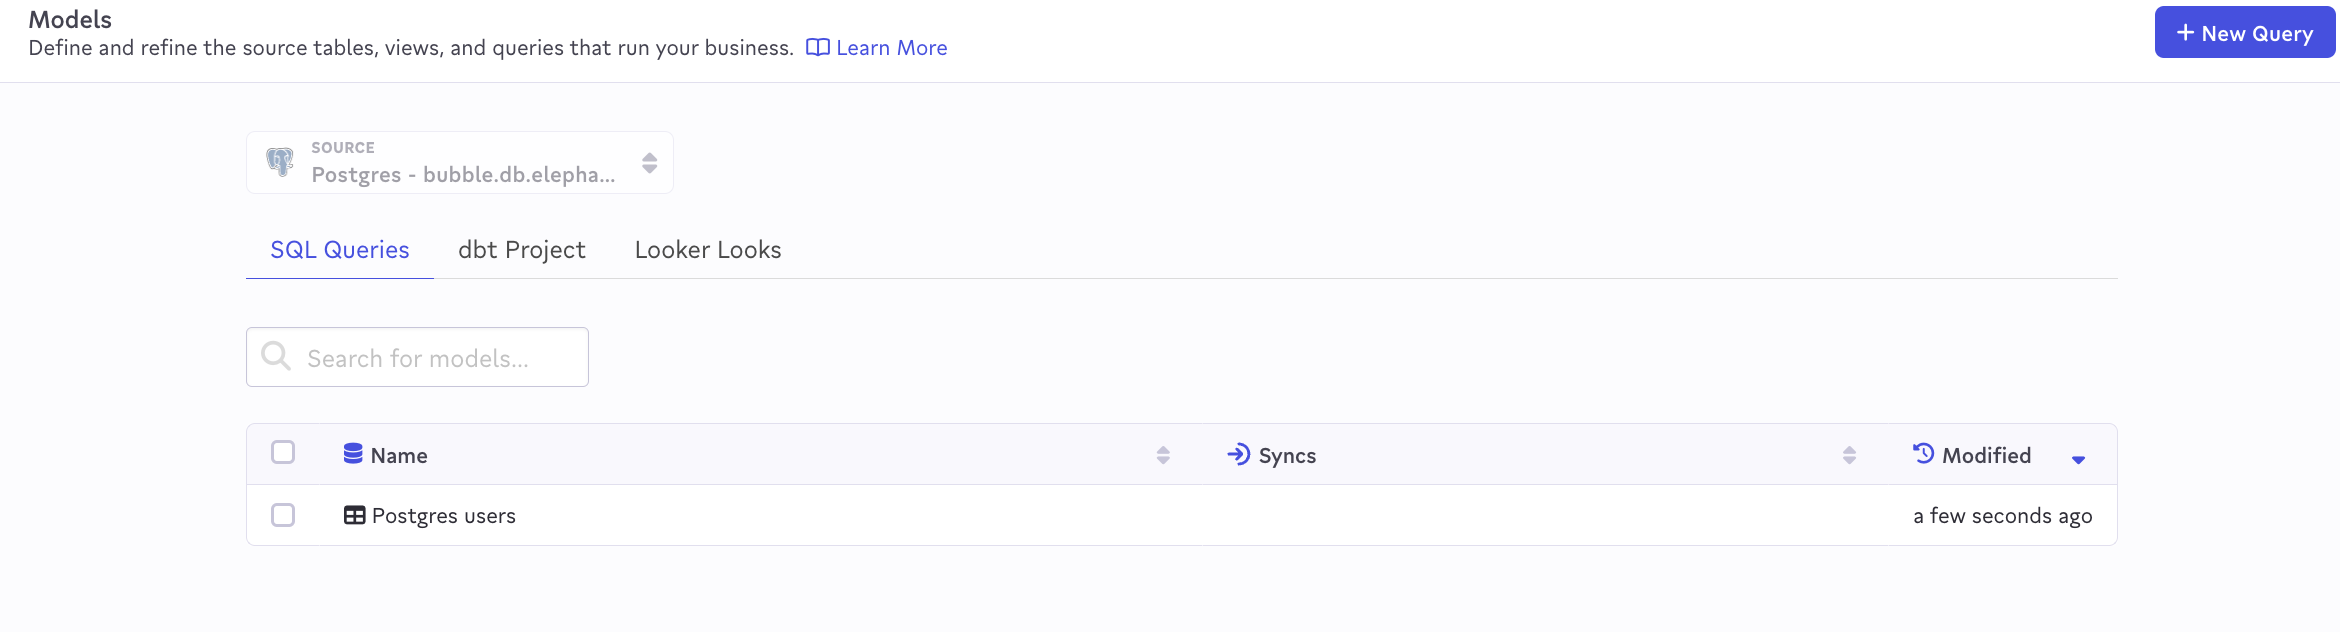
Create a Model
In your Census account, select Models in the left nav. On the next screen select the Source you created in the previous section, and then New SQL Query.

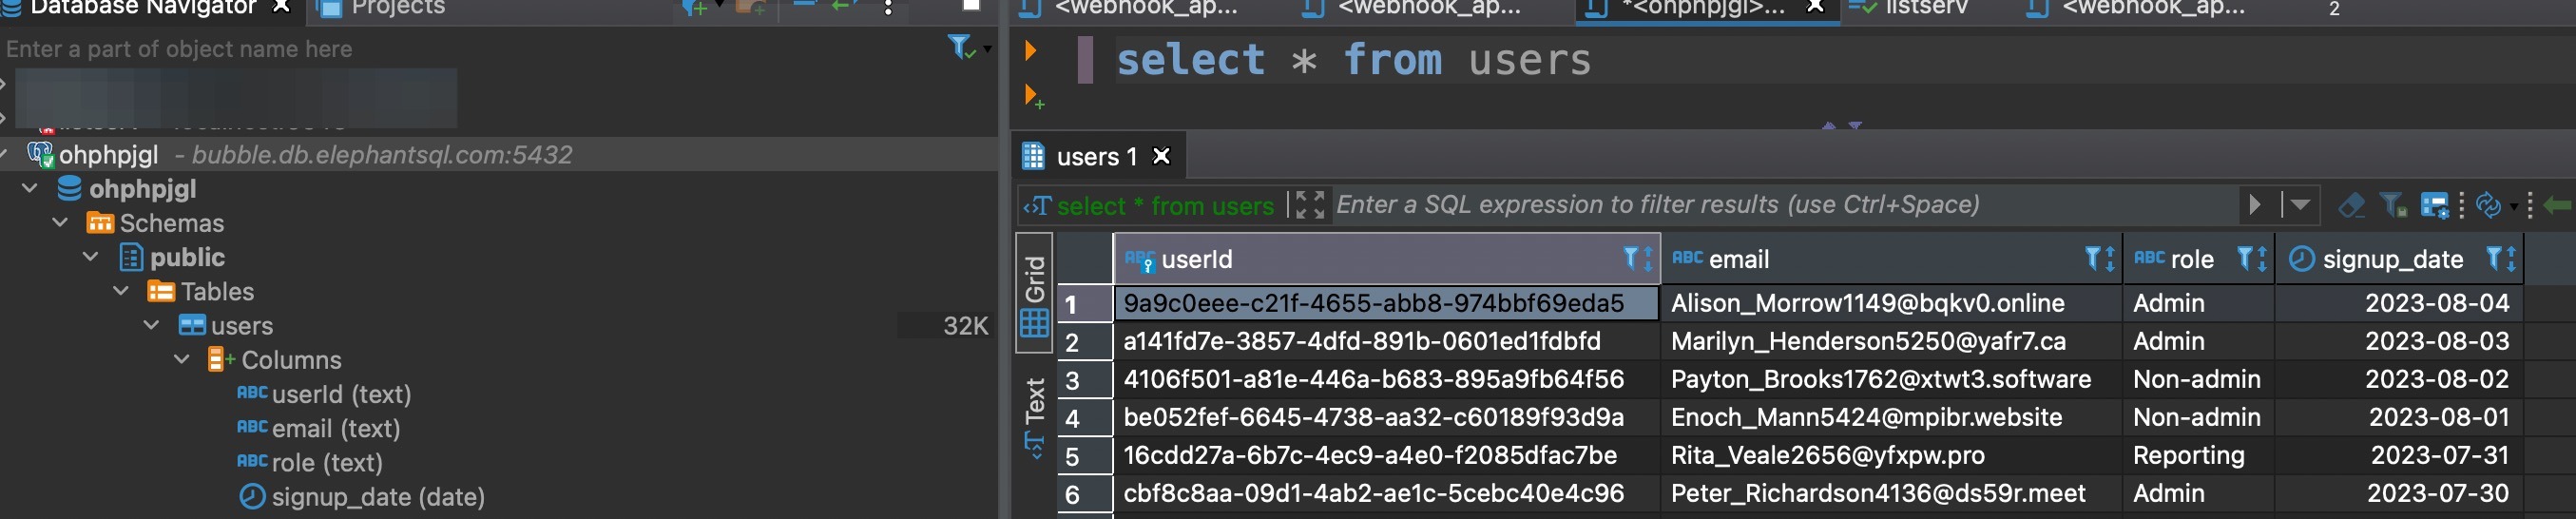
On the next screen, you'll enter the SQL query to pull in the data from your source you want to sync to Appcues. In this case, select * from public.users is what's needed. You can click the Preview Results button in the top-right corner to validate the query. Once you're satisfied, click Save Model.
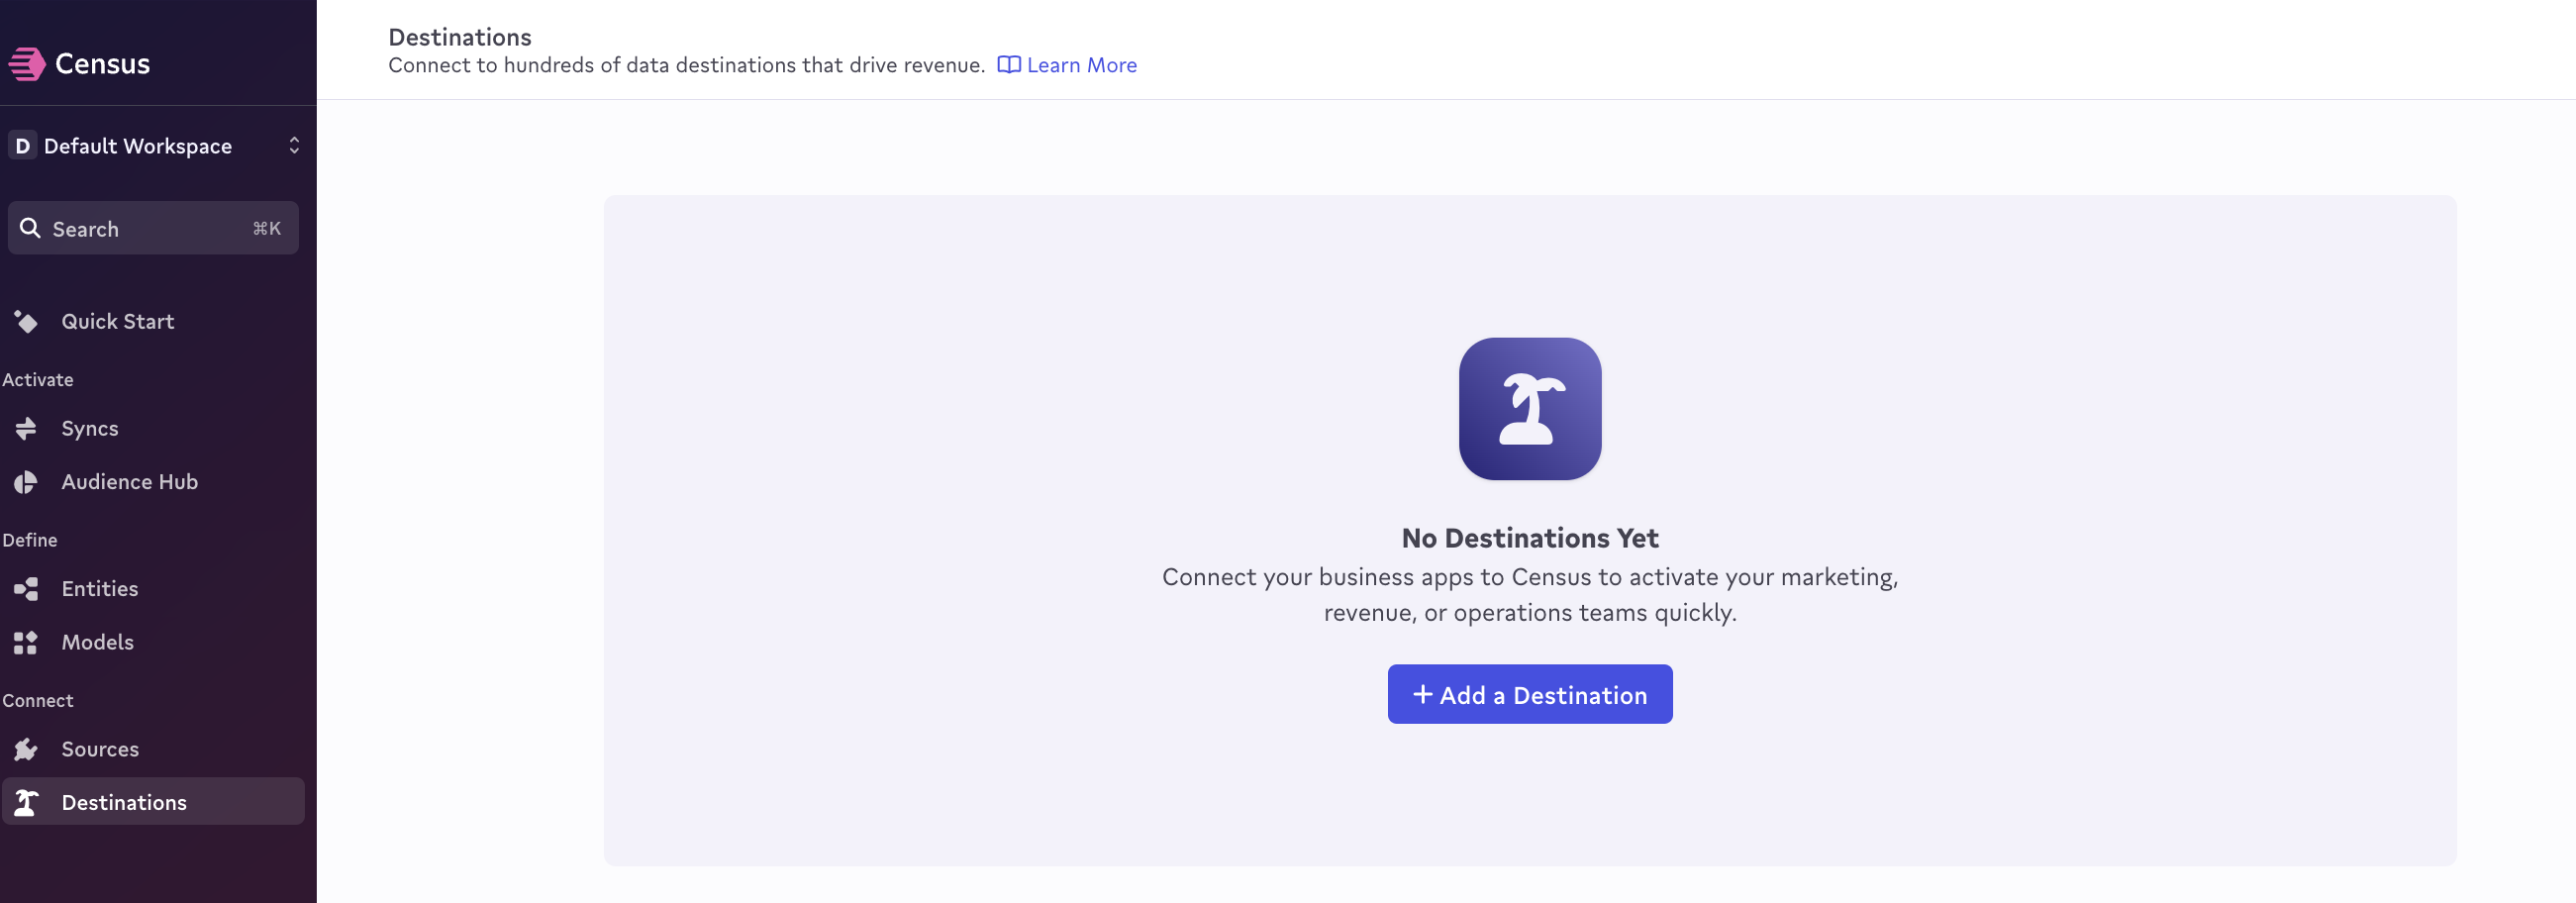
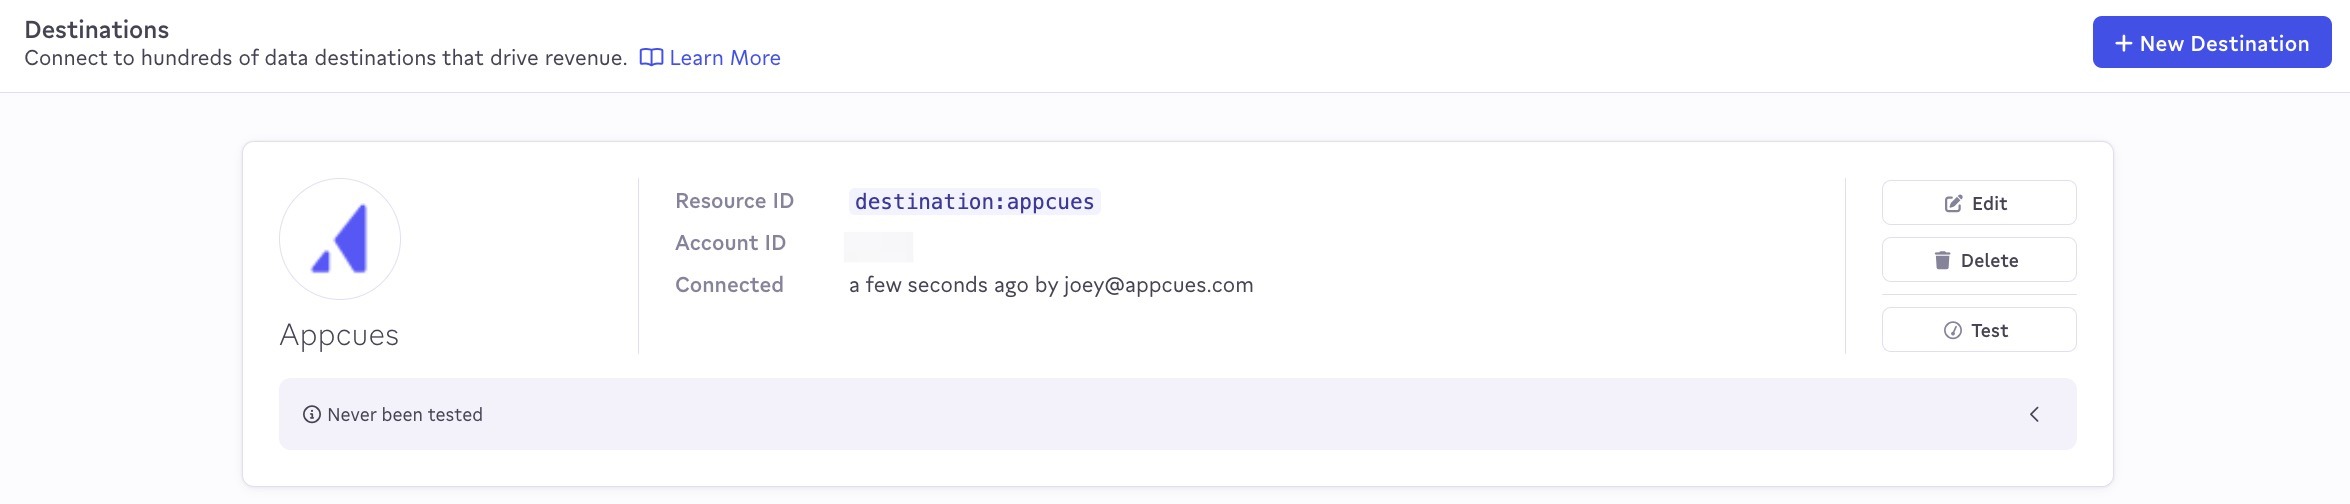
Create a Destination
In your Census account, select Destinations in the left nav, then Add a Destination.
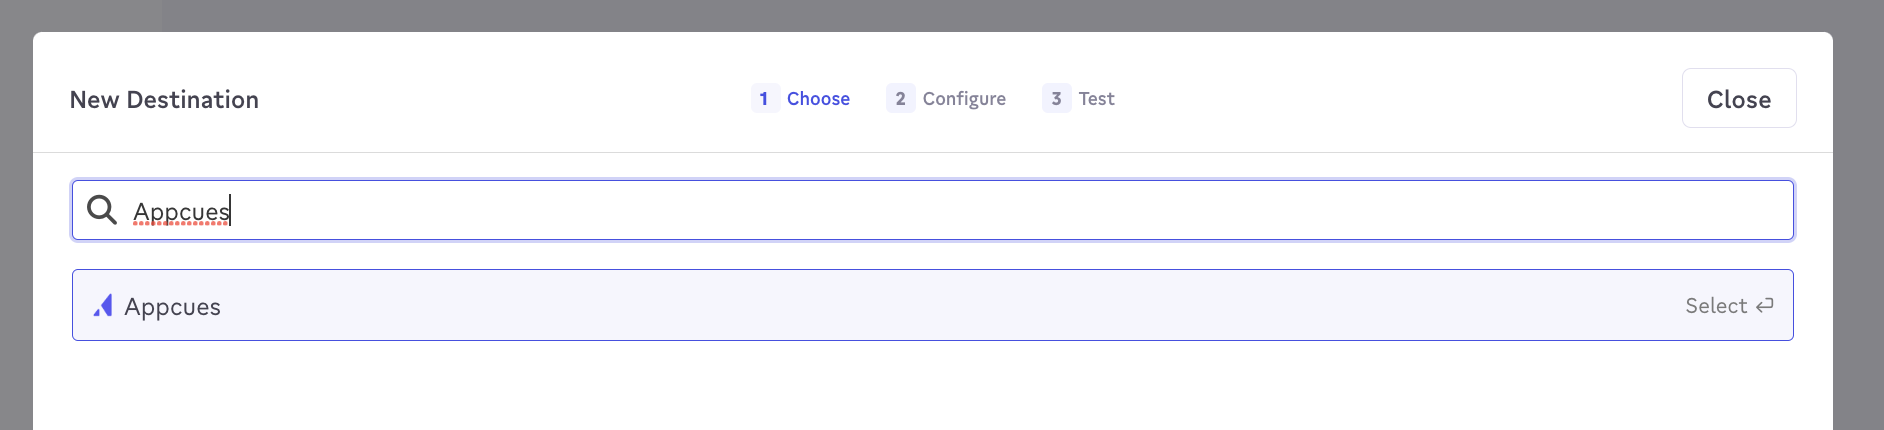
On the next screen, select Appcues as your Destination.
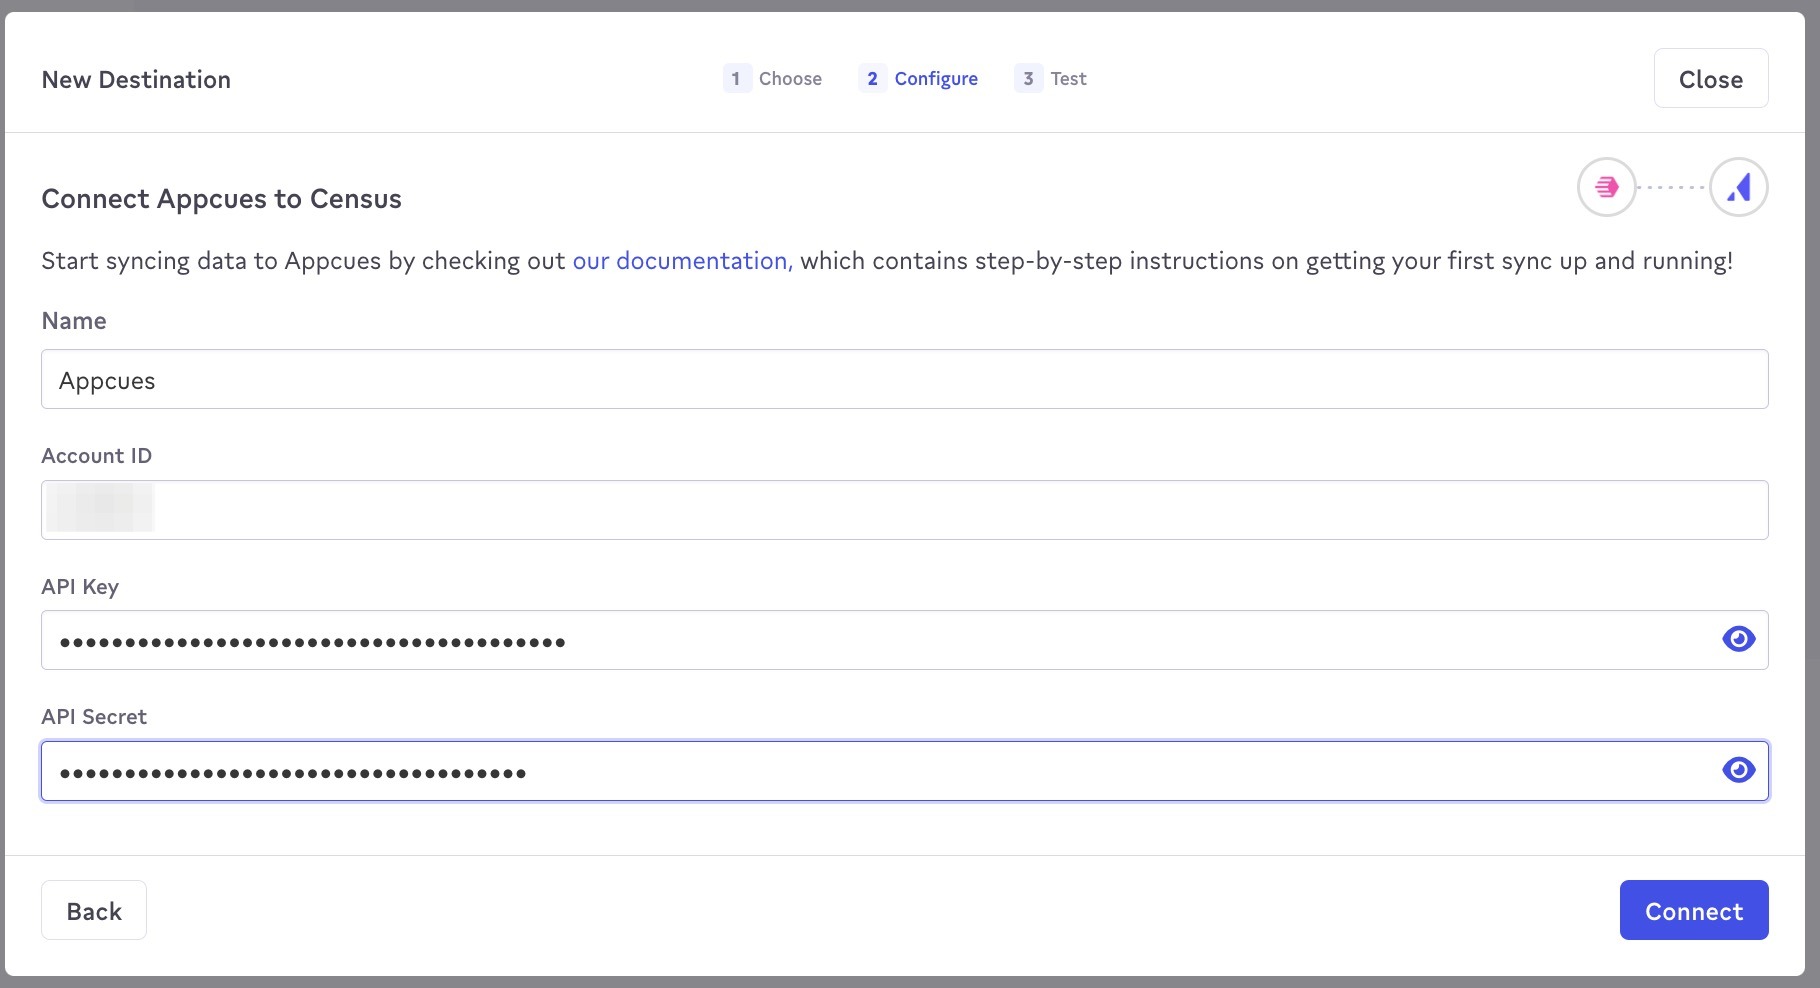
On the next screen, you'll be asked you enter your Appcues account ID and API keys.
To create new API keys, go to Appcues Studio and go to Account Settings.
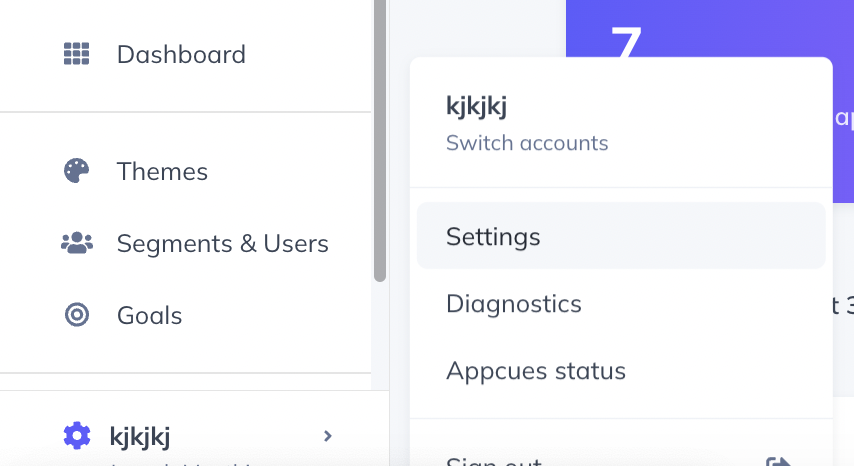
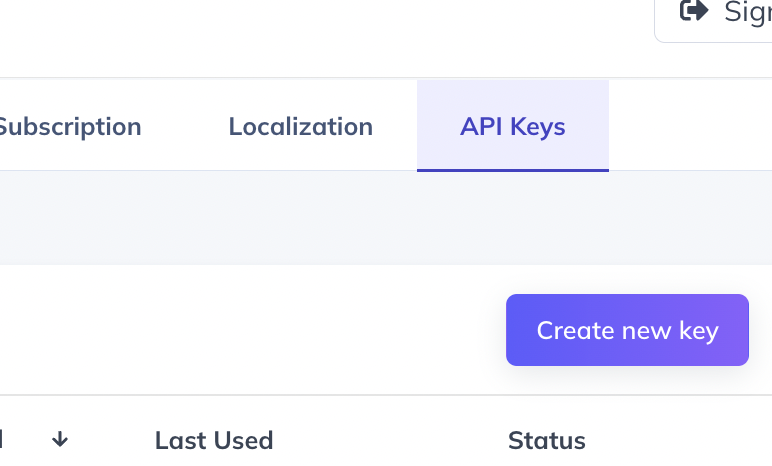
Select the API Keys nav item and click Create new key.
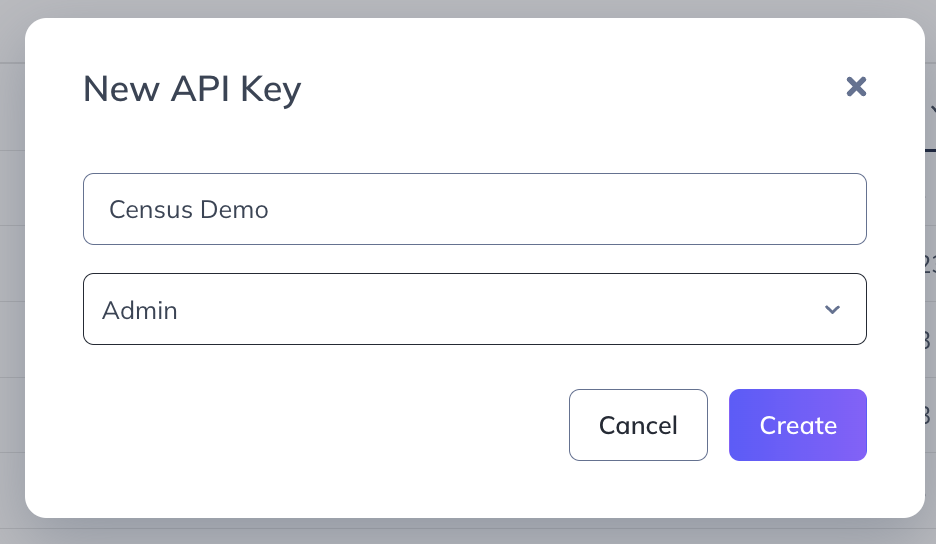
In the next modal, give your new key a name and give it Admin permissions.
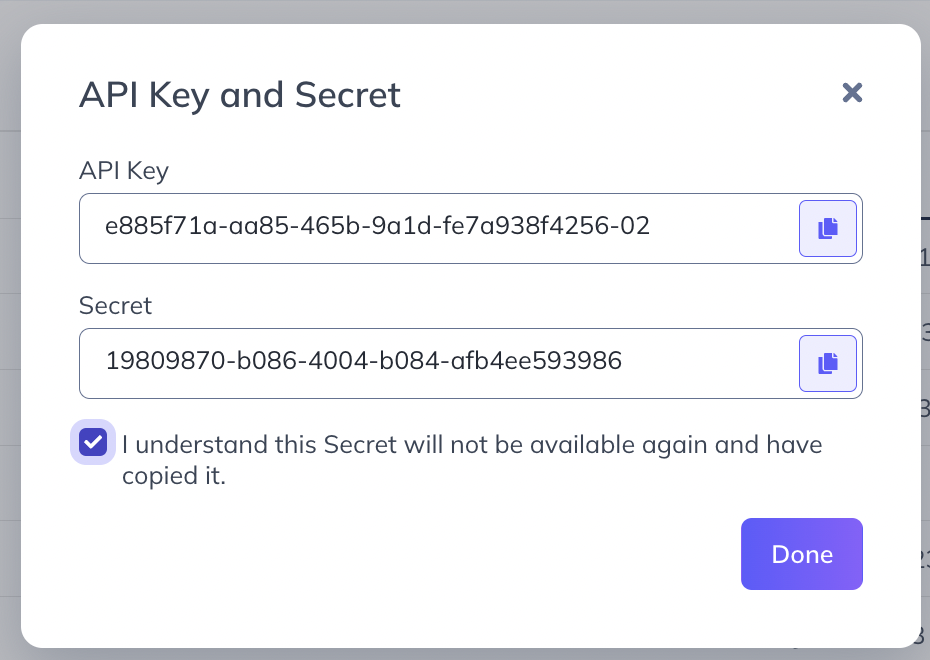
On the next screen, you'll be given your API Key and Secret. Be sure to copy and paste these values before clicking Done. The Secret will not be available again after you close this screen.
Enter your account ID and API key information in Census, select Connect, then Finish on the next test screen, and your Destination is complete.
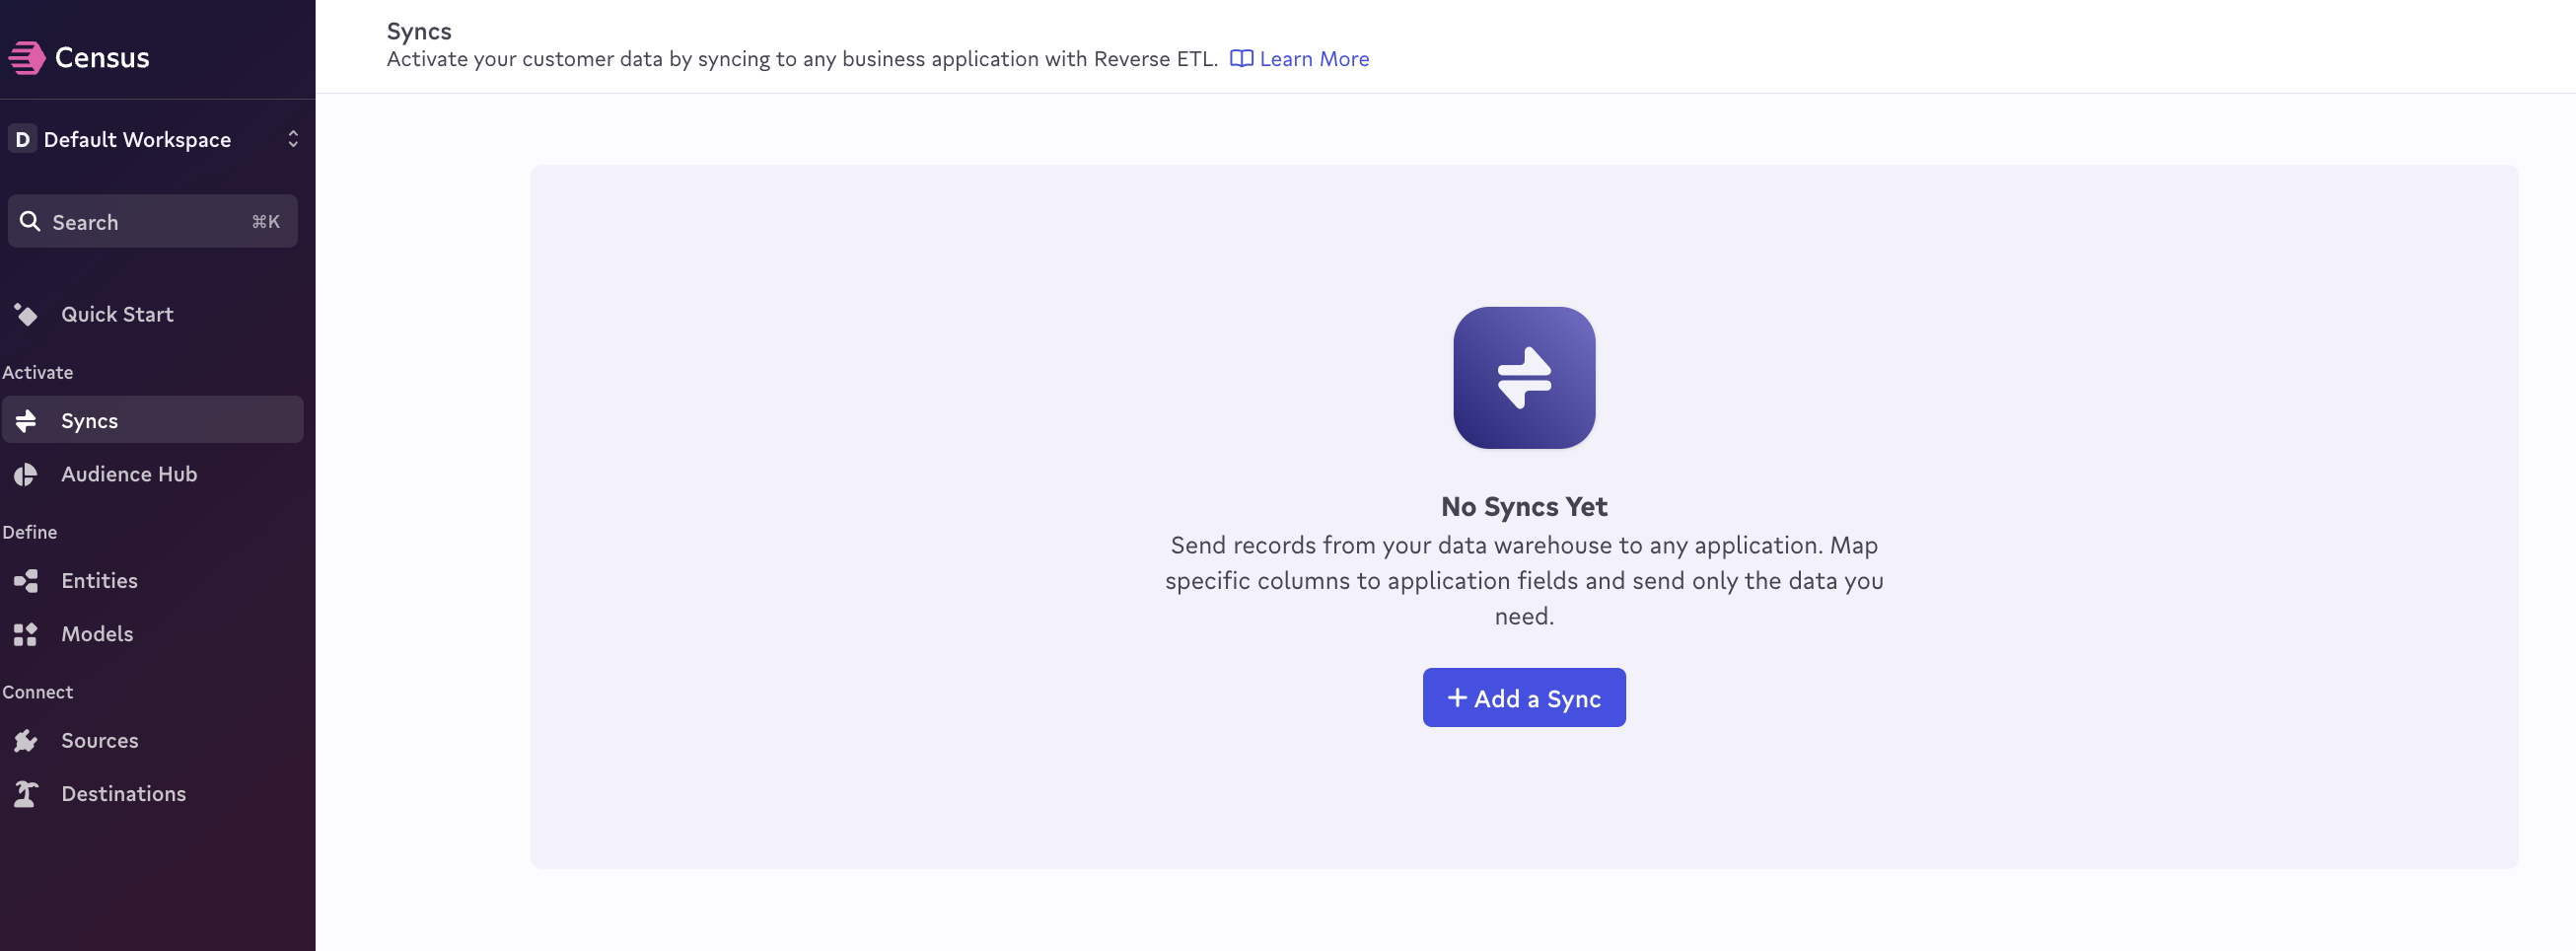
Configure a Sync
In your Census account, select Syncs in the left nav, then Add a Sync.
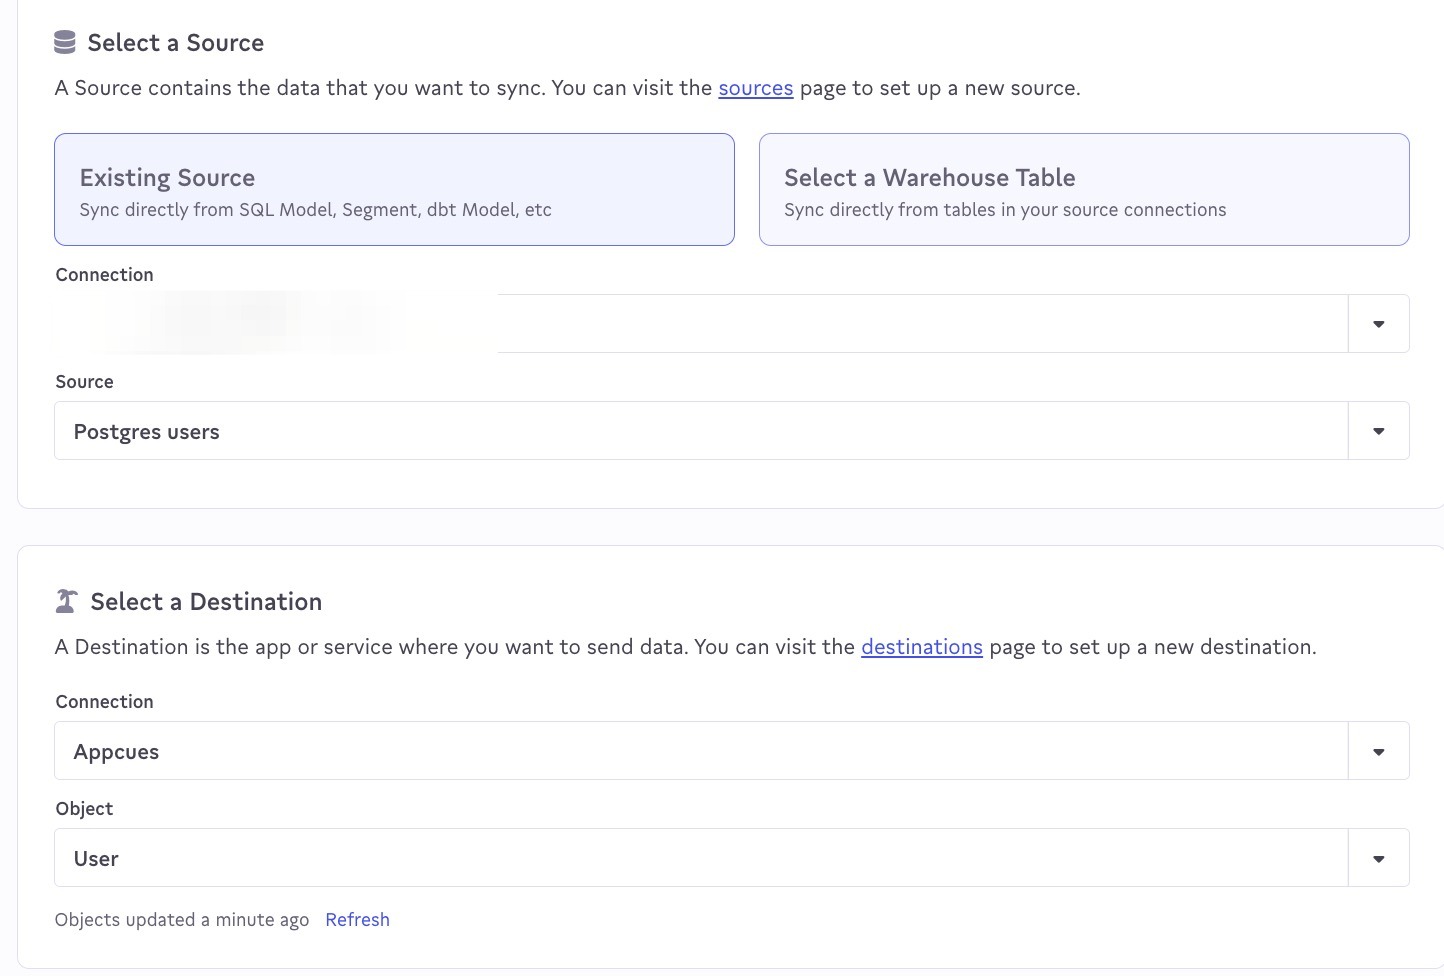
On the next screen, select the Source and Destination you created previously.
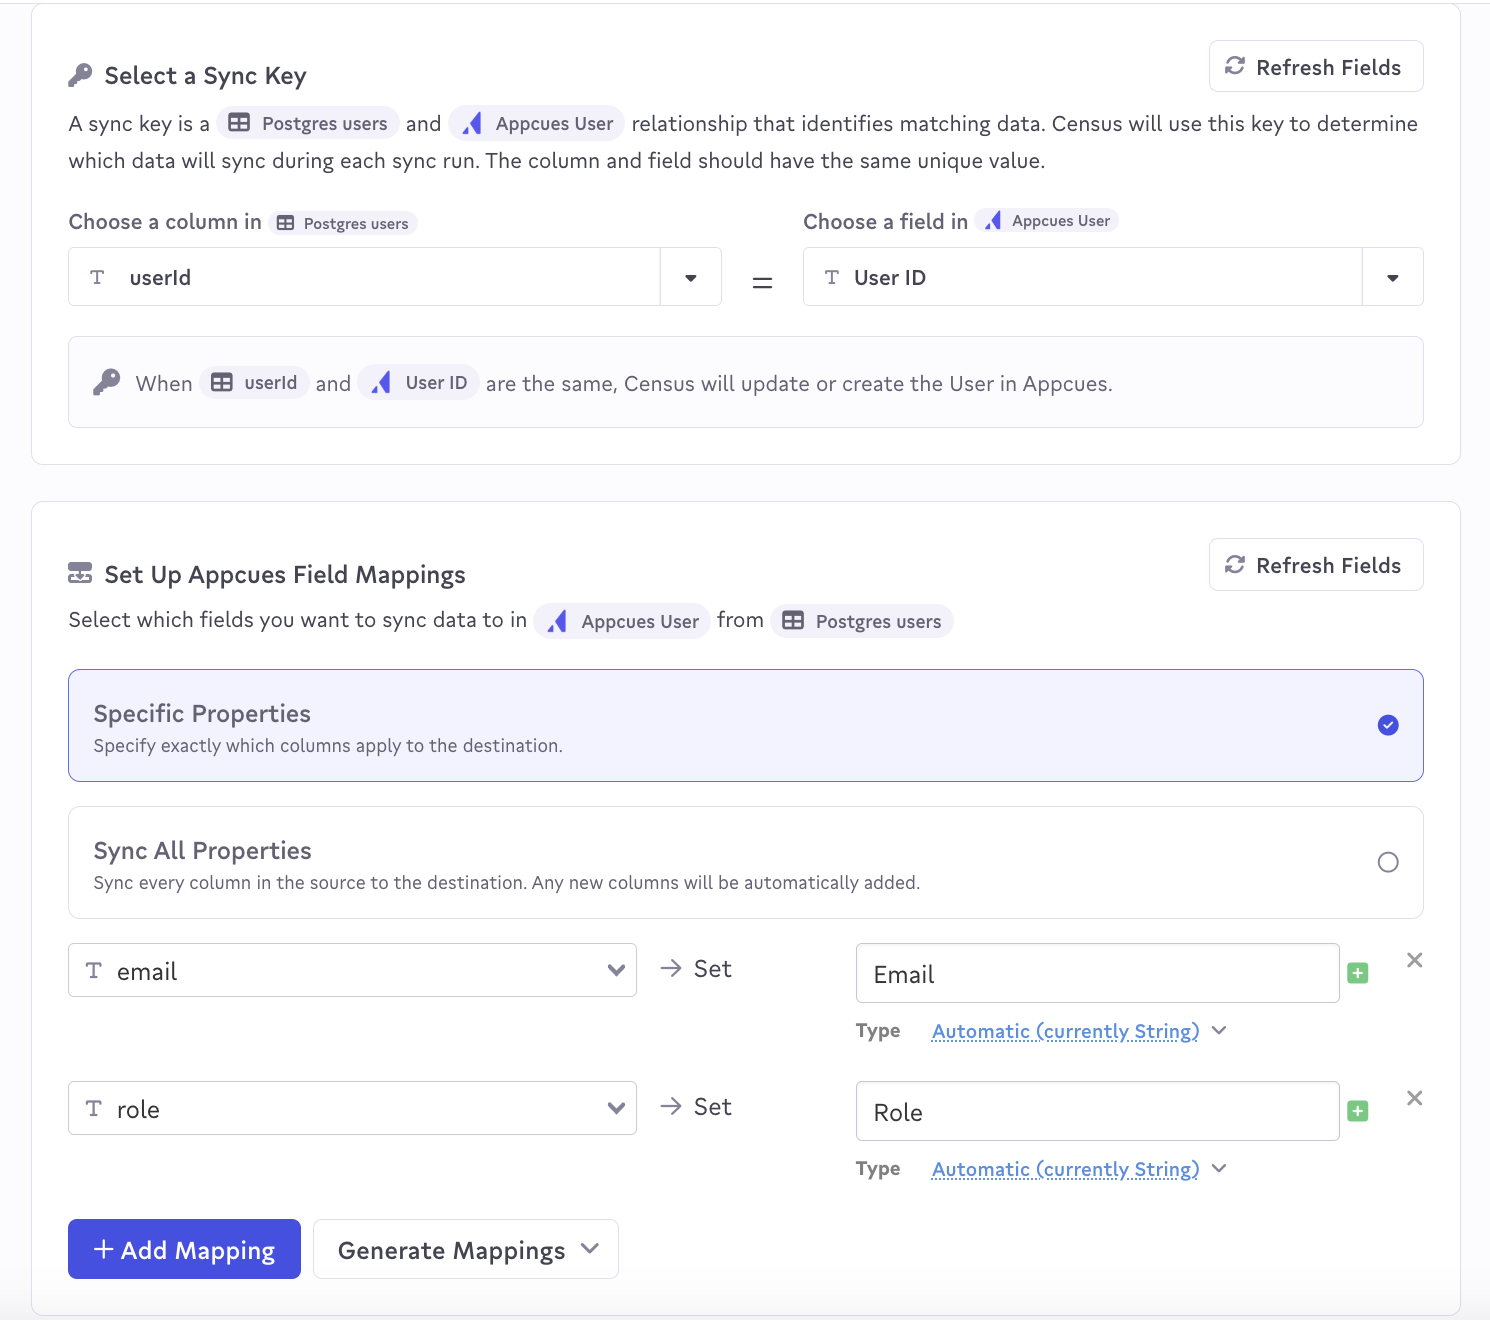
In the next section, you'll want to select the Sync key from your source data. In this case, it's the userId column. This key will map to the User ID field on your Appcues user profiles.
You'll then map the properties from the source data you want to send to Appcues. If these properties already exist in Appcues, make sure the name matches exactly. Otherwise, new properties will be created in Appcues.
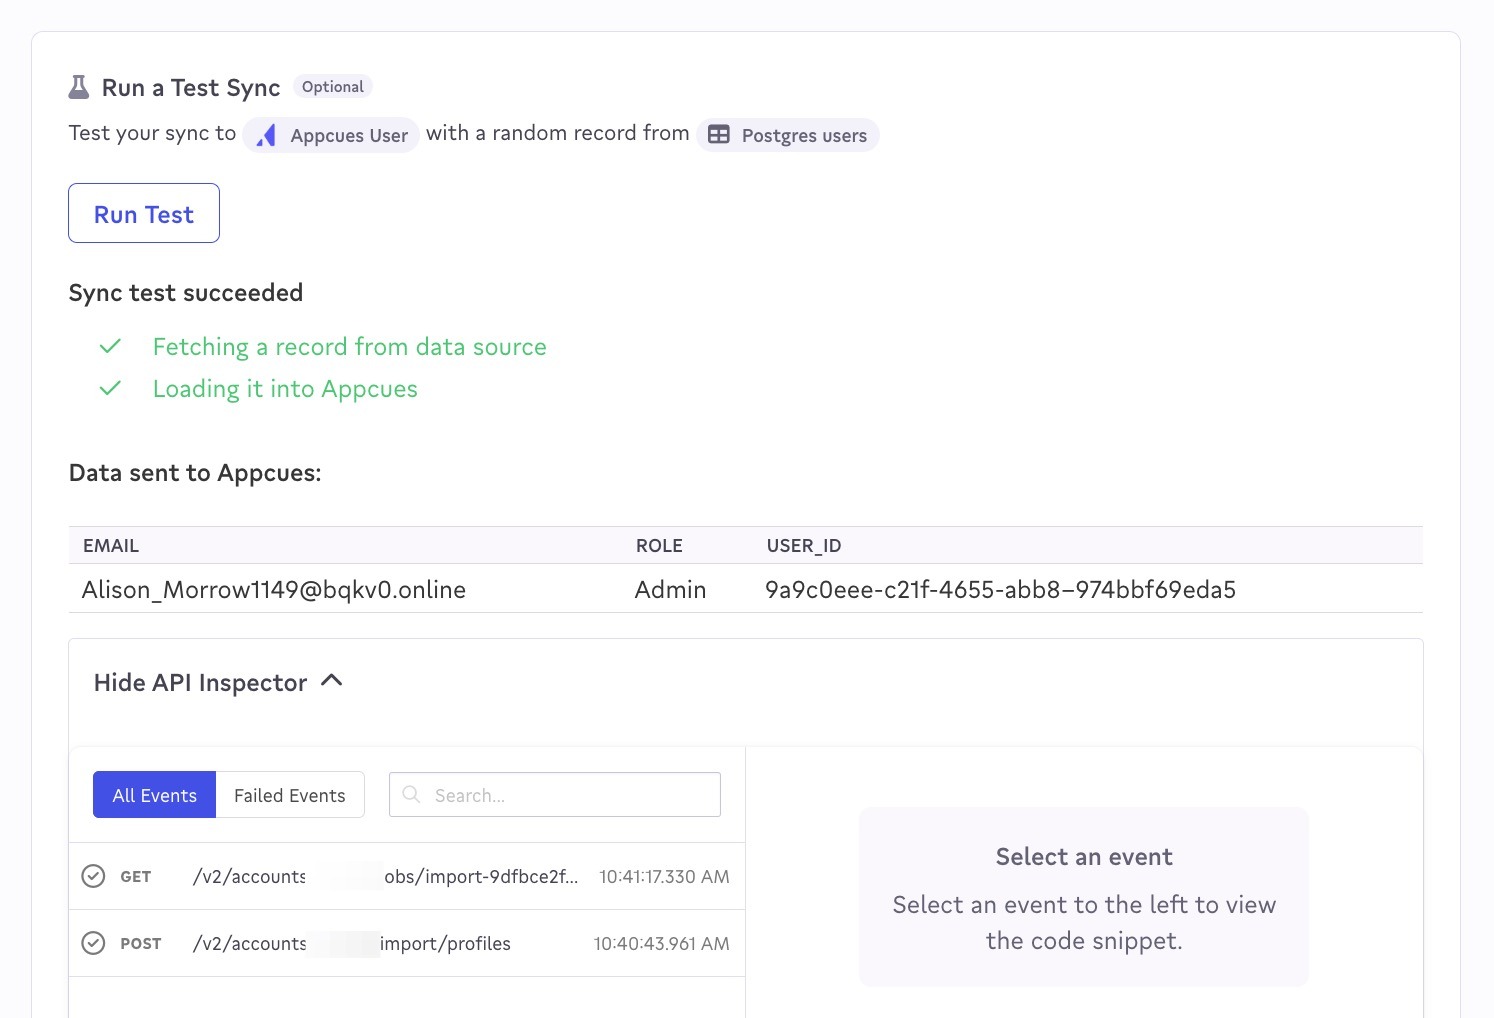
Further down on the page, you can select Run Test to make sure that your mapping is valid:
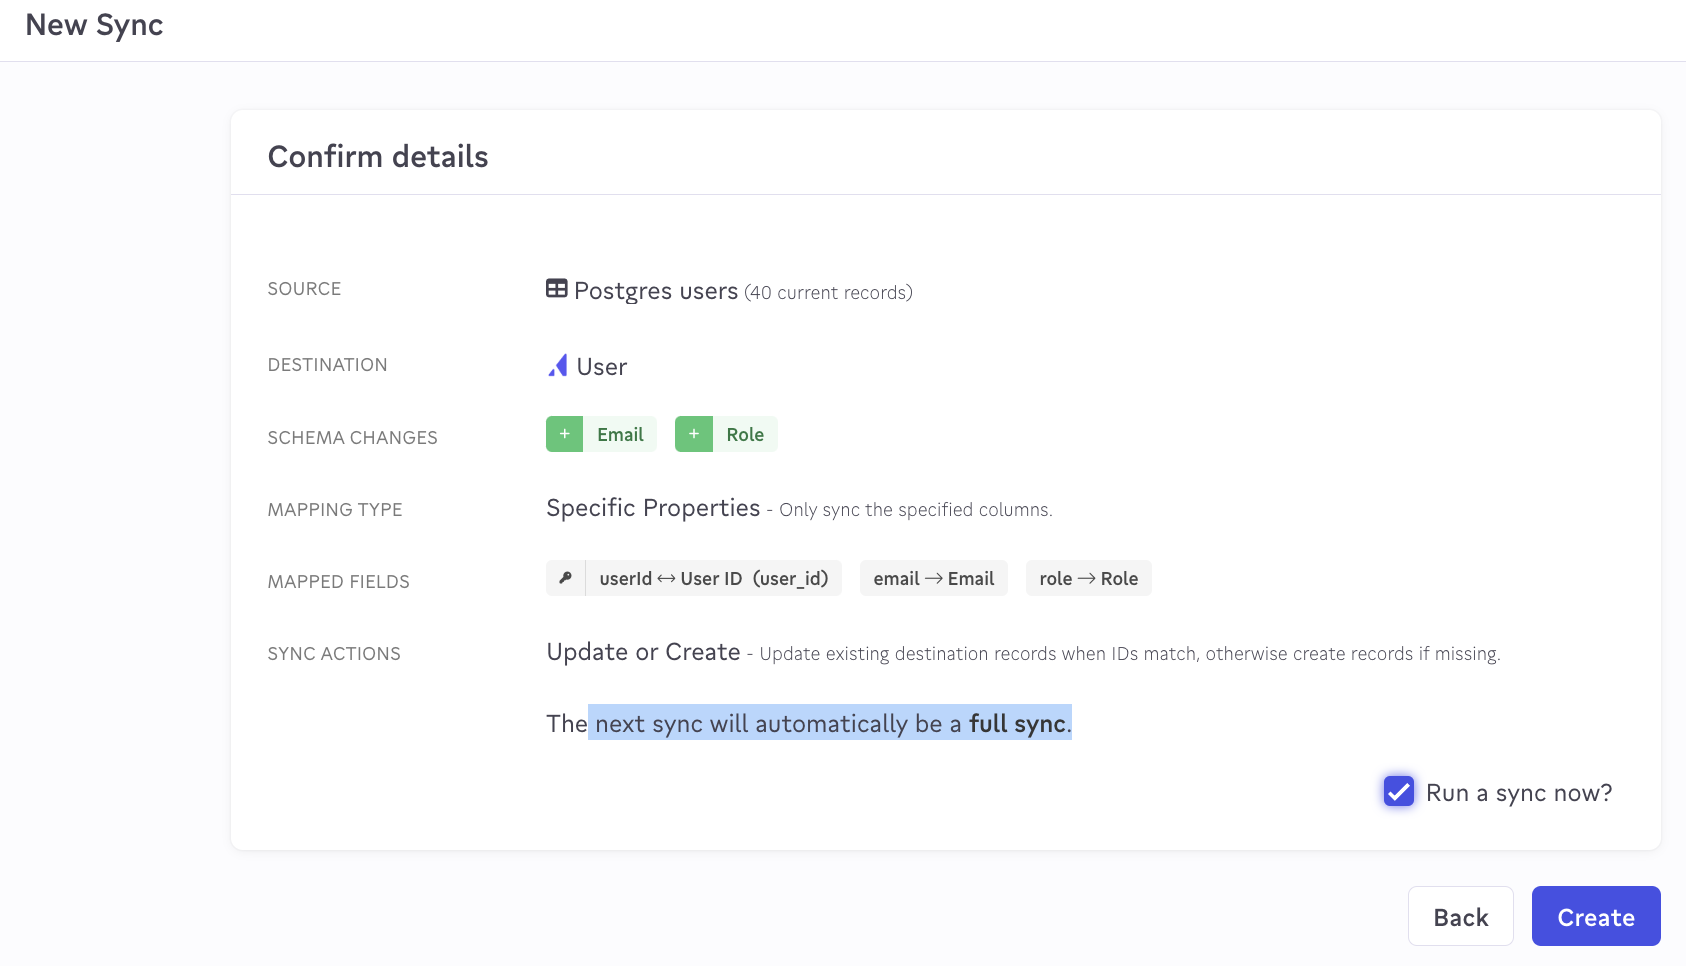
On the last screen, click Create. If you would like an initial sync of all data to be run, check the “Run a sync now?” box:
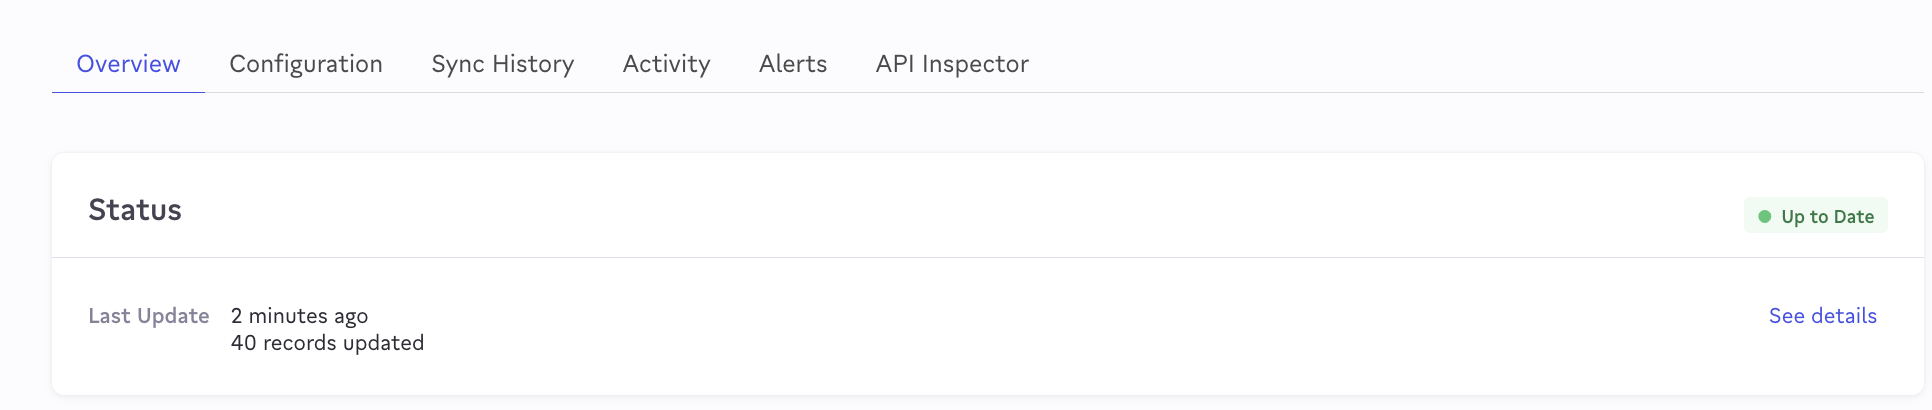
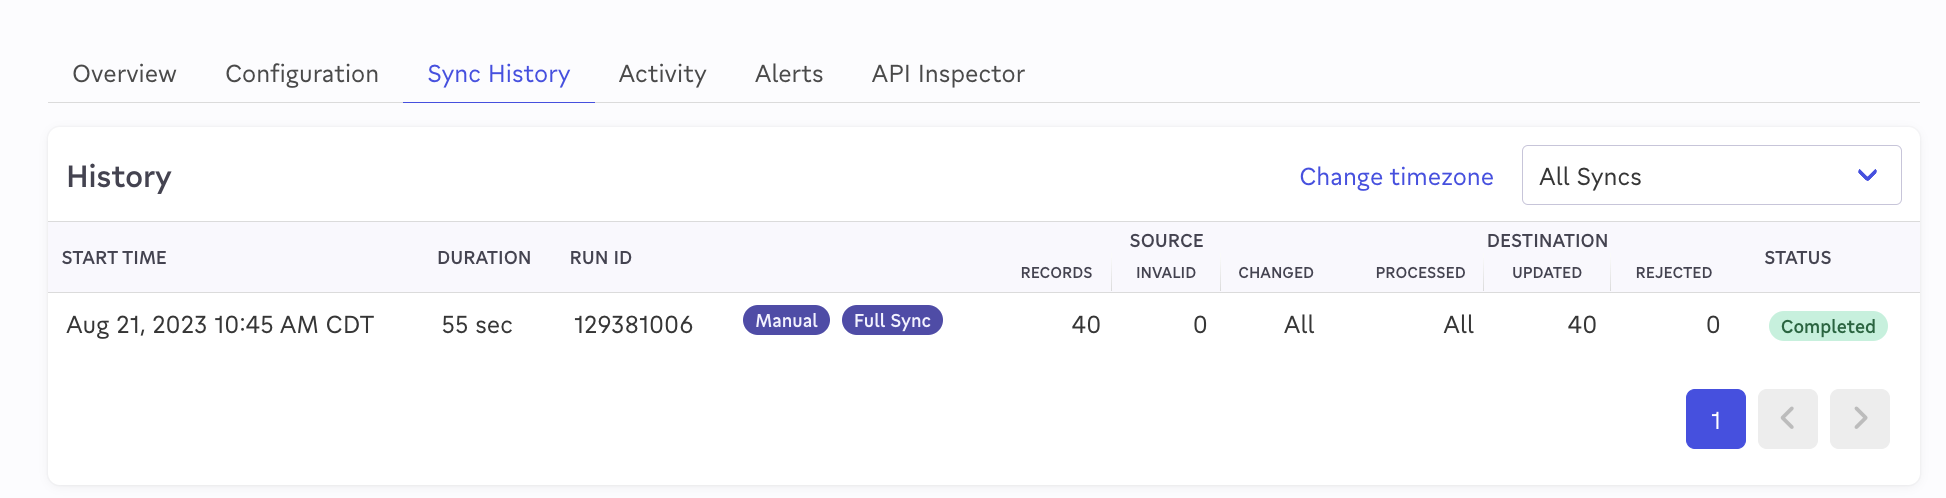
As you can see in the screenshots below, all 40 of the users in my Postgres database were successfully imported into Appcues.
In the “Configuration” tab, you can set the sync to run on a schedule in the future:

Verify synced data in Appcues
Inside Appcues, you can immediately inspect these imported users' profiles and see the imported properties.
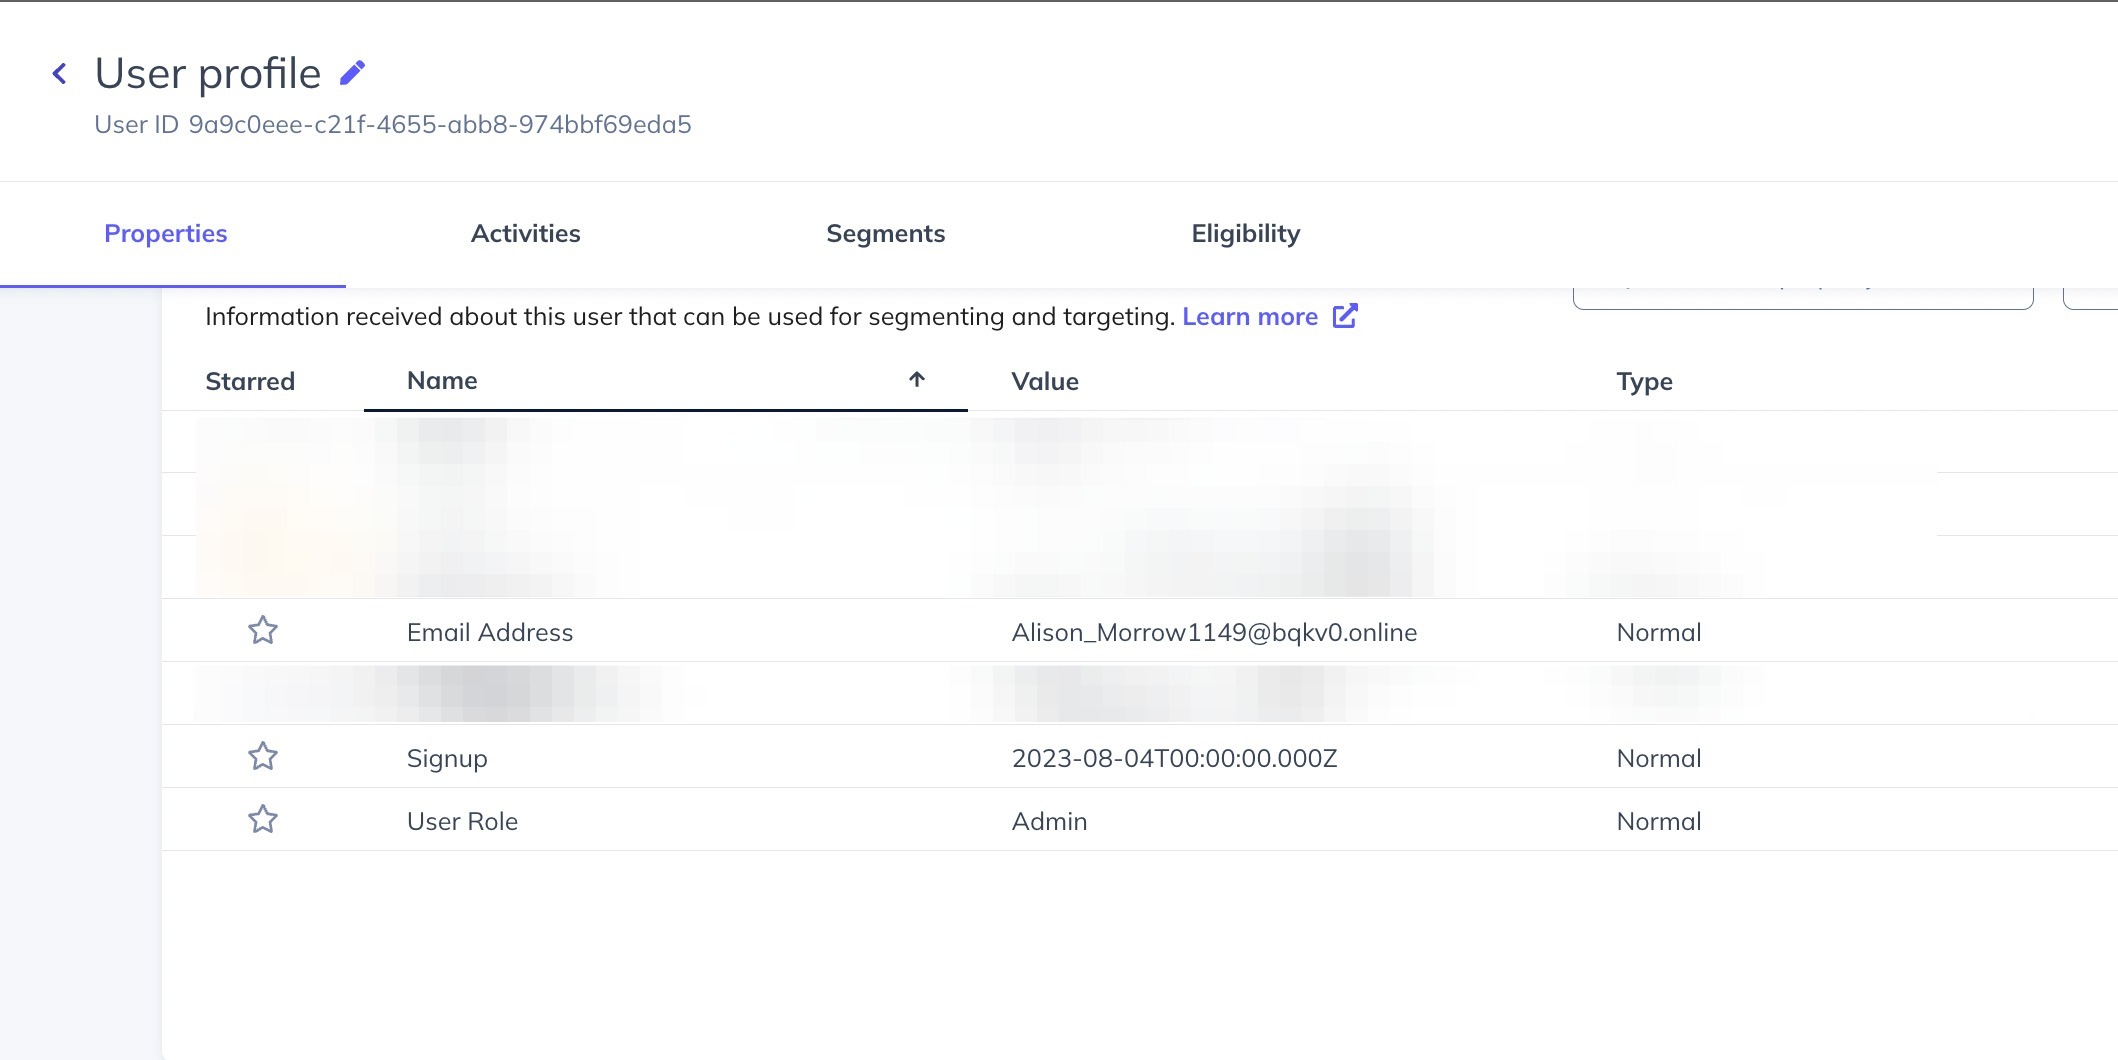
All imported profile data is immediately available for targeting and segmentation.
